birds, blue, card classes, embellishments, flowers, how to make rosettes, little yellow bicycle cards, making flowers, paper crafting, paper piecing, scrappin time

Make Your Own Embellishments Card Class

I love learning new techniques. 
I dedicated this special card class to making embellishments from paper. 
Join me for this fun class on Sunday, April 17 (1-3pm) and we’ll be making flowers, roses, rosette seals and more!  Fun stamping and glittering will take center stage as well!
Call, or stop by, Scrappin’ Time to reserve your seat!
5915 South Eastern Avenue #106
Las Vegas, NV 89119
702-898-7414 

See ya there!
xoxo
Genevieve

craft ideas, cricut, cupcake toppers, embellishments, flowers, how to make paper flowers, how to make rosettes, paper crafting, pin-ups, rosettes

Make Your Own 3D Rosette Flowers

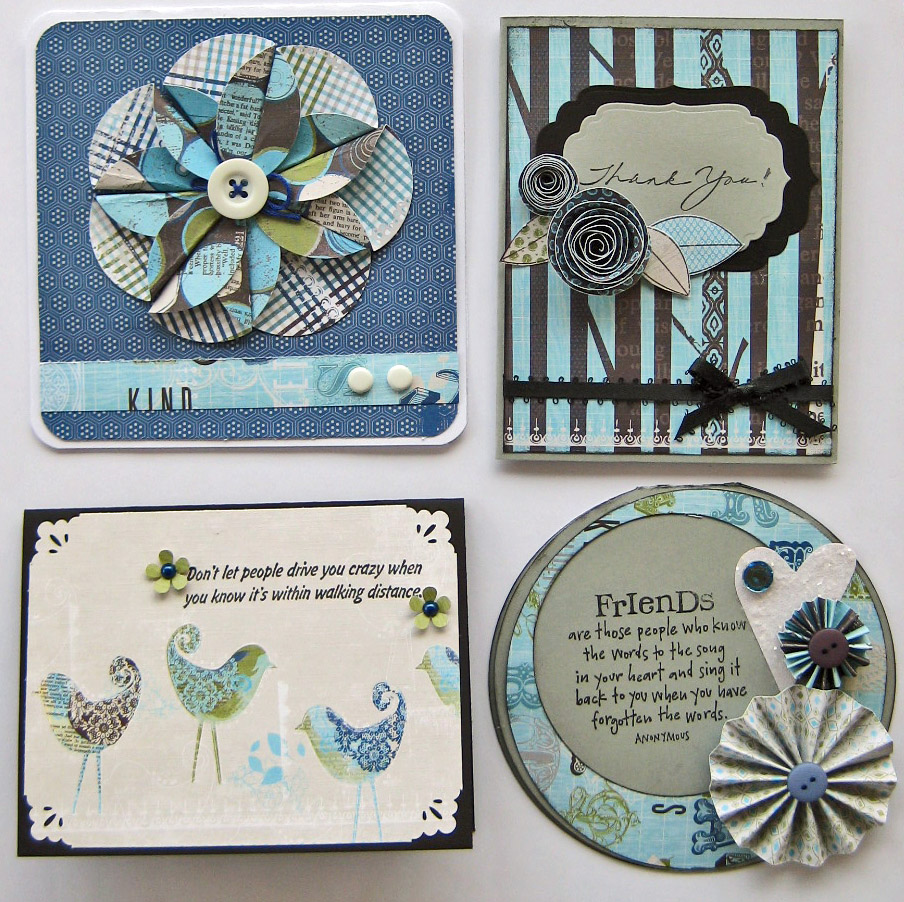
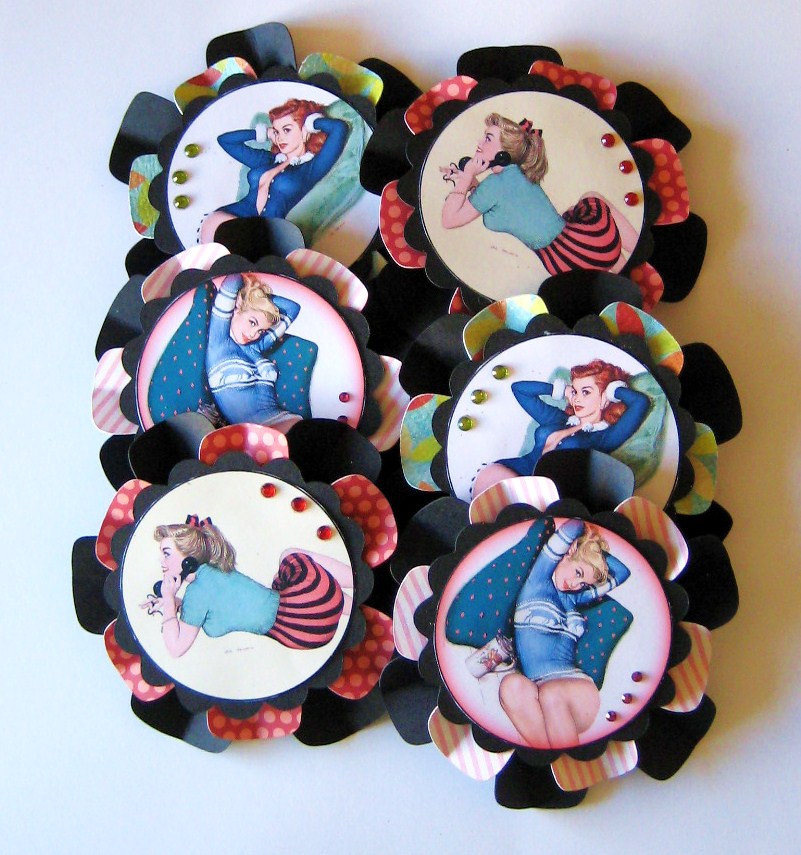
Wanna make some fun, 3D embellishments?
No special glasses required ~ these babies just POP with layers!
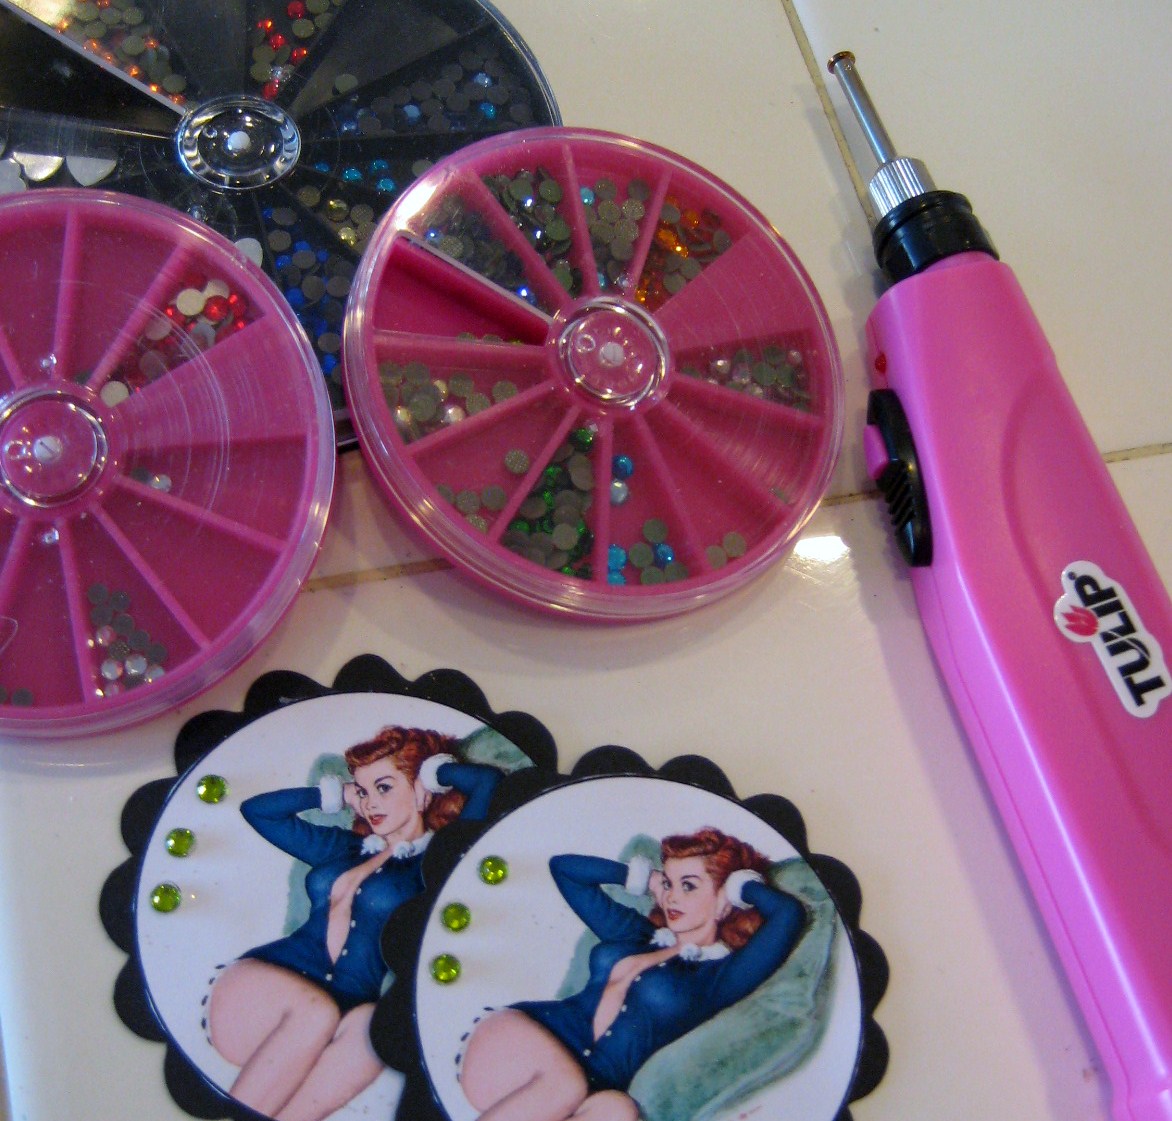
Here are the materials needed:
*scissors
*pop up adhesive
*glue gun
*rhinestones
*card stock
*images
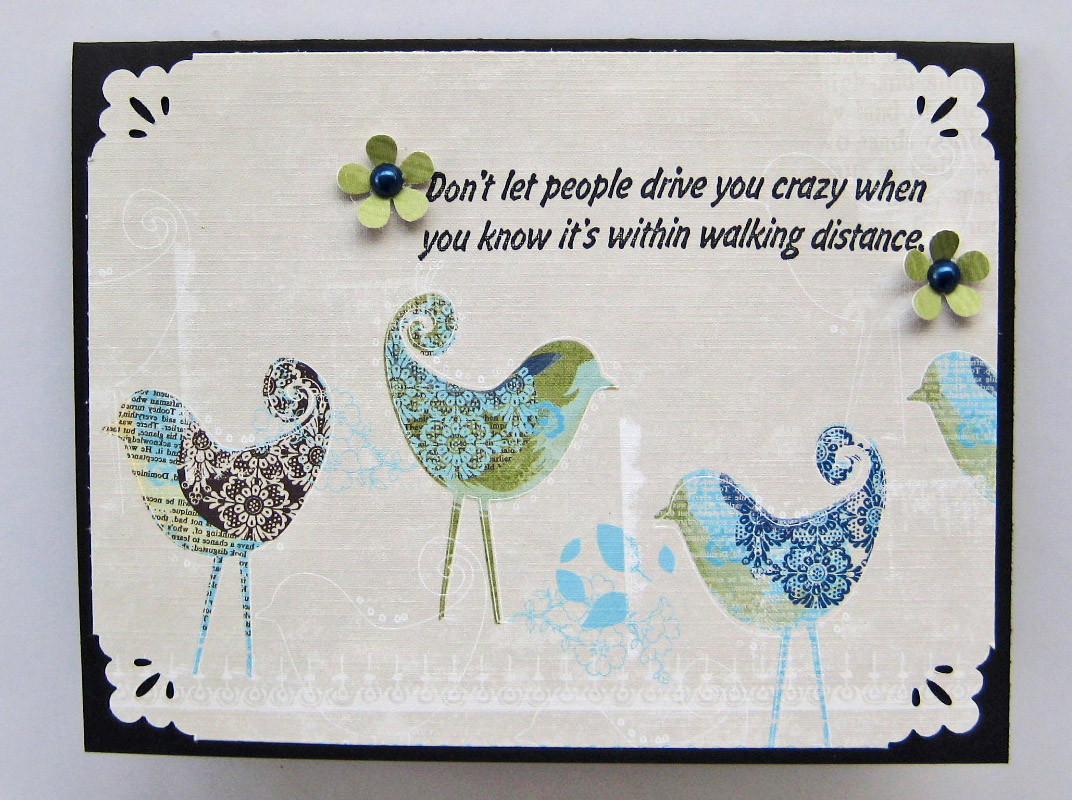
First, cut out the images you want to use (you can use digital collages, or even just punch out sections of pretty paper).  I cut mine as 2 inch circles.
Next, use your scallop icon in your Storybook cartridge to cut out a black layer 2.5 inches for behind your image.
I used the flower icon (shown below) from the Plantin cartridge to make my flower layers.  I cut one about 3.25 inches and then a black layer about 3.75 inches.
When they are cut, simply fold each layer in 1/2 (folding toward you) so that the edges of each flower petal stand up.  Do that with both your patterned paper and the black flowers.
Using foam squares, layer the flower sections together.
After hot-gluing your image to your scallop layer, add rhinestones.  I heat-set mine with a Tulip heat tool.
Now you can add them to your flowers with foam adhesive.
Simple as that! 
These are fabulous to use on scrapbook pages, cards, frames and invitations.  They make adorable party favors and cupcake toppers too!
You can check out my listing for these puppies, too, if you’d like to purchase some for yourself.
Enjoy, and happy crafting!
xoxo
Genevieve
bunnies, easter layouts, embellishments, inspiration, layout ideas, page kits, pop up cards, puff velvet, scrapbox studios, spring

Inspired

I don’t know about any of you, but I spend lots of time online getting ideas for layouts and cards.  I love finding inspiration and there are so many amazing creations out there!
I got the idea for this Easter layout from one of my favorite page kit websites, Scrapbox Studios.
I had purchased this happy Easter paper a few weeks back, but wasn’t sure how to build my layout around it.  I know that Scrapbox Studios always offers such detail-rich layouts so I went there to get some ideas. 
Here is the layout that inspired me:
I used the first page of this layout as my inspiration and tweaked it slightly to make it my own.  I had a lot of fun with this page and even cut the bunny heads out of a second sheet to make them pop-up embellishments (I tried to photograph the dimension). 
I also used some white Puffy Velvet fabric markers on the bunny tails.  (If you haven’t used this product, you should definitely pick some up ~ it’s so much fun to use on so many crafts!  You just wait for it to dry and then use a heat gun on it to make it puff.)
cleaning, color, embellishments, opinion poll, organization tips, page kits, paper, paper crafting ideas, scrapbook blogs, scrapbooking, spring cleaning, stressed, tools, woes

Scrapbook Organization Woes

Now that I have more space (thanks to a huge liquidation sale last month), I’m working on reorganizing my scrapbook stash and spreading things out.
I’m having the hardest time organizing!
Don’t get me wrong ~ I love looking at my favorite papers and embellishments over and over again (wishing I had a bigger family just so I’d have more pictures to scrap). So many great papers, so few events…
Anyway, the question of the day is:
How do you organize?
Sort by color? Theme? Brand? Season? Alphabetical? Shopping trip?
I think I’ve moved sections of goodies to different areas about 3 or 4 times so far. At first it was all the Vintage/ephemera themed goodies (my favorite right now). That was too big and still strangely random. Then, I sorted by brand. But what if a Basic Grey sheet would go perfectly with a Graphic 45 piece and I’ll never know about the greatest pairing since argyle and socks because one was upstairs on a paper wrack and the other downstairs next to the mac and cheese?!
Also, what in the scrap do you do with all of those sections of paper that are partially used, but match other 12×12 sheets or kits?! I have a ton of 13×13 baggies and I try to keep everything together that way. Now, it just looks like my scrap drawer is a Ziploc Ad. Nothing lays flat or even makes sense. I never even know what I have (yet I still find myself shopping at the craft store each time a coupon comes in the mail).
Any advice? I’d love to hear what you do for storage and organization! Also, any organizational brands/items that you really like? I think laying things flat (700 sheets deep) is no longer working for me. Things are getting squished and wrinkled (although it saves time distressing my paper).
It’s my goal to get organized this week ~ wish me luck!