altered art, art, arts and crafts, baby pages, baby shower, craft ideas, craft tips, crafting, crafting pages, custom art, gen's scrapbook kitchen, handmade scrapbook, scrapbook, scrapbook blogs, scrapbook ideas, scrapbook layouts, scrapbook page, scrapbook pages, scrapbook sketches, scrapbooking, scrapbooking ideas, shabby art boutique, shabby chic, shabby chic layouts

Spring Fair Carousel Scrapbook Hoop

I’m thrilled to share the March 2021 Handmade Club kit with you! This fair is so dreamy and delicious – I can practically taste the candy apples!

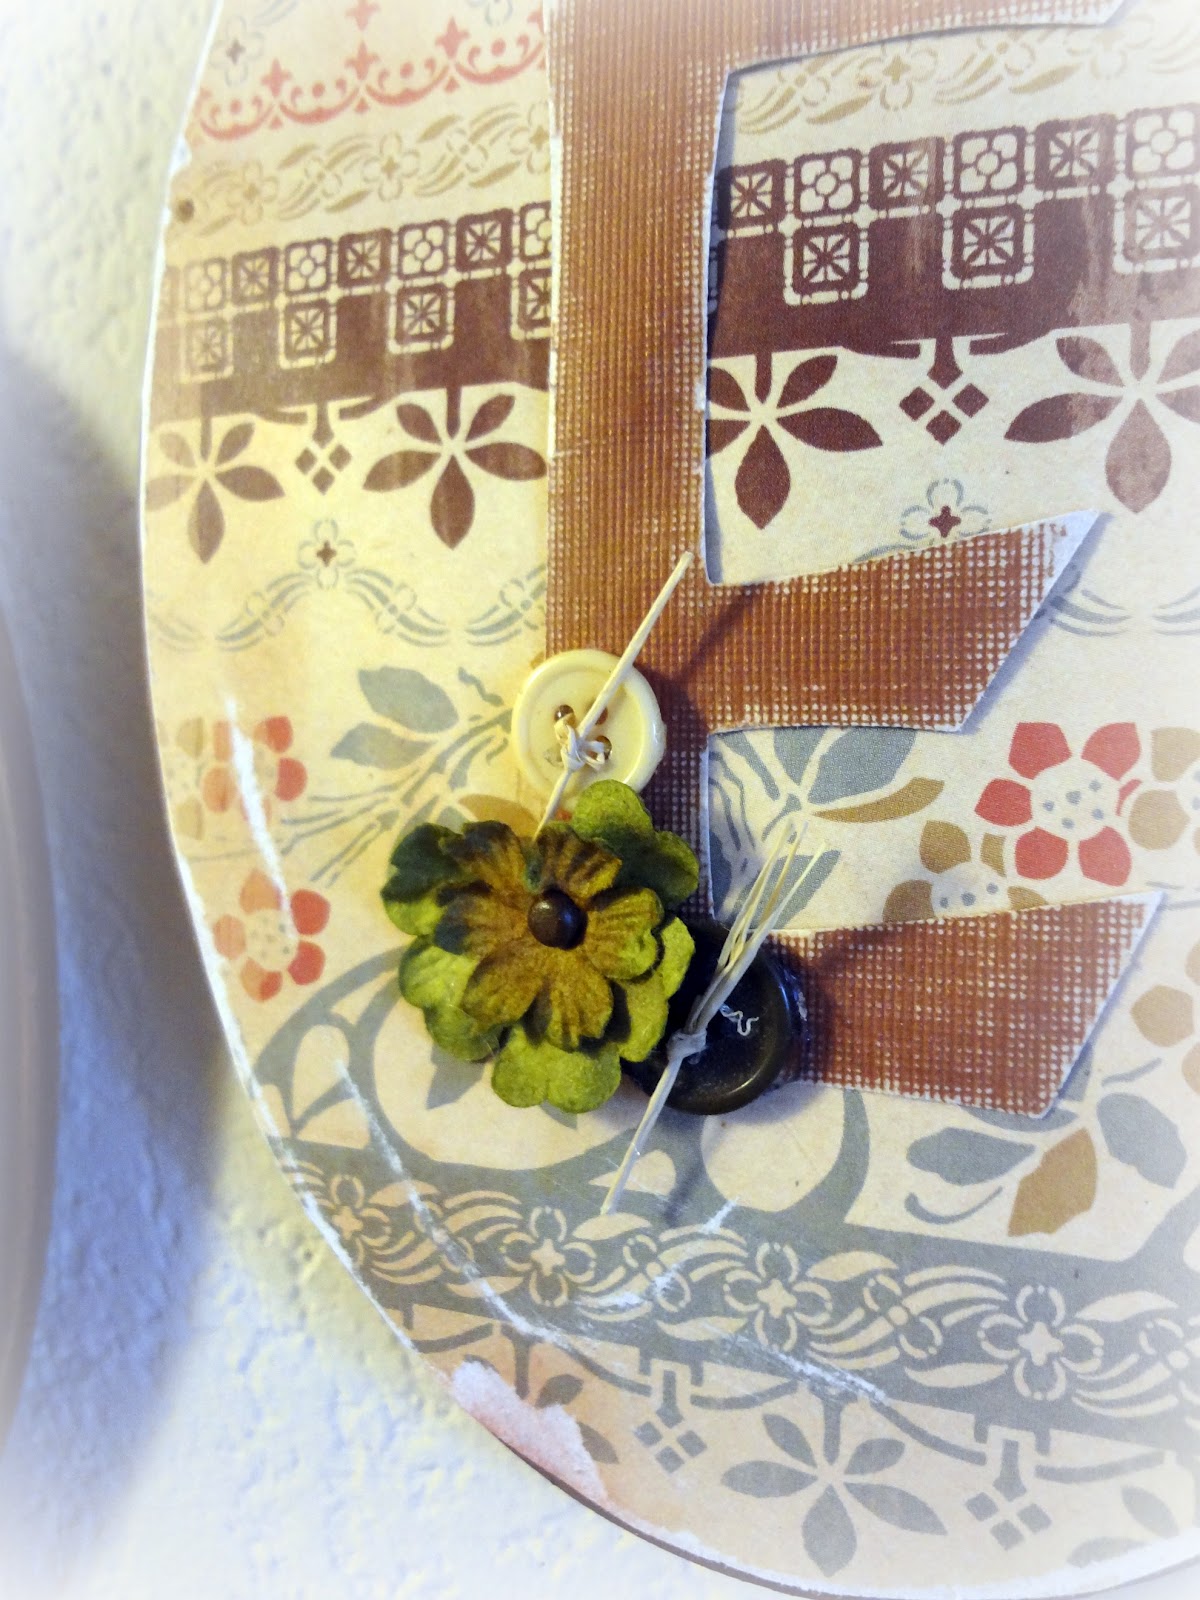
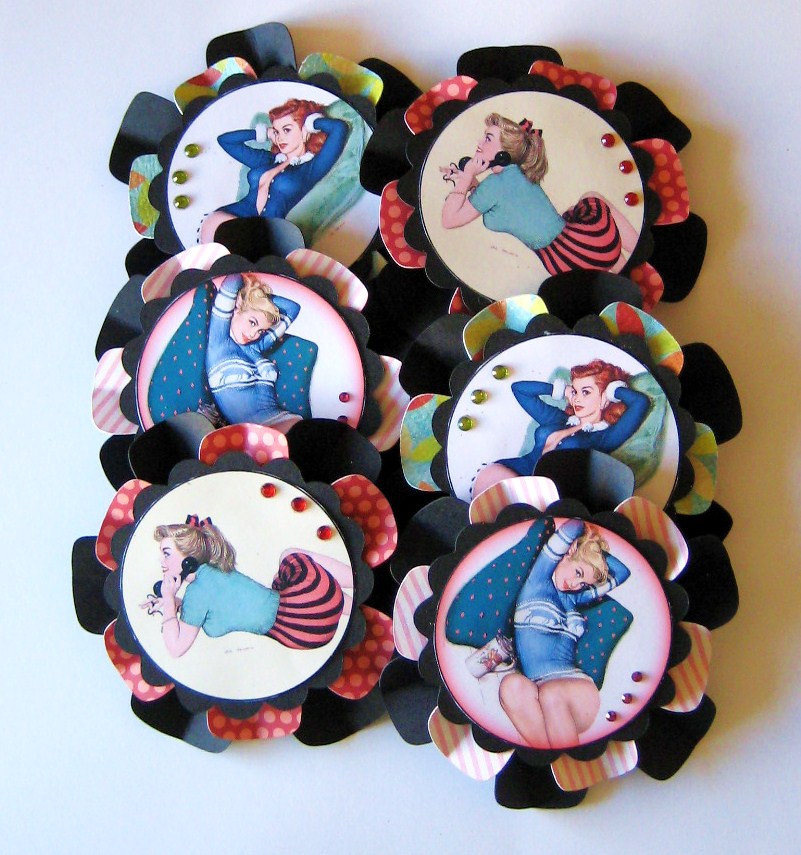
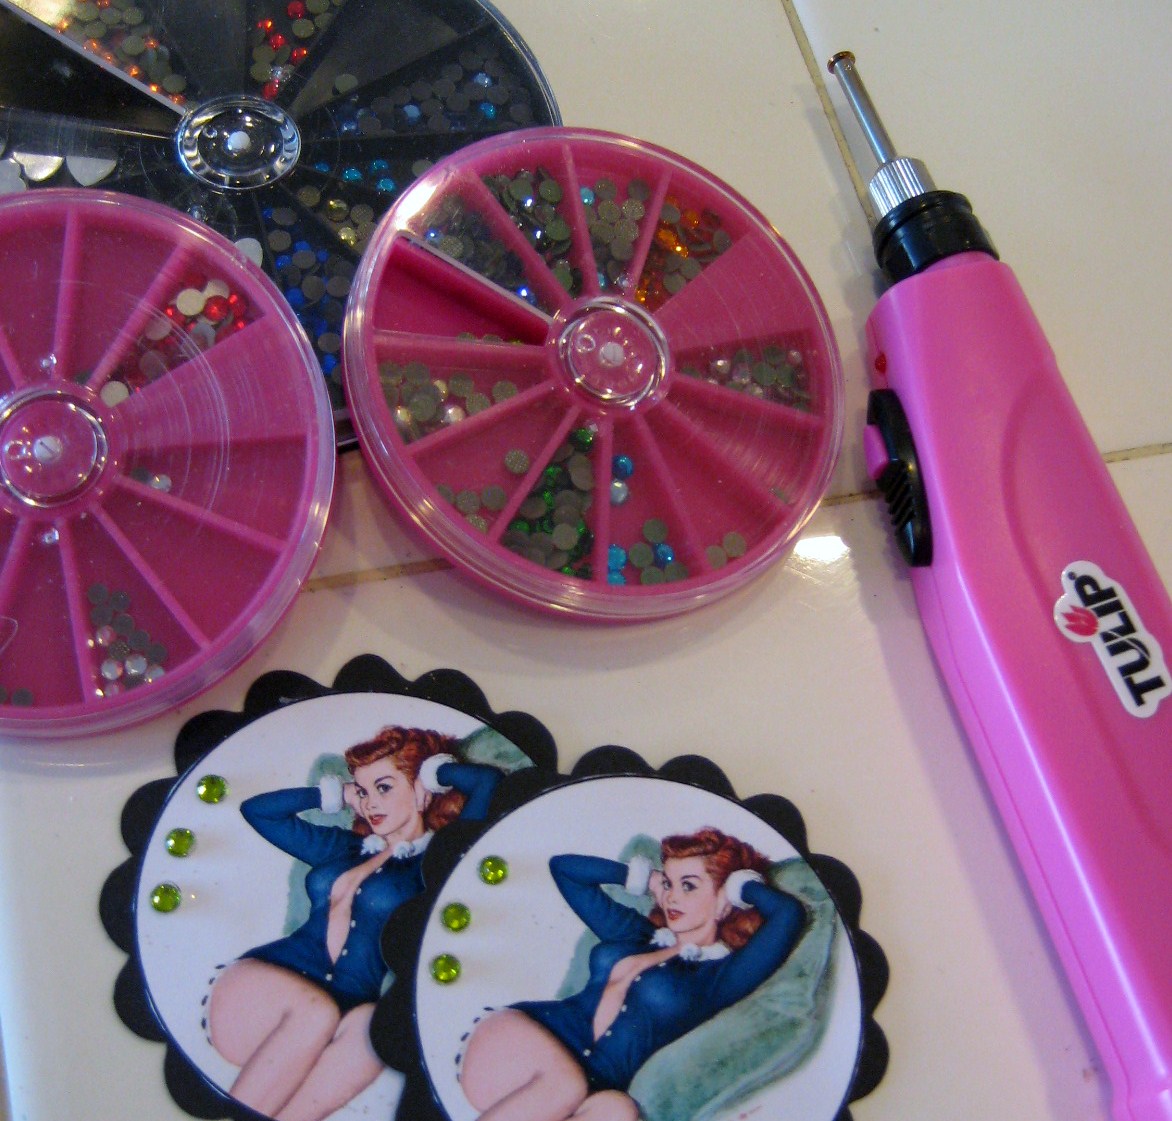
These vintage fair printables are just so absolutely breathtaking! I just put together a tutorial video in which I’ll show you how to make a hoop-in-hoop mixed media scrapbook wall art piece.

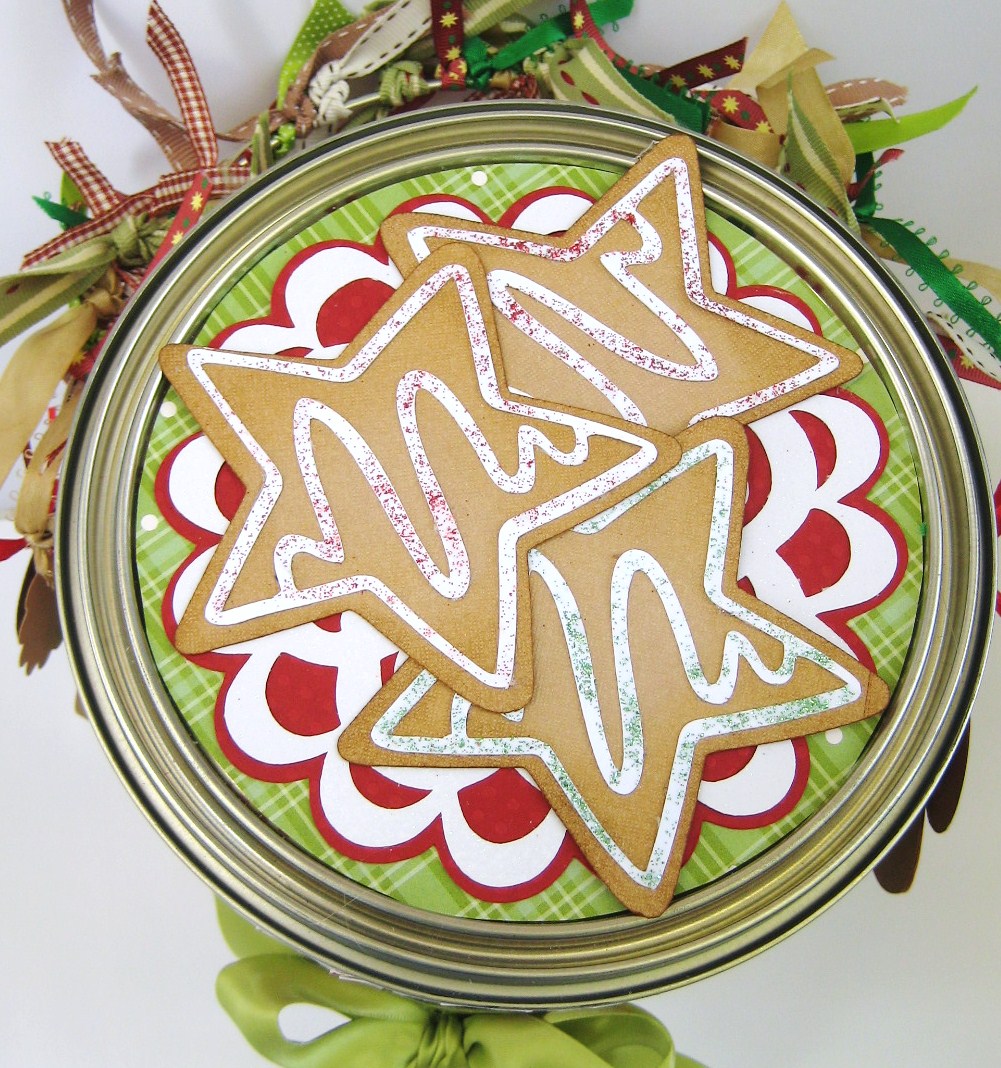
This would make an awesome gift too!

You can purchase items used in this video from the following links:

The Handmade Club Printables Website

Neenah 65lb Cardstock

Prima Marketing Heavy White Gesso

Monvict Glue Gun

Art Glitter Glue​​​​

Multi-Sized Embroidery Hoop Set

Diamond Stickles

Detail Scissors

Thanks so much!

You can follow me on Facebook, Instagram, and YouTube.

Please subscribe for updates and share with your friends. Happy crafting!

xoxo

Genevieve

Bella Stitchery

PS – my YouTube channel uses affiliate links. These commissions are at no cost to you.

card classes, card kits, card lots, card making, card making idea, card techniques, cards, craft ideas, craft supplies, crafting, crafts

Limited Edition Vintage Bee Card Kit

bee kit 3

Hope you enjoy this fun, limited edition bee card kit! 

I fell in love with these darling bee printables from Dots Inspiration Shop and couldn’t wait to put them together into a one-of-a-kind card collection!

With purchase, you’ll receive all the materials needed to create these lovely works of art. I have pre-cut everything and tied all the bows for your convenience as well.

The only items needed will be:

The rest is just a matter of piecing all the embellishments together with adhesive.

Your kit will include 2 cellophane baggies. Each baggie contains the ingredients for two of the cards + their envelopes.

Find the following embellishments for each card and glue together…


CARD 1:


CARD 2:


CARD 3:


CARD 4:


Kits are packed and ready to ship now! Quantities are limited. You can find the listing in my Etsy shop.

Please let me know if you have any questions along the way or if there are any kinds of themes/colors you’d like to see in future kits!

Thanks so much, my friends, and happy crafting!

xoxo

Genevieve

Bella Stitchery

arts and crafts, craft ideas, craft supplies, craft tips, crafting, crafts, custom crafts, diy, Fun with Crafts, handmade crafts, paper crafting, paper crafting ideas, paper crafts, Uncategorized, unique crafts

DIY – Dyeing Seam Binding and Lace

I love using vintage looking accents in my cards and scrapbook pages.

I’ve learned several ways to dye my ribbons and trims, using various ink and paint brands and am happy to share this trick with you!


Here are some examples of cards I’ve made using my hand dyed seam binding:

beach 3purple and brown birthday 2kids on beach 3

Here are the supplies used in the video:

Distress Oxide

1

Dylusions Ink Sprays

2

Lindy’s Magicals

3

Hug Snug Seam Binding

4

Thanks so much for stopping by!

Please let me know what you think, and happy crafting!

xoxo

Genevieve


art, bella stitchery, craft ideas, embroidery, fabric piecing, fiber art, fusing, gift ideas, handmade, hotels, joann, lion, quilt guild, quilting, red lion, ricky tims, sales, white bluffs quilting museum

Sales Material

One of my favorite things about being a sales manager at Red Lion is that I can stretch my creativity when it comes to client gifts.
I am in the process of signing a contract with a quilting convention and am giving them a site tour Monday morning.
Now, I don’t quilt myself, but I do love fabric!  I decided to make this embroidery hoop fiber art for my client.  I’m putting it in the room, along with cookies and a welcome card for check-in tomorrow.

I used some fun fabric that I found at JoAnn.  I attached some Steam-A-Seam to the red fabric and then hand-cut the pattern from the Red Lion logo that I printed on to paper. 
I taped the paper to the back of my red fabric, put it against the window and traced it with a black marker. Then, I cut it by hand.
After that, I ironed the pieces to the white fabric. The Steam-A-Seam bonded them together so I didn’t have to stitch it at all. Super easy!

I can’t WAIT to hear about how it goes over tomorrow – wish me luck!!
xoxo
Genevieve
Bella Stitchery

1950's, 1960's, art, coffee ads, coffee posters, coffee stain, craft ideas, diy, do it yourself ideas, dunkin donuts, dying fabric, finished cross stitch, kitchen, retro ads, staining fabric

Get Your Retro On

I recently finished this darling retro coffee ad for my kitchen,
but I was sorry that I used such a bright white fabric. 
It just didn’t seem to match the 1950’s tone of the pattern.
Here is the finished piece with the white fabric:
Well?  I thought I would try dying the fabric in coffee to see how it would turn out. 
Having never done it before, I was a little nervous,
 seeing how I already had stitched the entire thing (I’ll never get those four months back…)
I started with really diluted coffee, since I wasn’t sure what the result would be and then slowly added more of the coffee into the bowl to darken it.
I checked the fabric every 10 minutes or so. 
When I was happy with it, I rinsed it out with fresh water and let it hang dry. 
 Then, I ironed it out and framed it with a walnut frame I found at a flea market (perfect size!)
I probably could have gone a bit darker, too, but I didn’t want to alter the color of thread too much.  Hope this inspires you to play with dying your own fabric – it’s really quite easy and lots of fun!
Happy crafting!
xoxo
Genevieve
altered art, antique decor, art, cosmo cricket, country decor, craft ideas, cricut, die cuts, gen's scrapbook kitchen, gretel, home, home decor, paper crafting, retro decor, scrapbooking, wall hanging, wood blocks

Home is where the ART is.

I love finding new ways to use paper!
I made these fun wooden plaques using the $1 wood ovals from Michaels.
I painted the sides with dark brown and then used hot glue on the front to paste down my favorite Cosmo Cricket Gretel paper.  I sanded the paper to give it a good edge, flush with the wood and to antique it a bit.
The letters were cut from my Cricut and then decorated with lots of little flowers, ribbon and buttons.
I stapled some gingham ribbon on the back of each piece of wood when I was finished.
It’s a fun, easy project, and a great way to display your favorite paper patterns.
craft ideas, cricut, cupcake toppers, embellishments, flowers, how to make paper flowers, how to make rosettes, paper crafting, pin-ups, rosettes

Make Your Own 3D Rosette Flowers

Wanna make some fun, 3D embellishments?
No special glasses required ~ these babies just POP with layers!
Here are the materials needed:
*scissors
*pop up adhesive
*glue gun
*rhinestones
*card stock
*images
First, cut out the images you want to use (you can use digital collages, or even just punch out sections of pretty paper).  I cut mine as 2 inch circles.
Next, use your scallop icon in your Storybook cartridge to cut out a black layer 2.5 inches for behind your image.
I used the flower icon (shown below) from the Plantin cartridge to make my flower layers.  I cut one about 3.25 inches and then a black layer about 3.75 inches.
When they are cut, simply fold each layer in 1/2 (folding toward you) so that the edges of each flower petal stand up.  Do that with both your patterned paper and the black flowers.
Using foam squares, layer the flower sections together.
After hot-gluing your image to your scallop layer, add rhinestones.  I heat-set mine with a Tulip heat tool.
Now you can add them to your flowers with foam adhesive.
Simple as that! 
These are fabulous to use on scrapbook pages, cards, frames and invitations.  They make adorable party favors and cupcake toppers too!
You can check out my listing for these puppies, too, if you’d like to purchase some for yourself.
Enjoy, and happy crafting!
xoxo
Genevieve
bucket, cookie swap, craft ideas, cricut, custom art, custom crafts, gen's scrapbook kitchen, gingerbread men, holiday crafts, jingle bells, october afternoon, winter wishes

Cookie Swap Bucket

Just finished this custom bucket order.  It was so much fun to work on!  It’s my first Christmas themed bucket order and I just love the way it turned out!
I used a lot of the Very Merry line from October Afternoon (one of my new favorite brands), as well as my new Winter Frolic cartridge from Cricut.
I made some glittery Christmas cookies using my SCAL software.  I inked the edges of each cookie to give it a “baked” look.
This tag was lots of fun too.  It’s all about paper piecing!  I made the gingerbread men by hand and added green brads for buttons.  I then inked and stitched the tag.
The hot chocolate tag was also made by hand using my Winter Frolic cartridge and a Swarovski crystal.
Finally, I added this HUGE green ribbon and attached some jingle bells with thread.  Yummy!
Interested in ordering a custom bucket?  You can check out my Etsy shop for details:
Thanks so much and have a very Merry Christmas!
XOXO
Genevieve
card classes, craft ideas, harvest, holiday cards, kitschy, las vegas events, paper piecing, scrappin time, thanksgiving cards, vintage images, vintage thanksgiving cards

Vintage Thanksgiving Card Class

Join me at Scrappin’ Time here in Las Vegas this Sunday to make these darling Vintage Thanksgiving cards!
November 7
1-3pm

Cost of the class is $25 and includes all the materials needed (please bring the basics: scissors, a strong adhesive such as Zip Dry, brown ink, and 3D foam adhesive).

Call the store at 702-898-7414 or stop by:
5915 South Eastern Avenue #106
Las Vegas, NV 89119

to reserve your seat!

Would you like to make the cards, but don’t have the time to come into the store for the class?

Kits are now available!!

When you call to reserve the class, just mention that you’d like the kit only and I’ll be sure to have it ready for you (along with pictures and detailed instructions for your convenience). You can also find ready-made kits at the store anytime before the class day (while they last). Just pick it up and scrap at your leisure!!

If you’re not here in Las Vegas, simply email me for a kit and I can ship it to you right away!

Thanks so much ~ hope to see you there!
XOXO
Genevieve
alternative patterns, artfire, buy one get one free, craft ideas, cross stitch patterns, needlecrafts, pin-ups, pop culture, sale, silhouettes, vintage images

BUY ONE GET ONE FREE SALE TODAY!

Special 24 hour sale:
BUY-1-GET-1-FREE
on all patterns at my ArtFire shop!
Orders must be made from the ArtFire shop. 
Simply email me with your choice for the free pattern after checkout, and I’ll include that one in your email as well. 
Here are some of my personal favorites:
Thanks so much and happy crafting!