altered art, art, arts and crafts, baby pages, baby shower, craft ideas, craft tips, crafting, crafting pages, custom art, gen's scrapbook kitchen, handmade scrapbook, scrapbook, scrapbook blogs, scrapbook ideas, scrapbook layouts, scrapbook page, scrapbook pages, scrapbook sketches, scrapbooking, scrapbooking ideas, shabby art boutique, shabby chic, shabby chic layouts

Spring Fair Carousel Scrapbook Hoop

I’m thrilled to share the March 2021 Handmade Club kit with you! This fair is so dreamy and delicious – I can practically taste the candy apples!

These vintage fair printables are just so absolutely breathtaking! I just put together a tutorial video in which I’ll show you how to make a hoop-in-hoop mixed media scrapbook wall art piece.

This would make an awesome gift too!

You can purchase items used in this video from the following links:

The Handmade Club Printables Website

Neenah 65lb Cardstock

Prima Marketing Heavy White Gesso

Monvict Glue Gun

Art Glitter Glue​​​​

Multi-Sized Embroidery Hoop Set

Diamond Stickles

Detail Scissors

Thanks so much!

You can follow me on Facebook, Instagram, and YouTube.

Please subscribe for updates and share with your friends. Happy crafting!

xoxo

Genevieve

Bella Stitchery

PS – my YouTube channel uses affiliate links. These commissions are at no cost to you.

art, bella stitchery, craft ideas, embroidery, fabric piecing, fiber art, fusing, gift ideas, handmade, hotels, joann, lion, quilt guild, quilting, red lion, ricky tims, sales, white bluffs quilting museum

Sales Material

One of my favorite things about being a sales manager at Red Lion is that I can stretch my creativity when it comes to client gifts.
I am in the process of signing a contract with a quilting convention and am giving them a site tour Monday morning.
Now, I don’t quilt myself, but I do love fabric!  I decided to make this embroidery hoop fiber art for my client.  I’m putting it in the room, along with cookies and a welcome card for check-in tomorrow.

I used some fun fabric that I found at JoAnn.  I attached some Steam-A-Seam to the red fabric and then hand-cut the pattern from the Red Lion logo that I printed on to paper. 
I taped the paper to the back of my red fabric, put it against the window and traced it with a black marker. Then, I cut it by hand.
After that, I ironed the pieces to the white fabric. The Steam-A-Seam bonded them together so I didn’t have to stitch it at all. Super easy!

I can’t WAIT to hear about how it goes over tomorrow – wish me luck!!
xoxo
Genevieve
Bella Stitchery

1950's, 1960's, art, coffee ads, coffee posters, coffee stain, craft ideas, diy, do it yourself ideas, dunkin donuts, dying fabric, finished cross stitch, kitchen, retro ads, staining fabric

Get Your Retro On

I recently finished this darling retro coffee ad for my kitchen,
but I was sorry that I used such a bright white fabric. 
It just didn’t seem to match the 1950’s tone of the pattern.
Here is the finished piece with the white fabric:
Well?  I thought I would try dying the fabric in coffee to see how it would turn out. 
Having never done it before, I was a little nervous,
 seeing how I already had stitched the entire thing (I’ll never get those four months back…)
I started with really diluted coffee, since I wasn’t sure what the result would be and then slowly added more of the coffee into the bowl to darken it.
I checked the fabric every 10 minutes or so. 
When I was happy with it, I rinsed it out with fresh water and let it hang dry. 
 Then, I ironed it out and framed it with a walnut frame I found at a flea market (perfect size!)
I probably could have gone a bit darker, too, but I didn’t want to alter the color of thread too much.  Hope this inspires you to play with dying your own fabric – it’s really quite easy and lots of fun!
Happy crafting!
xoxo
Genevieve
altered art, antique decor, art, cosmo cricket, country decor, craft ideas, cricut, die cuts, gen's scrapbook kitchen, gretel, home, home decor, paper crafting, retro decor, scrapbooking, wall hanging, wood blocks

Home is where the ART is.

I love finding new ways to use paper!
I made these fun wooden plaques using the $1 wood ovals from Michaels.
I painted the sides with dark brown and then used hot glue on the front to paste down my favorite Cosmo Cricket Gretel paper.  I sanded the paper to give it a good edge, flush with the wood and to antique it a bit.
The letters were cut from my Cricut and then decorated with lots of little flowers, ribbon and buttons.
I stapled some gingham ribbon on the back of each piece of wood when I was finished.
It’s a fun, easy project, and a great way to display your favorite paper patterns.
altered art, art, bling, card ideas, card making, computers, hand embroidery, mixed media, mom, ribbon, scrapbooking, skateboards, skulls, tattoos, video games, watercolor, x-box

Cross Crafting

I’m a lover of crafts.  If I can make something with my hands, I’m all over it (except for cooking dinner).  Sometimes I just like to wander the craft store isles and find ideas for new crafts…until I remind myself of all the 1/2 finished projects waiting for me at home!
When two of my artistic passions come together, well, it’s just magical.  I’ve enjoyed merging my love of embroidery with card making.  Sure, each card can take a week to make, but it’s

a lot of fun to work on and I love that each piece is truly one-of-a-kind.

Here are some of my recent projects using embroidery in my greeting cards:
Really happy with this one. I used glitter and watercolor pencil on it as well. You can check it out on Etsy for more photos.
This was one of the first big embroidery project cards for me (more pictures on Etsy).  I had this piece next to my couch every night until I had finished the pattern.  This project took me through America’s Next Top Model and American Idol several times…
The power button card below has kind of a funny story attached.  I made it one night and showed my hubby when he came home.  I said, “Look!  It’s an X-Box card!  Isn’t that awesome?!” and he gave me a questioning look.  I said, “See?  It’s the button that’s on the X-Box!” 
He walked over to the computer and pointed to the screen, then the speakers, then the TV remote.  I hadn’t realized that it was the universal POWER button.  LOL! 
Well, to me, it will always mean X-Box (that’s why I chose the card stock and colors, too).
Such versatility with skulls now days!  Who knew???  🙂  This girly one was also embellished with watercolor pencils and bling.  I like the cupcake card stock and satin bow, too.
That completes my embroidered card tour.  Hope it inspires you to mix and match your favorite crafts!
art, card techniques, craft interview, etsy greetings, handmade cards, love, paper cutting, paper piecing, pop up cards, spring cards, unique crafts

Interview with Karin from Intertwingle

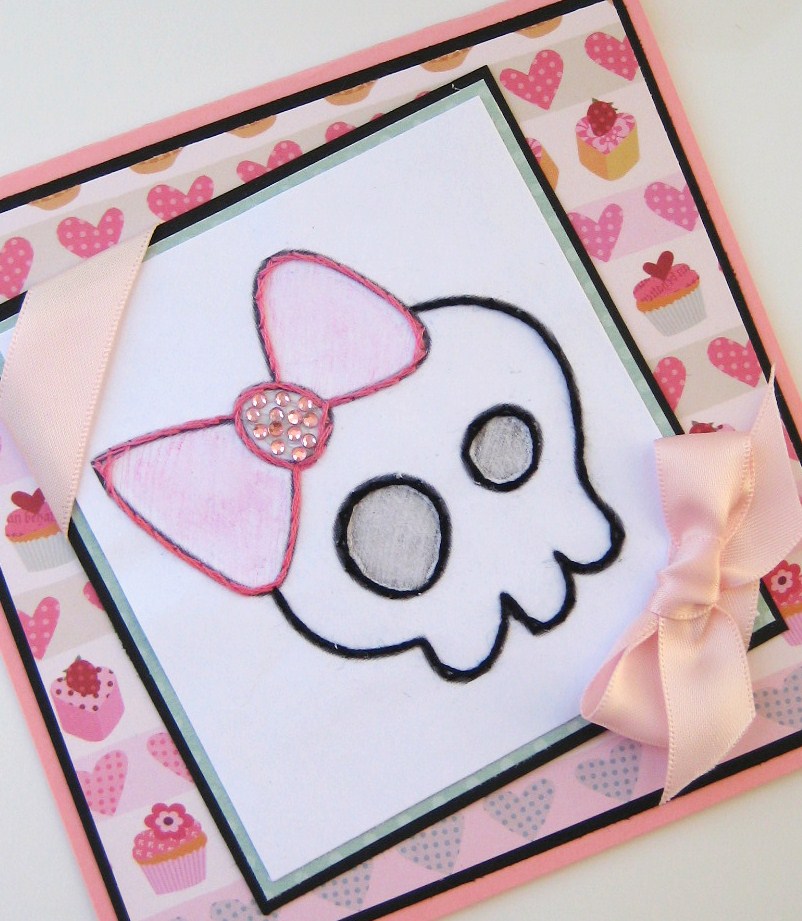
It’s always such a joy to find an amazing crafter and then have the opportunity to chat with them for a bit.  Karin from Interwingle has some of the most intricate pop-up designs and I am so excited to share her world with you!

Here’s what Karin has to say about her art:

How long have you been making pop-up cards?

I think it has been about 5 years. I have not fully utilized the medium or been more formally a pop-up creator until the last 2 years. I dabbled in pop-ups over my lifetime, in graphic arts school I created a pop-up business card, that was a while ago ;).

What is your favorite piece?

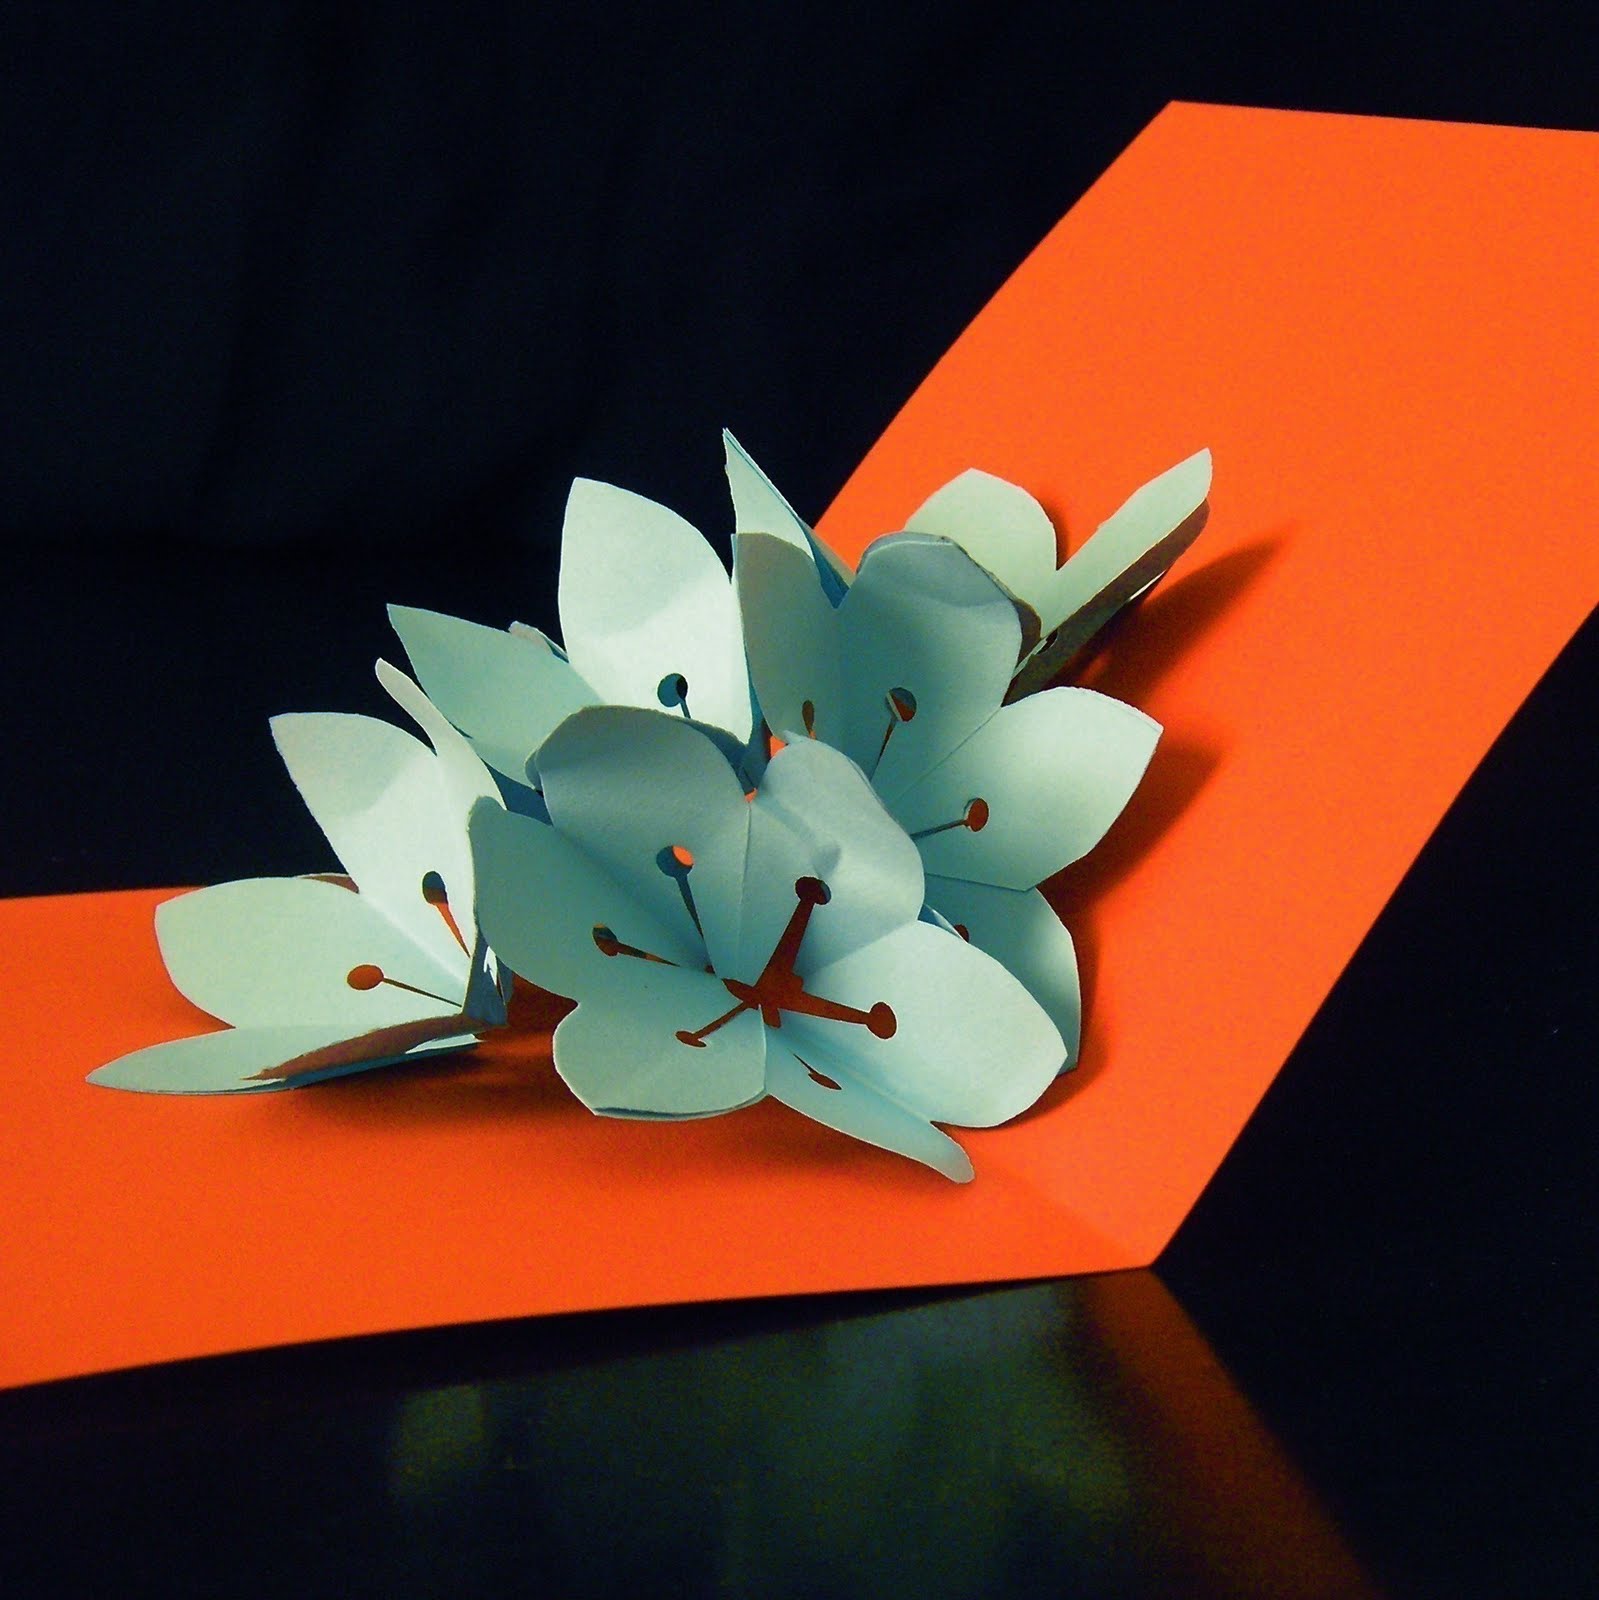
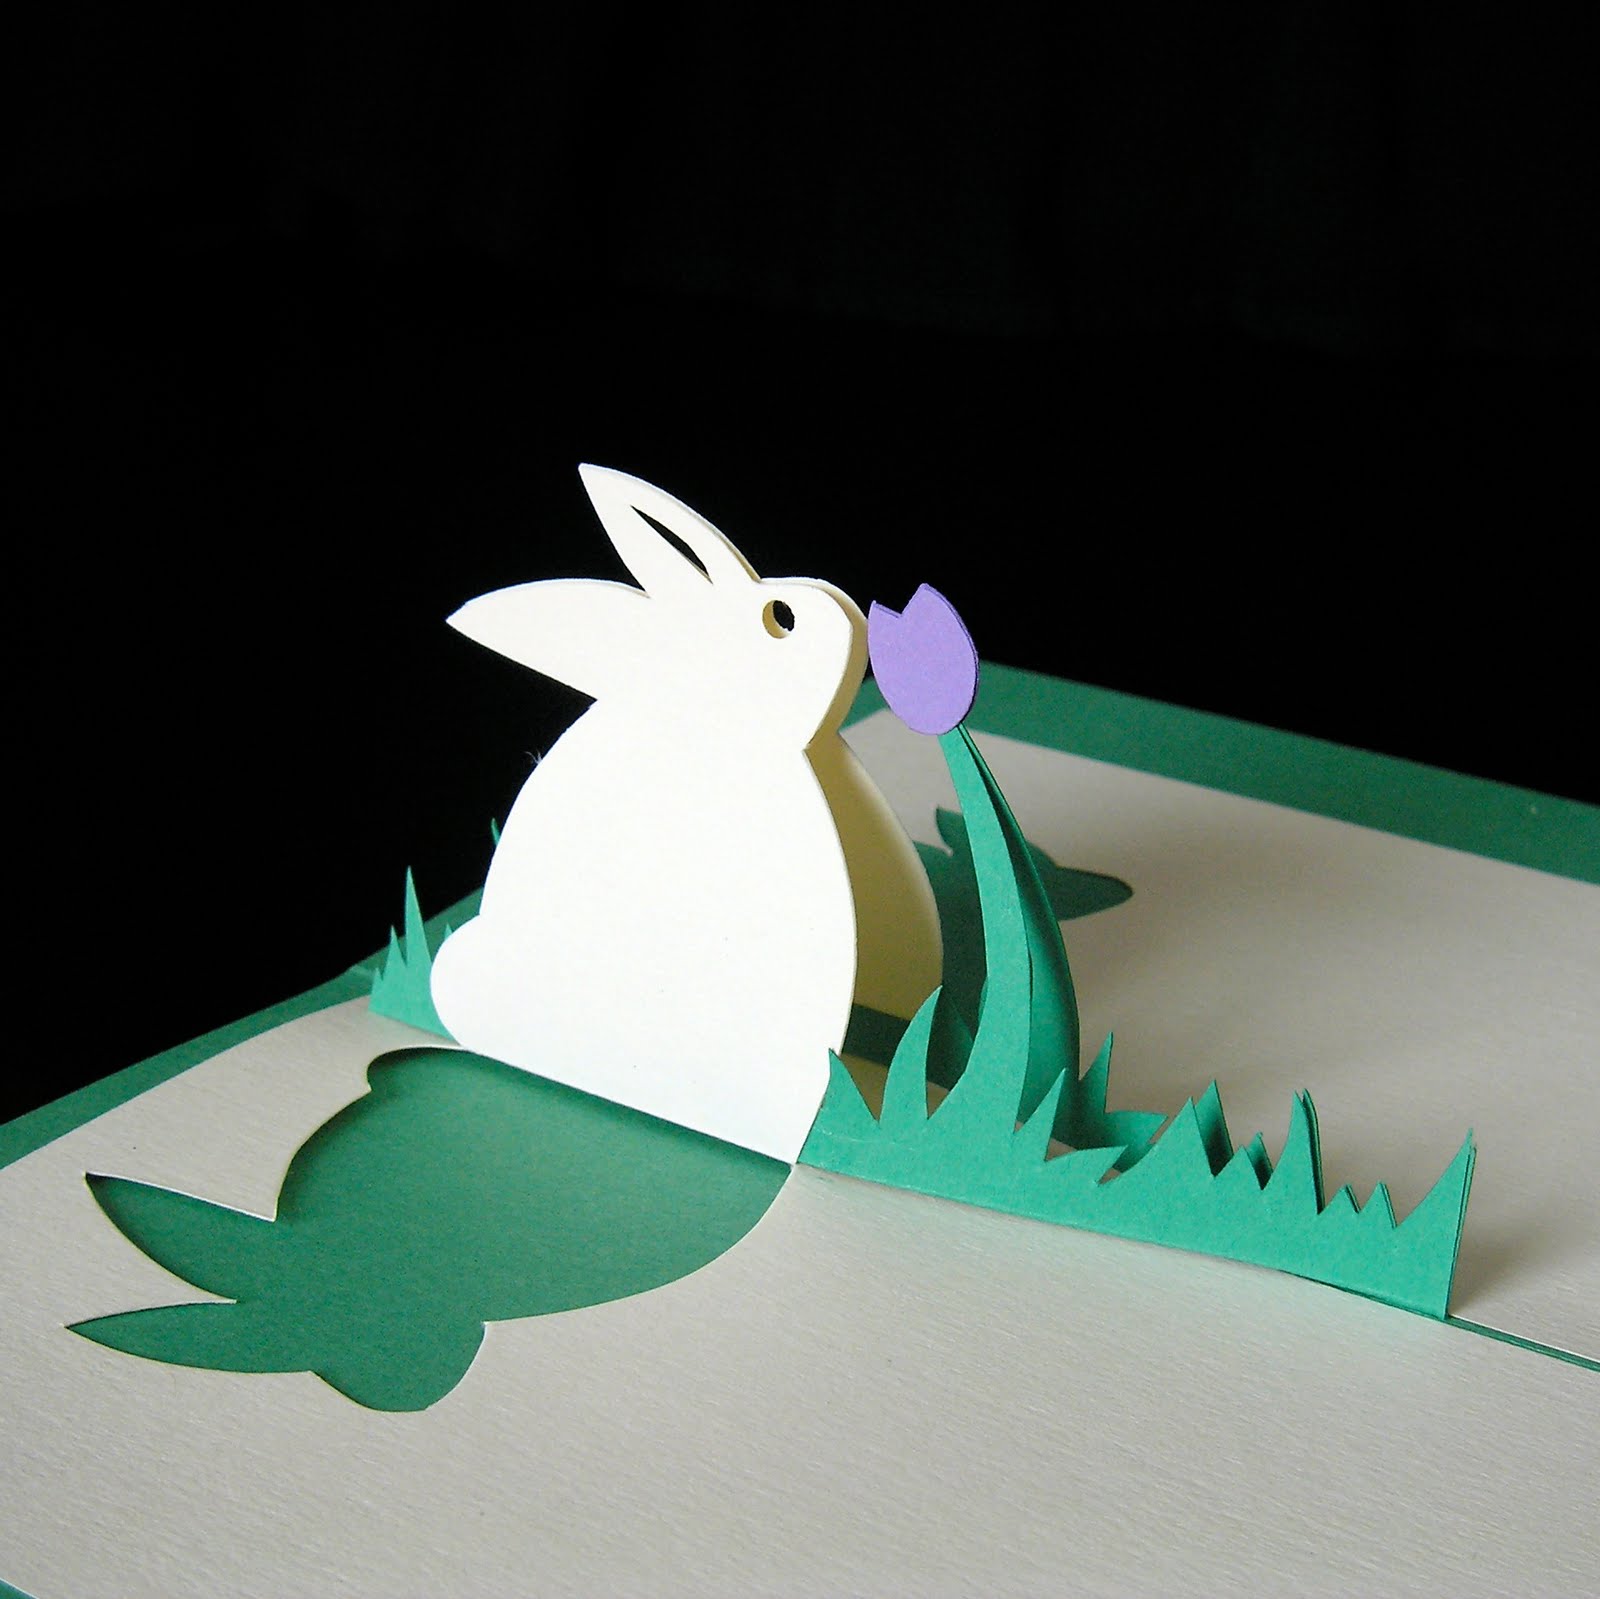
I think my favorite pop-up is usually the one I am working on. Right now I love my Gross Love card. The was true labor. There are 5 layers that come together to create the image you see.

Where do you get your inspiration? How do you come up with ideas for new cards?

I wish I knew my inspirations. Lots of times it isn’t anything earth shattering. I may be inspired by an upcoming holiday or event. I love making Valentine’s cards. Back to my Gross Love card, that has a more interesting inspiration story. I friend of mine lost her 7-year battle with Breast Cancer about a month before Valentine’s Day. Her parents are simply bizarre, I won’t elaborate further, but to the surprise of all of her friends her parents informed us that they donated her body to science. Her body was actually donated to the college where she took gross anatomy, her professor still works there, he taught her and is now going to be “studying” her. Now don’t get me wrong I think it is a noble thing to donate your body to science but this just seemed weird and it seemed she would have rather been donated to a place were they study cancer, not muscles (it is a physical/occupational therapy school) and well, she didn’t donate her own body.

I couldn’t stop thinking of her on a dissection table and I needed to replace that image in my mind. There were no calling hours no casket at the funeral she was just gone. She was a very loving creative soul. I made this card to honor her. I made the bones more realistic and used a heart shape for to represent her heart. I made the heart the deep red because even though her body may be gone the love and laughter she poured into the world is what will last, it is what all her friends still feel and I prefer to think of her body as clean and white as if shrouded and at rest somehow. This card is what emerged out of all those swirling thoughts.

What is the most unusual request or custom order you’ve ever received?

People usually order my cards as-is aside from color changes from time to time.

Have you ever used these paper cutting techniques in any other type of craft?

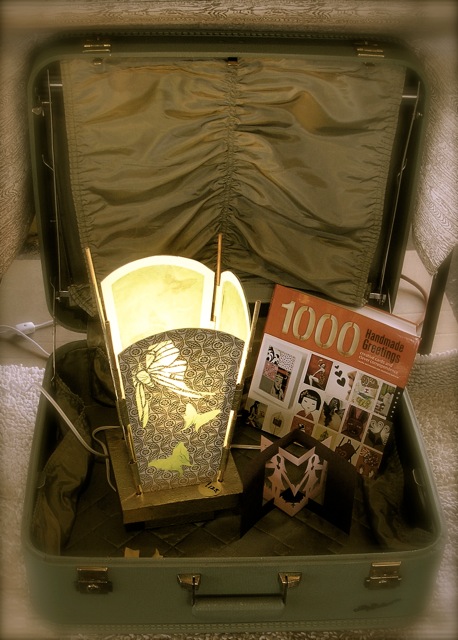
I do paper cutting of all kinds and have applied them to all sorts of crafts. I make lamps and lampshades that are completely fashioned from paper. The cut paper is beautiful with light shining through it. I create window valances, again it is lovely with the sun shining through. My cut paper designs were recently featured with 10 other artists in a book published by Lark Books called Paper Cuts: 35 Inventive Projects. I am starting to dapple in applying my cut paper designs to clay creations.

What are some designs that you’d like to attempt in the future?
 
I consider myself a multi-media artist and I want my work to reflect that more. I have a degree in graphic arts as well as a studio art degree in painting and ceramics. I am always interested in new art/craft mediums and I’d like to extend my work beyond cards. I’d like my etsy shop to reflect that as well. Having a 1-year-old limits the time I have to work but I can’t seem to tear myself away from him so the “future” may be farther away than I think! Having him in my life has been absolutely amazing. I would love to create a pop-up book for him. I am working on getting back to painting and I am exploring ways to merge paper cutting and painting to create thought provoking and beautiful images. As stated above I am also experimenting with oven-bake clay to bring some of my designs to life in different manifestations.
 

2010, art, cards, easter, eggs, free scrapbook supplies, green, lent, mixed media, photography, purple, spring, sunny days. seasons, vintage images

Lent

The beginning of Lent is a reminder that Easter is not too far away!  I’m still trying to get used to writing 2010 (so many scratched out checks…)

Here we are ~ weather getting warmer, birds chirping, bees chasing me when I take product photos outside.  Awwwwwwwwwww, Springtime must be around the corner!

I love walking through the local craft stores and seeing all the happy decor! The background props in these photos is from a cute Vintage looking egg wreath. I think it really adds a little extra coziness to the cards. 🙂