Happy Friday! Every week I post a free pattern download. They’re available for 24 hours. After that, you can find them in my Etsy and eBay shops.
New York City has the most famous skyline in the world. When one of my Facebook followers recommended a city/skyline pattern for this week’s Friday Freebie, I knew just what to make. Hope you have as much fun stitching this one as I did making it.
This piece will be about 11.25 x 17.25 inches, based on an 18 count fabric (308×204 stitches). The chart also includes a list of the DMC floss needed for the project.
Miss this week’s freebie? Not to worry – you can grab a copy of this cross stitch pattern from my Etsy shop here, too!
Great product photos are everything – whether you are using them on a blog, for sales, or to have your images re-pinned on Pinterest.
I am always looking to sharpen my skills. With a tight camera and lighting budget, I have to make do with what I have.
Below are some tips for using your iPhone to best show off your scrapbooking works of art. I used an iPhone 5s for these layouts.
1. Purchase a large white poster board from the craft store (around $1.00). It helps to clear the background in the pictures and provide a nice, neutral base. I like to use the shiny side too, in order to get the most out of my available light source.
2. Choose your poster board position carefully. As you can see, I like to have mine next to my craft room window. I also used a standing OTT light to the right, to help balance the light (you don’t want a lot of shadows).
Here is the view of my “photo studio” wall.
3. Stick a piece of tape behind the layout and affix it to the board.
4. Take the photo using some kind of stabilizing structure. I don’t have a tri-pod, so I usually use my desk with a box on it to help hold the phone steady. Take several pictures so you can choose the best one.
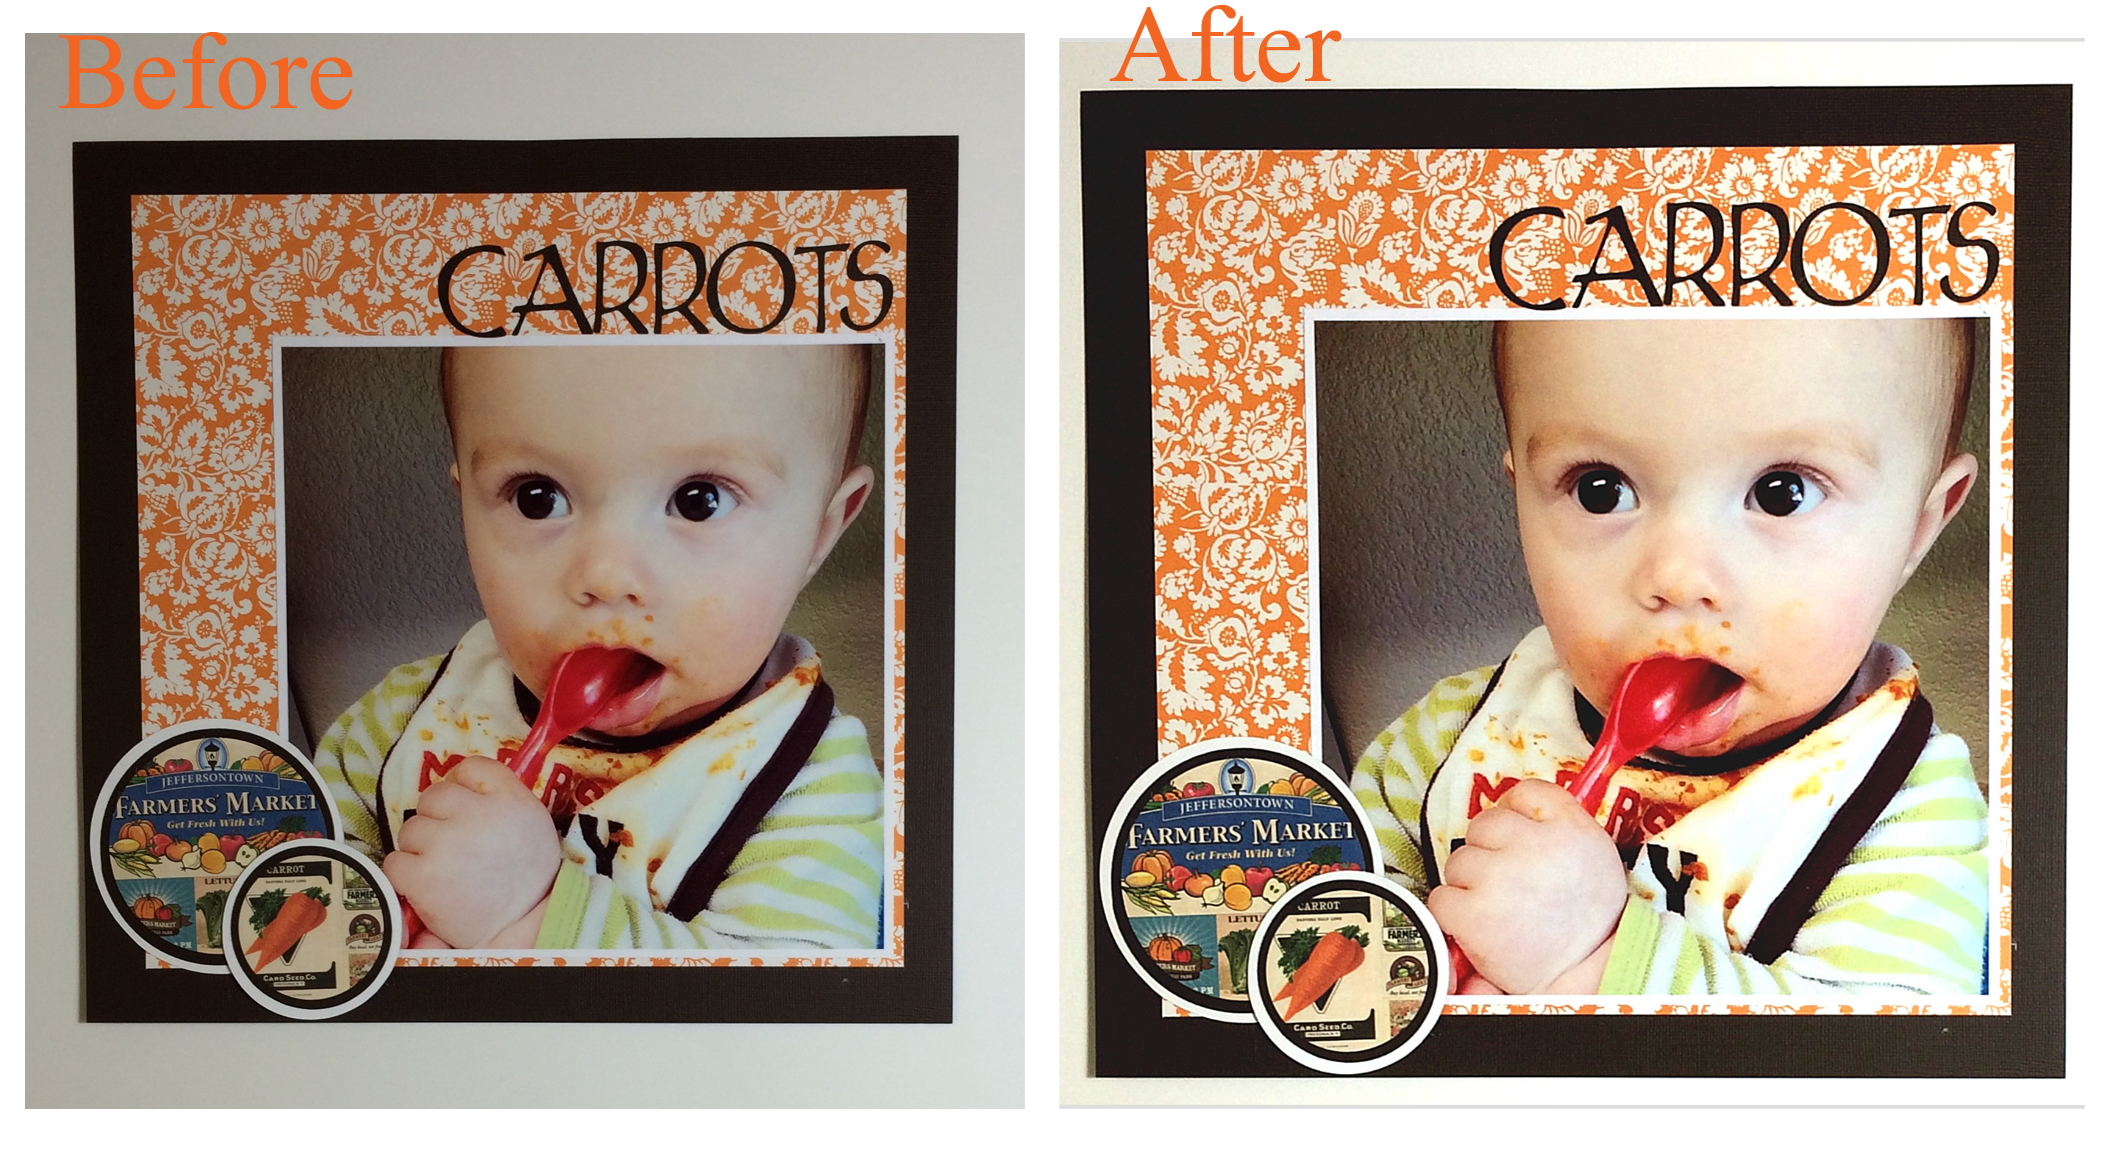
5. I then clean up the image using either www.fotoflexer.com (a free site) or Afterlight (a $.99 app). You can use these to play with shadows and lighting, crop and rotate, etc. I also use Photoshop Elements 5.0 at the very end to add white paint to the background, making it as bright as possible.
Before and after editing my pictures.
That’s it! Now you can save and share your masterpieces!
With these tips, you can make sure your artwork is the focus – not a messy background.
Living in Las Vegas with a Vintage, Shabby Chic spirit can be challenging at times. I dream of lovely overgrown acres where children run barefoot while dancing with fireflies. Chipped white paint. Antique tea cups with mis-matched place settings. Dining outdoors under a chandelier suspended from an overgrown tree. That’s not much to ask for right?
Well, these are the things I think of when photographing my crafts. I want to inspire that sense of warmth and snugly appeal. A few of my favorite tricks:
*Lightening up my photos* Even when I take outdoor pictures (I almost always do them outside now), I still take the time to lighten them up a bit. It makes everything look a little brighter and softer.
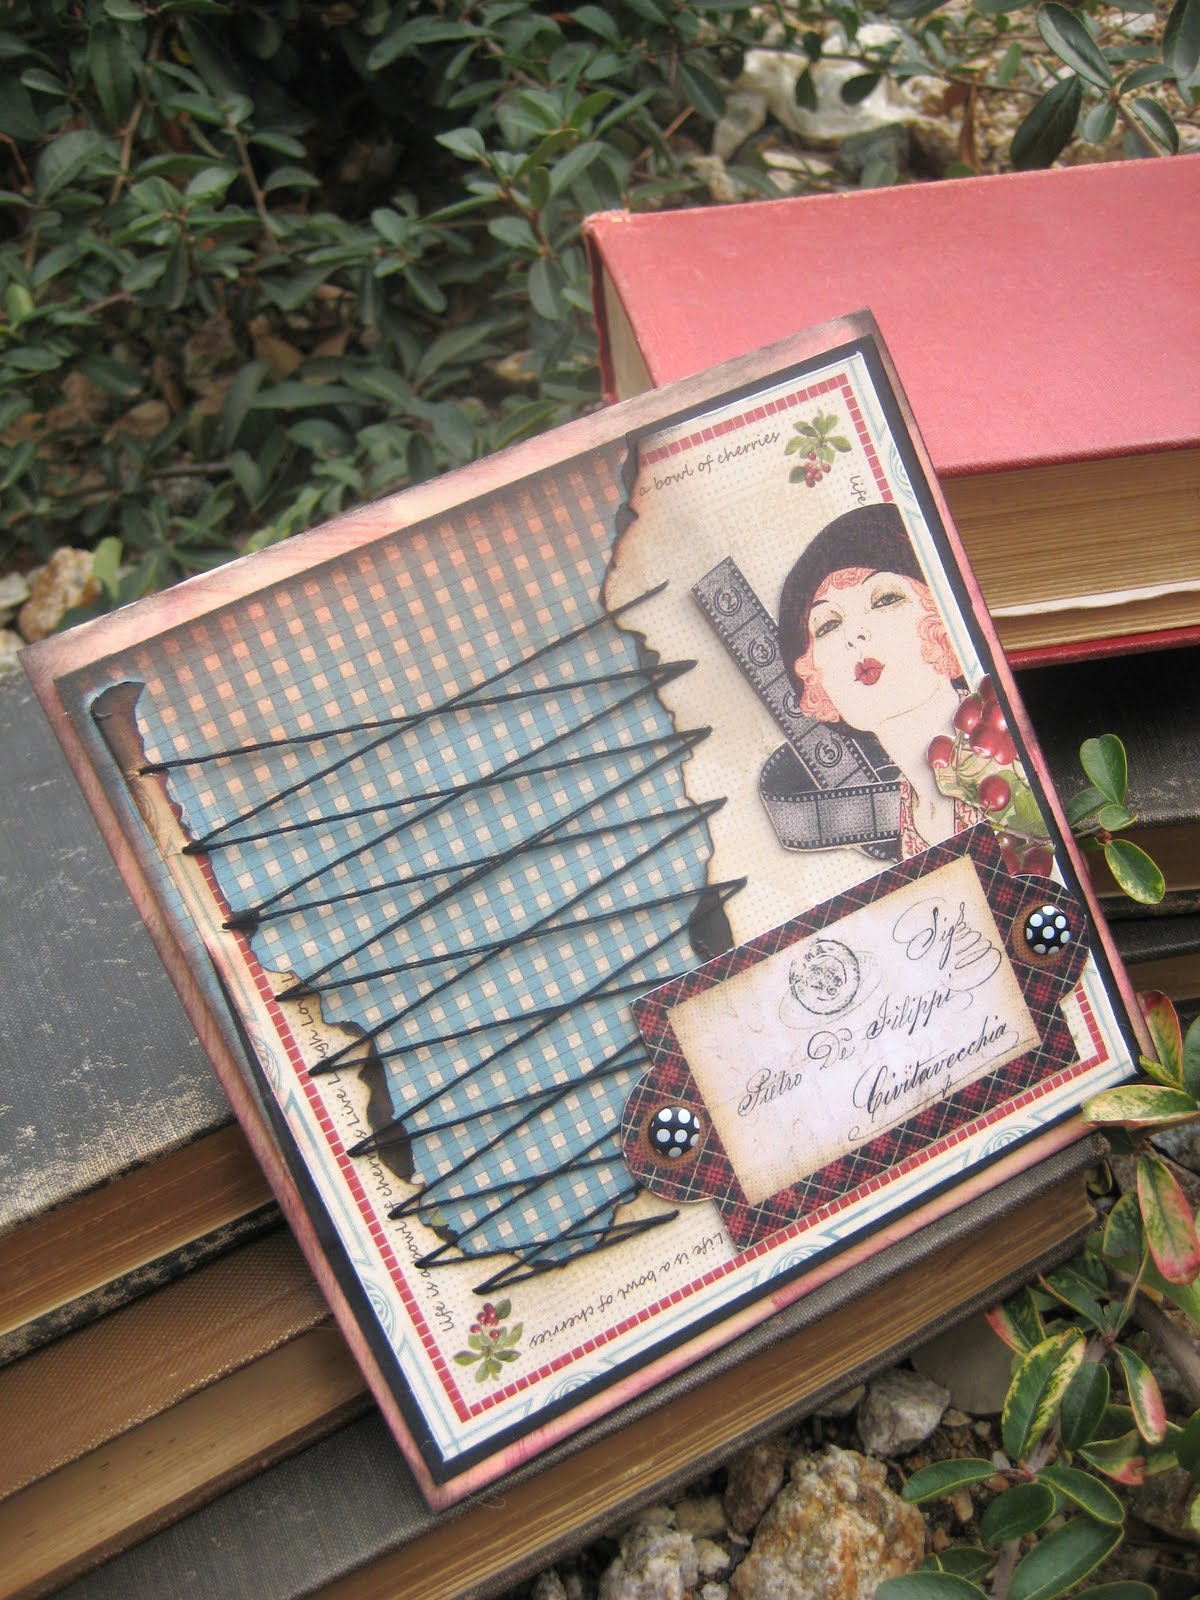
*Close shots with some “props” in the background* I like to add to the style of card I’m working on. On the pieces below, I wanted to use a little nature and some old books. I’m so happy with the results!
These cards are available at my hubby’s, Just Write Blog, this month:
Now I can imagine a babbling brook in the background, instead of a topless boggle tournament billboard. Much better…
The beginning of Lent is a reminder that Easter is not too far away! I’m still trying to get used to writing 2010 (so many scratched out checks…)
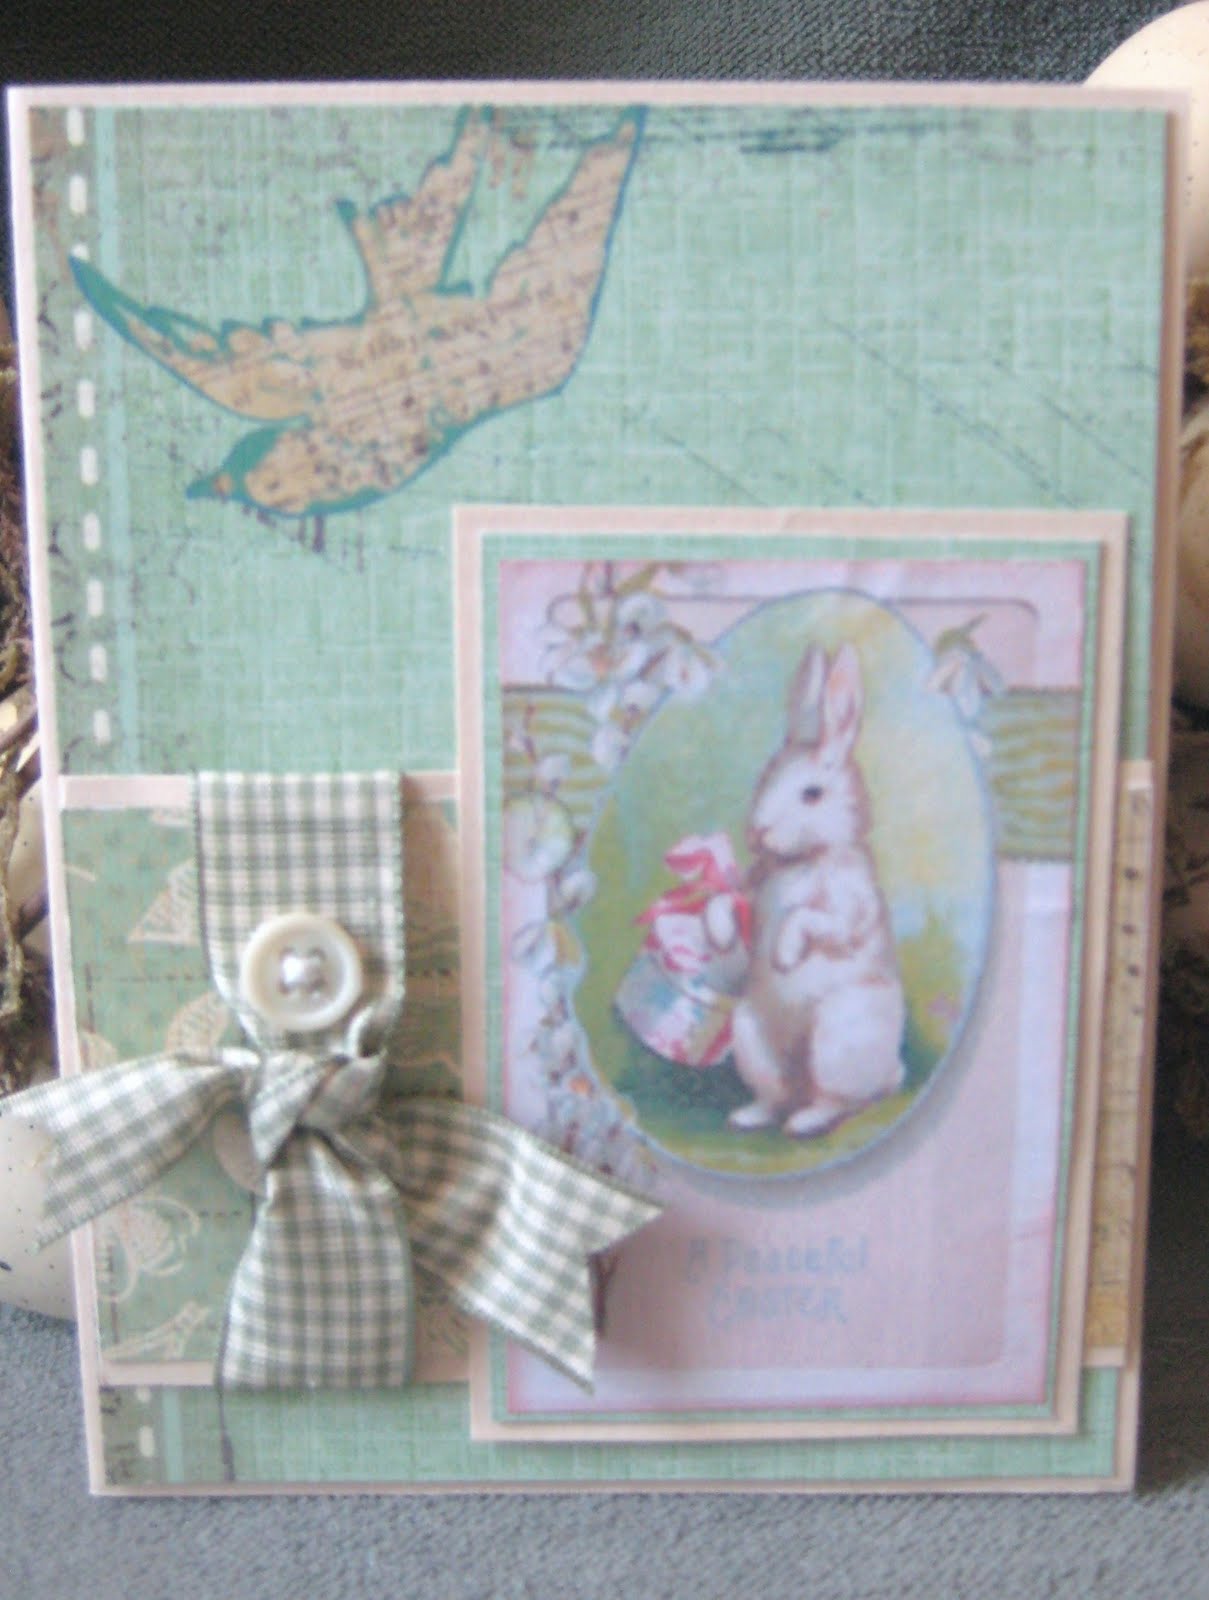
Here we are ~ weather getting warmer, birds chirping, bees chasing me when I take product photos outside. Awwwwwwwwwww, Springtime must be around the corner!
I love walking through the local craft stores and seeing all the happy decor! The background props in these photos is from a cute Vintage looking egg wreath. I think it really adds a little extra coziness to the cards. 🙂


