boy scrapbook pages, easy scrapbook pages, family scrapbook layout, gen's scrapbook kitchen, handmade scrapbook, scrapbook, scrapbook blogs, scrapbook ideas, scrapbook layouts, scrapbook page, scrapbook pages, scrapbook sketches, scrapbooking, scrapbooking ideas

One Layout Sketch – 5+ Possibilities!

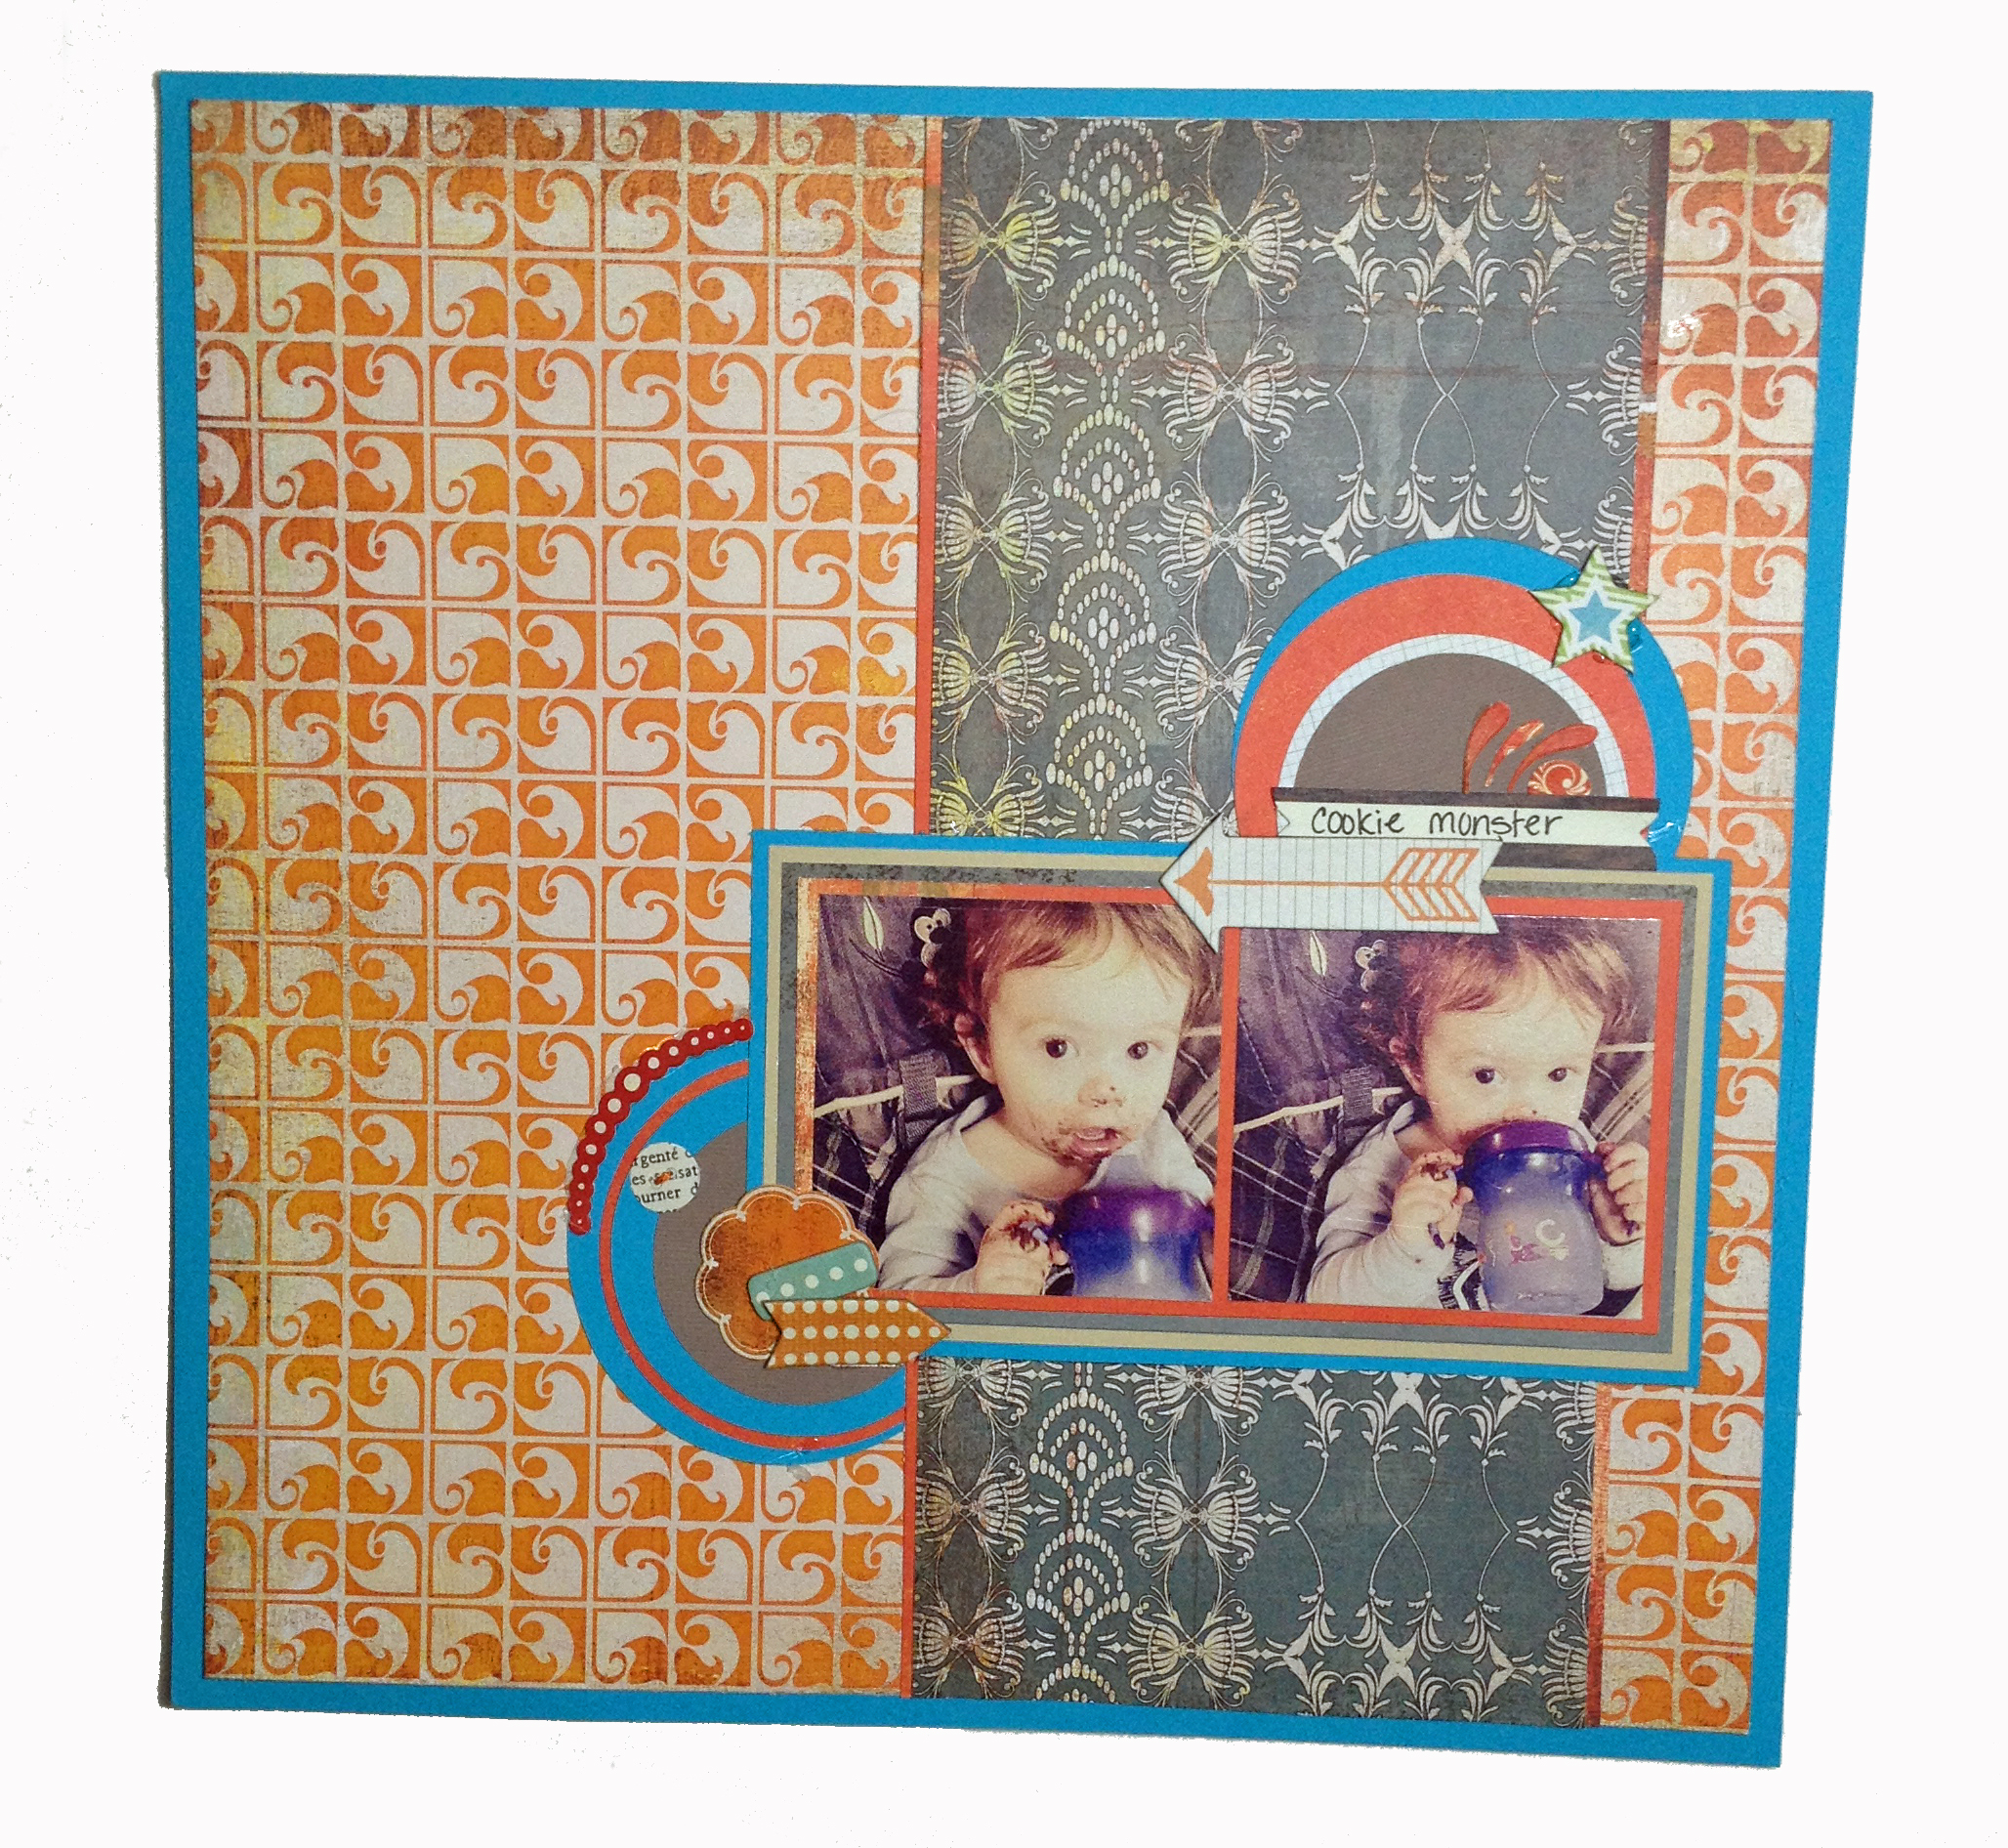
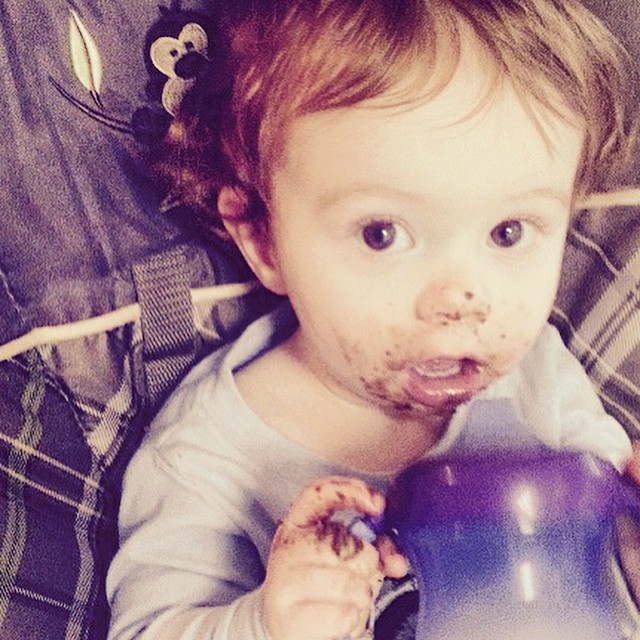
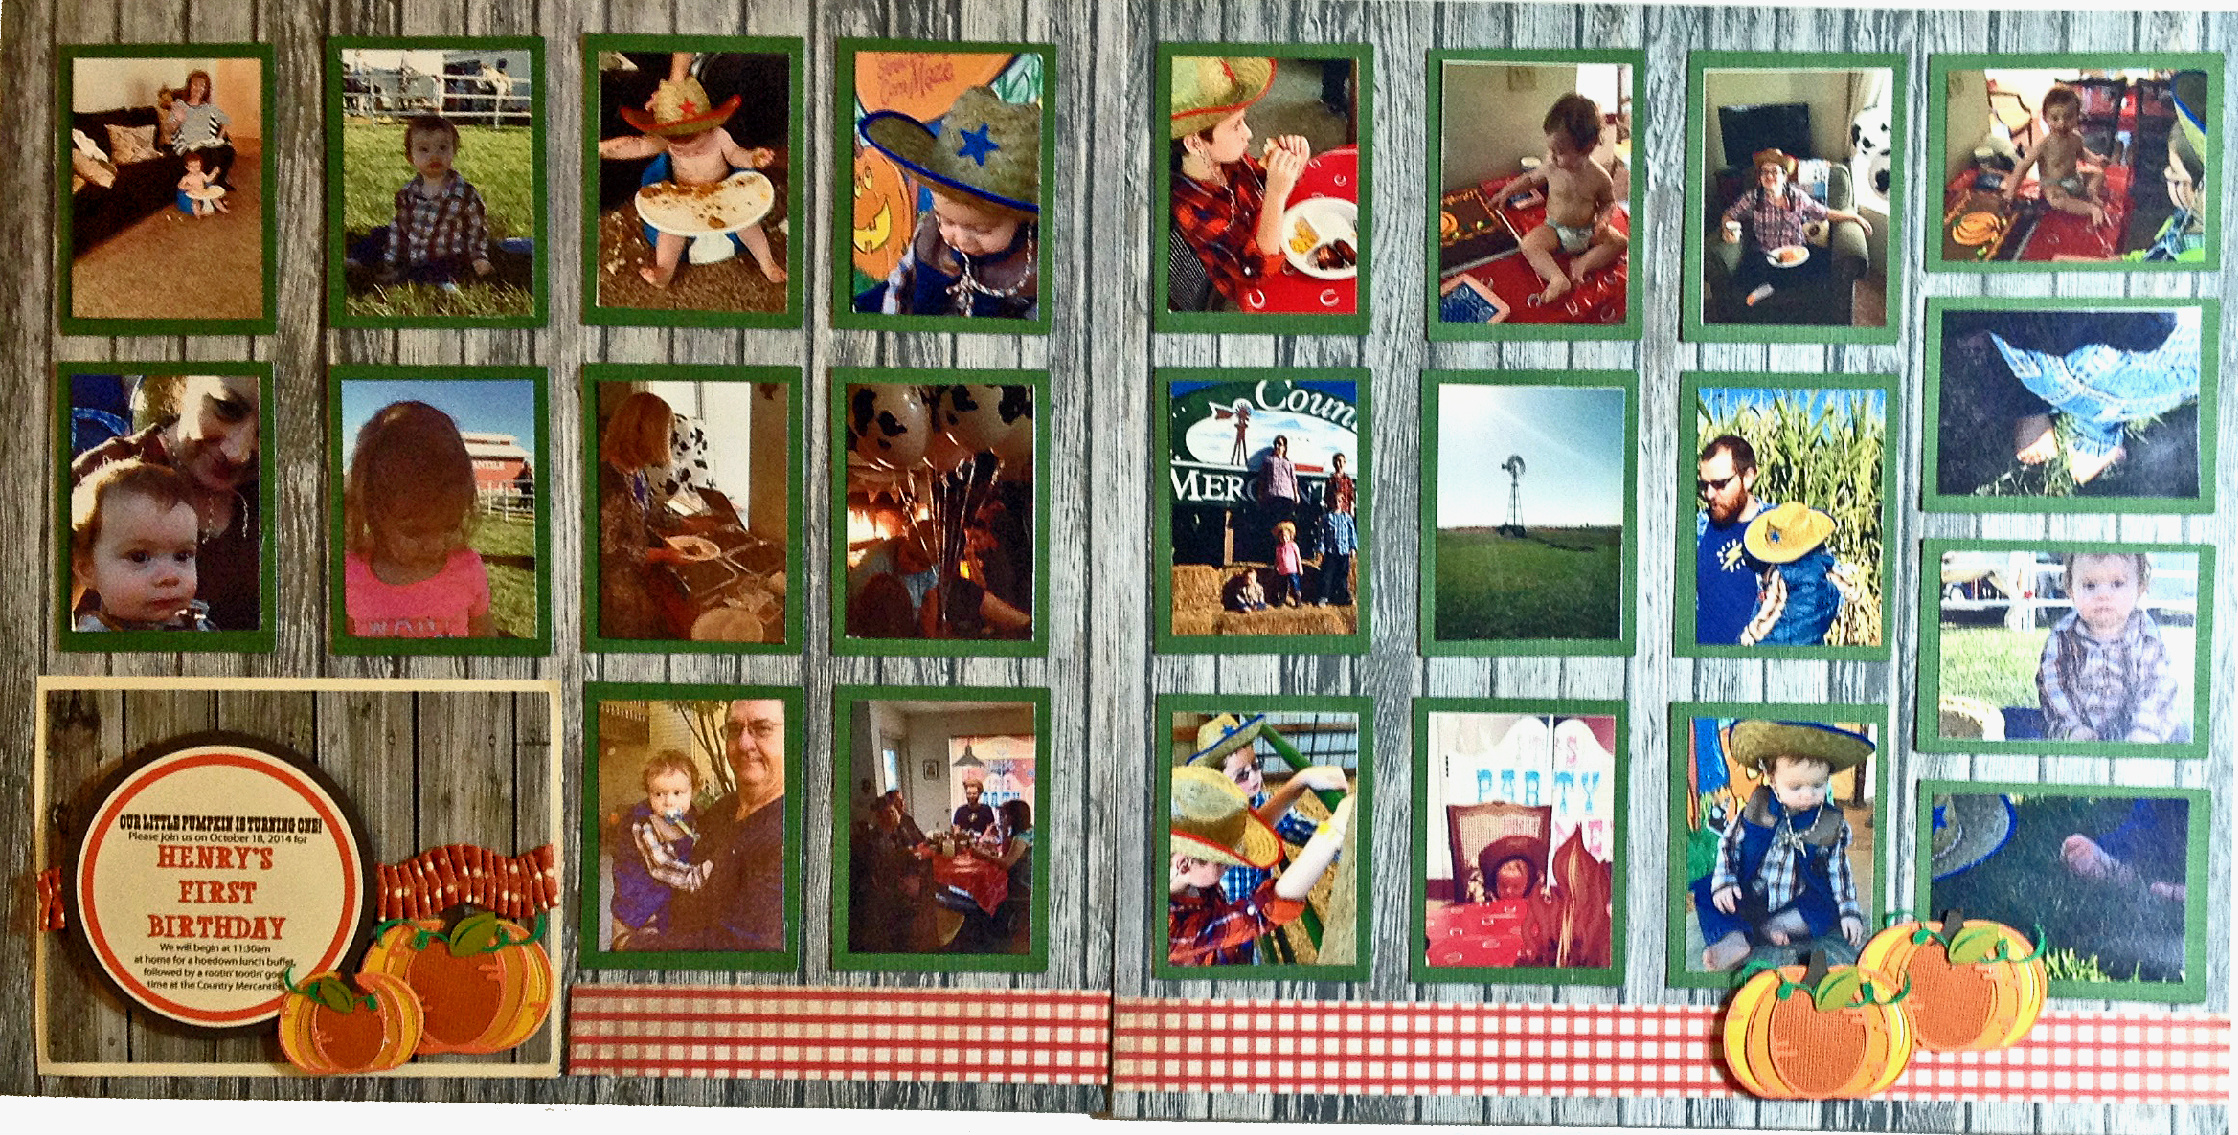
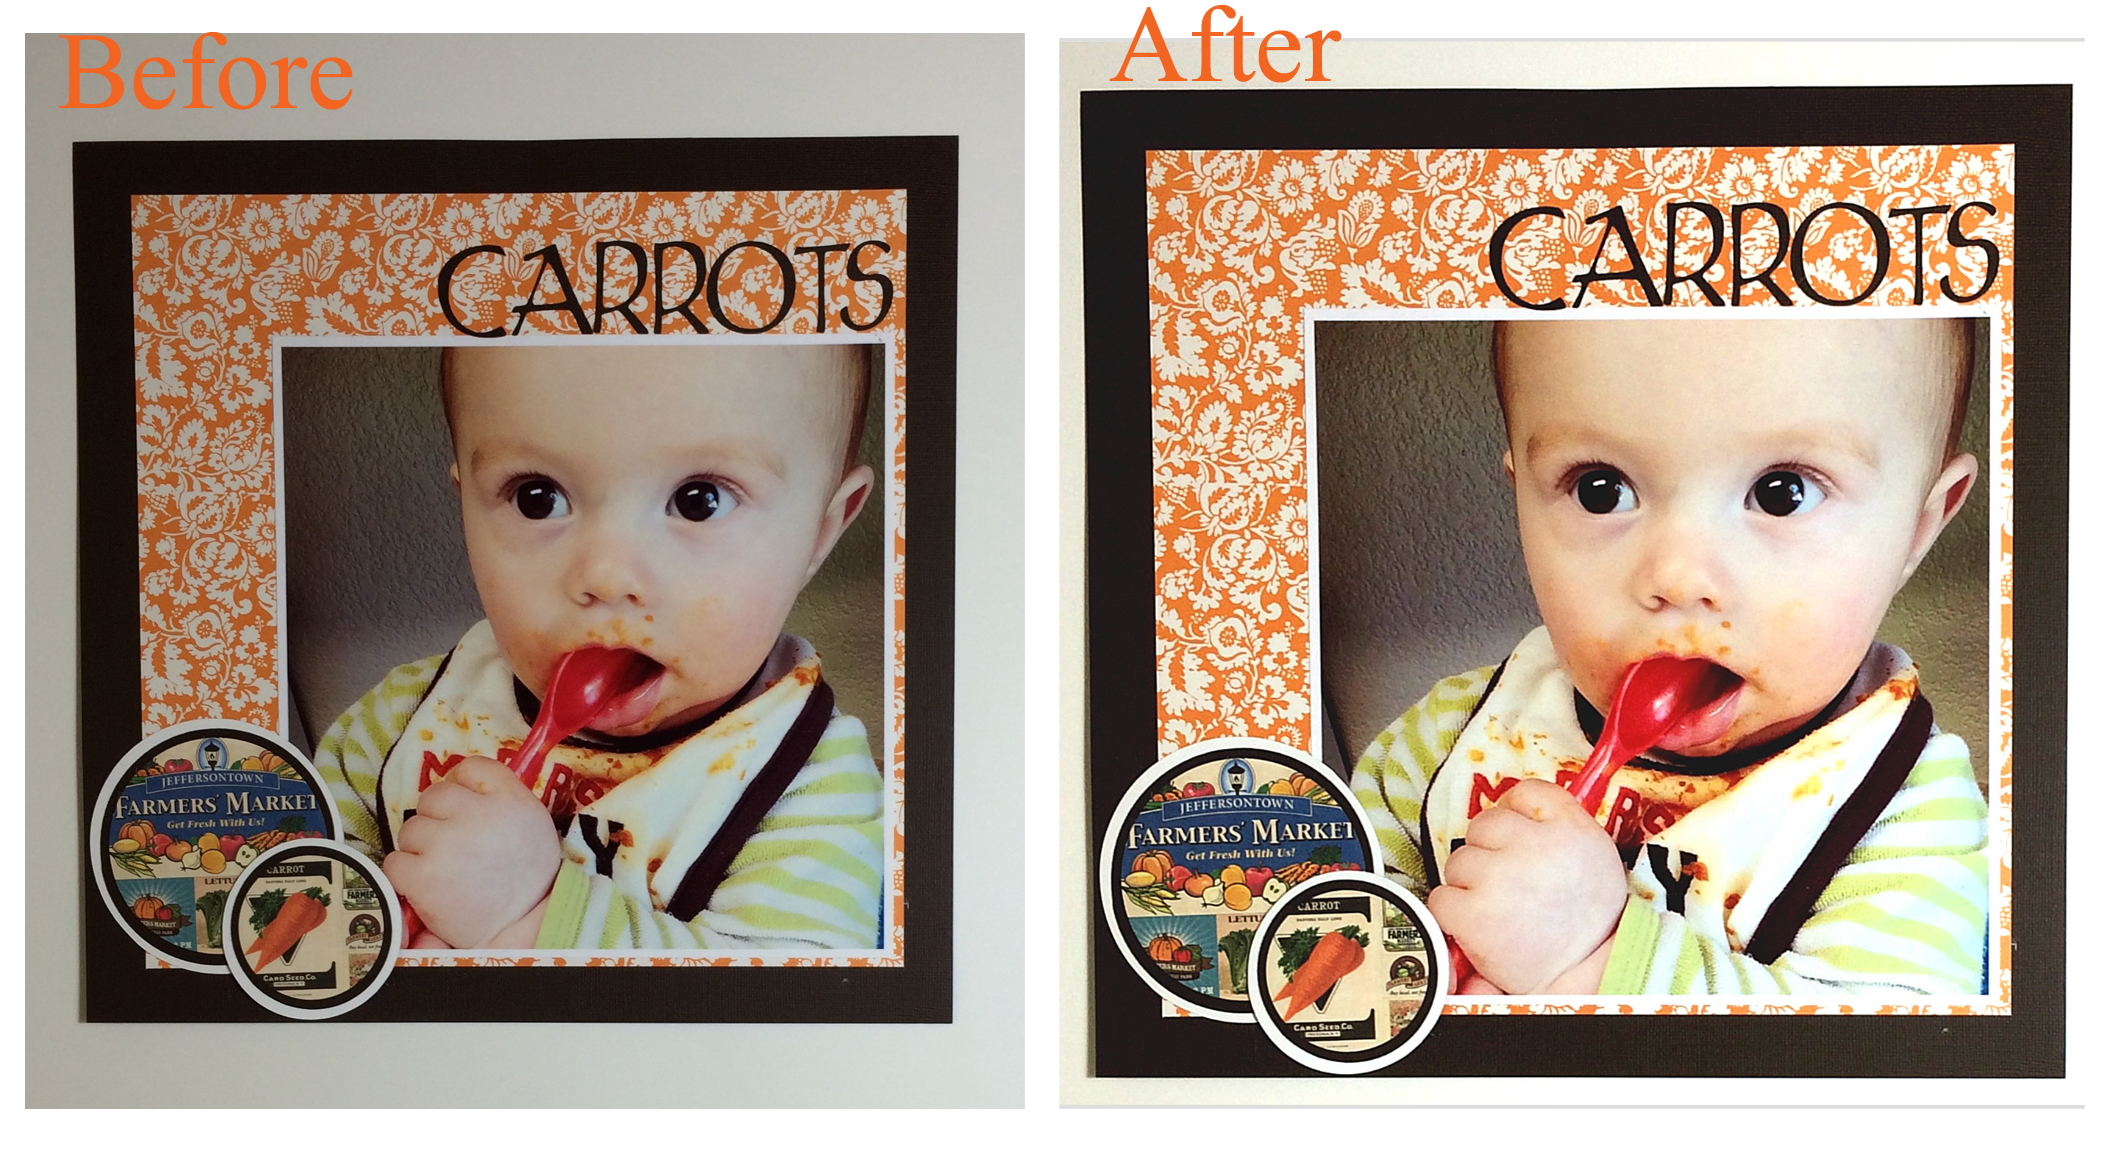
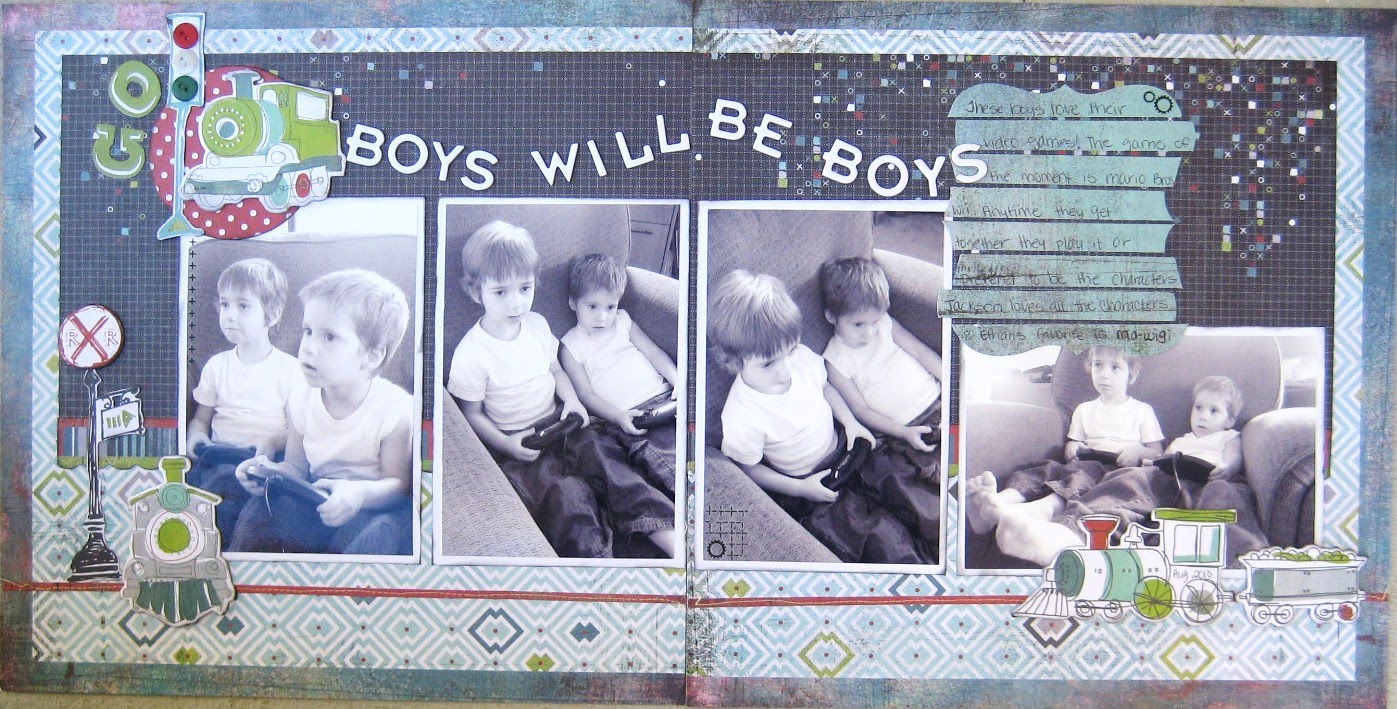
I love a good layout sketch idea. Even better – when one is versatile and can be used over and over again with different papers and embellishments.

BONUS: a sketch that lets me use lots of the random goodies I’ve been hoarding for years!

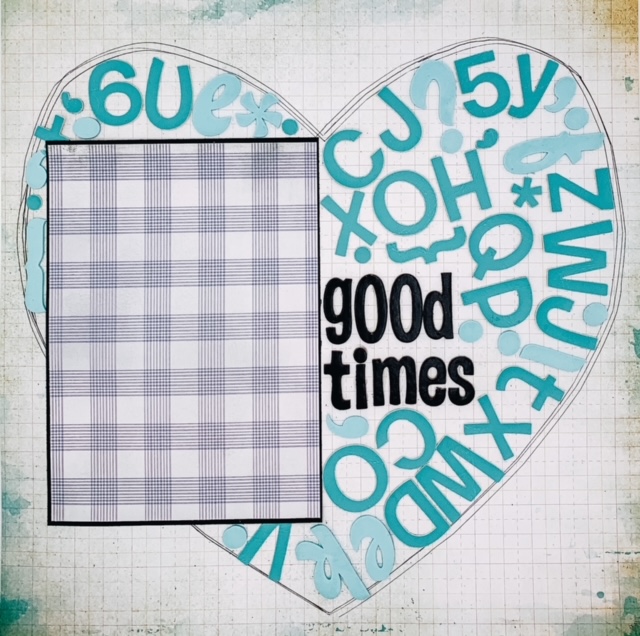
This week’s YouTube tutorial is just that! I’ll show you 5 ways to use this simple, yet charmingly adorable, scrapbook layout.

I’ll also show you a few different ways to make your stencil and some tips for crafting with heavier items.

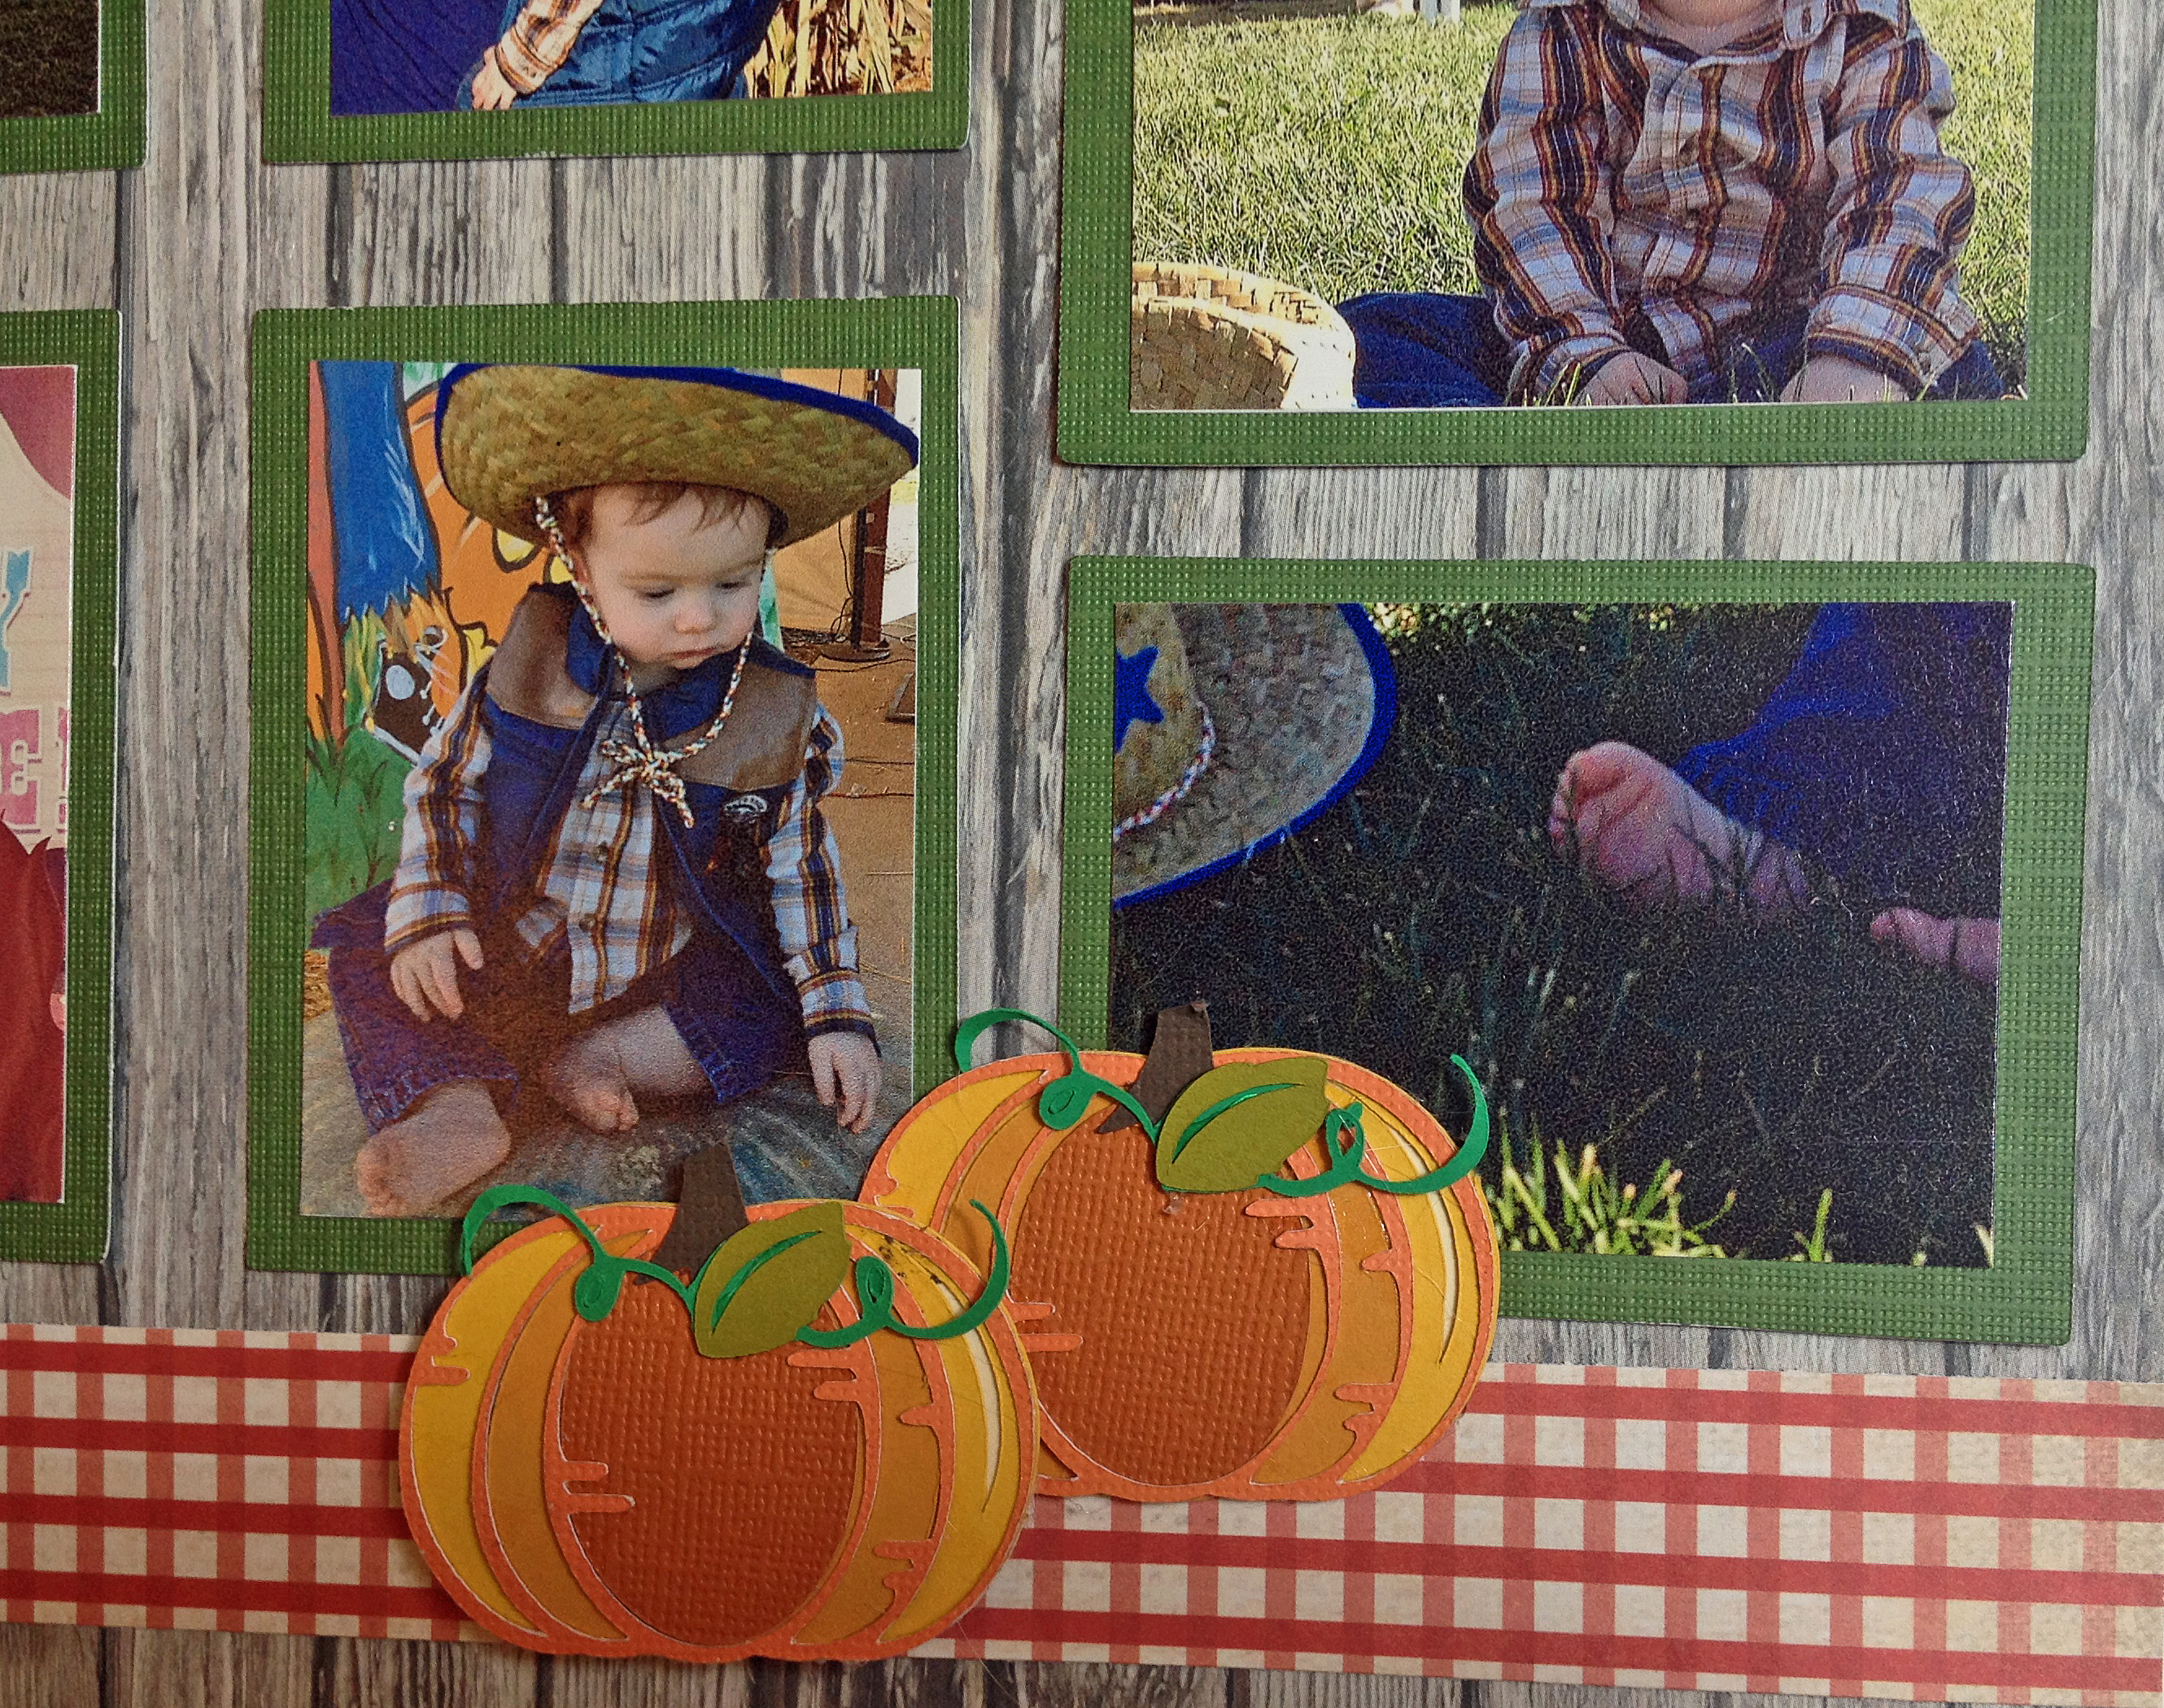
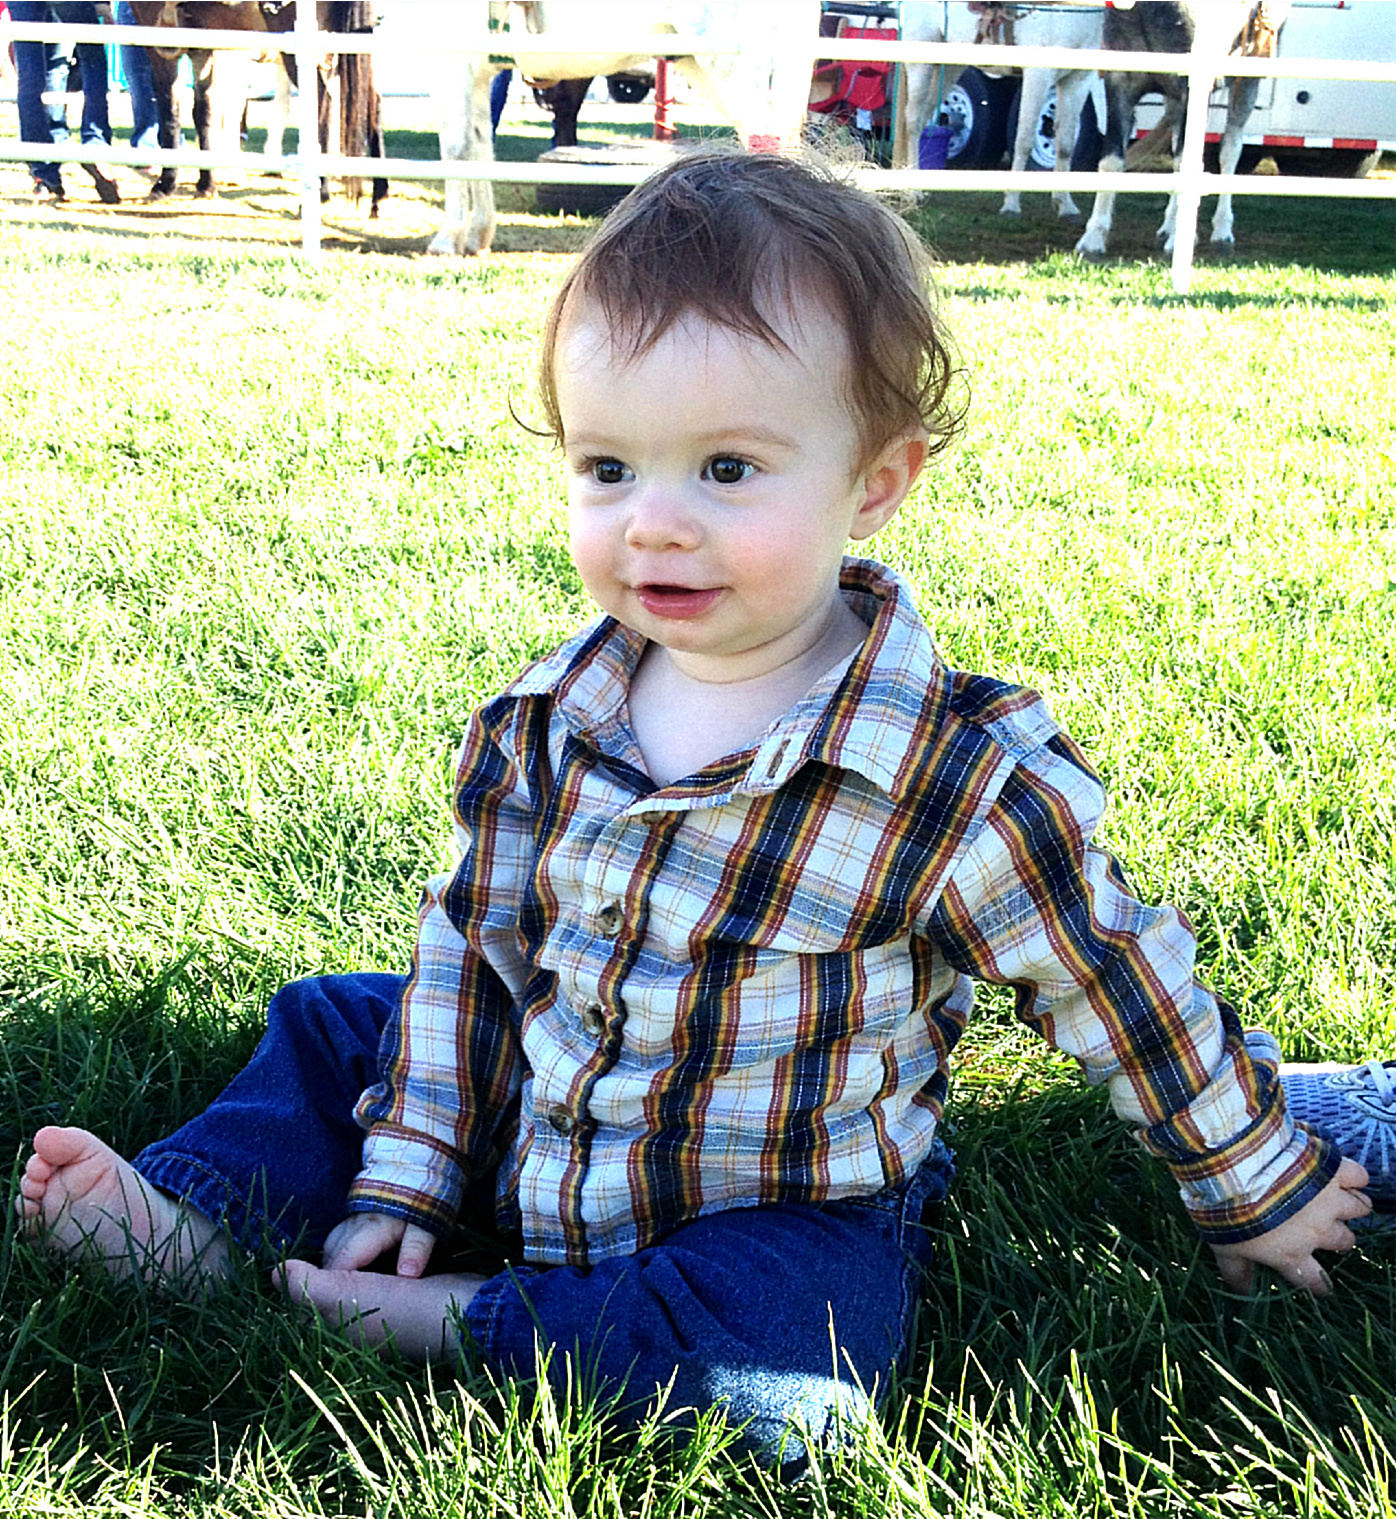
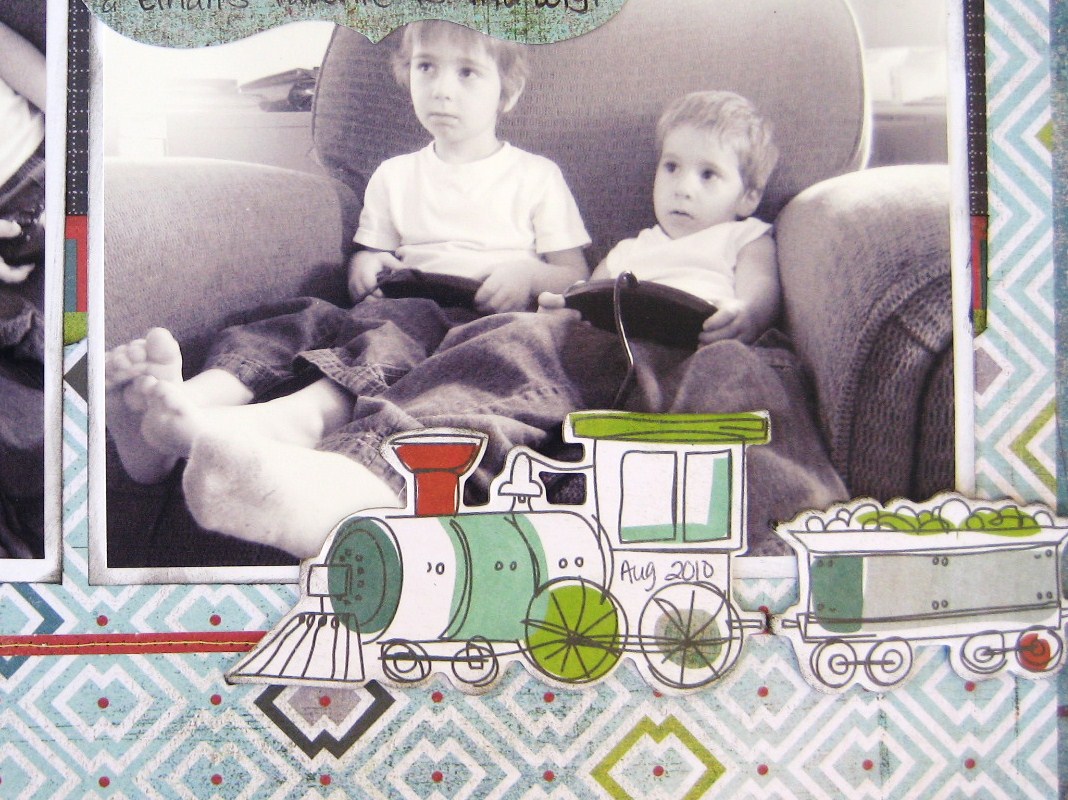
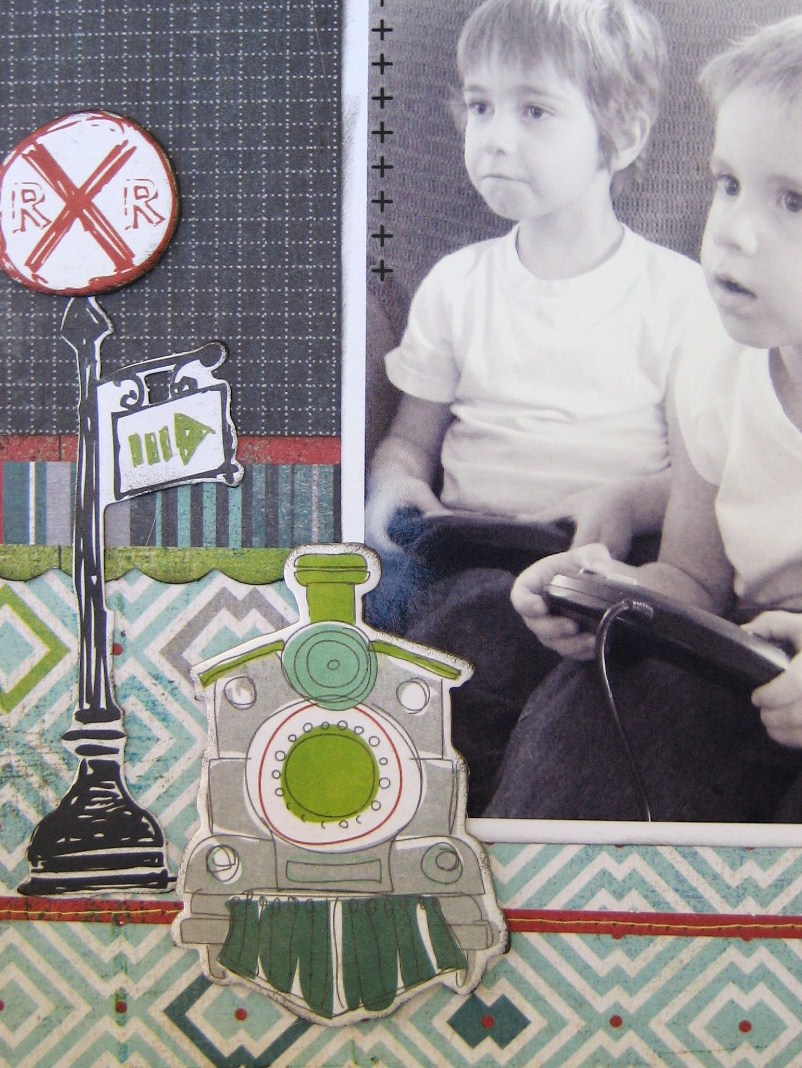
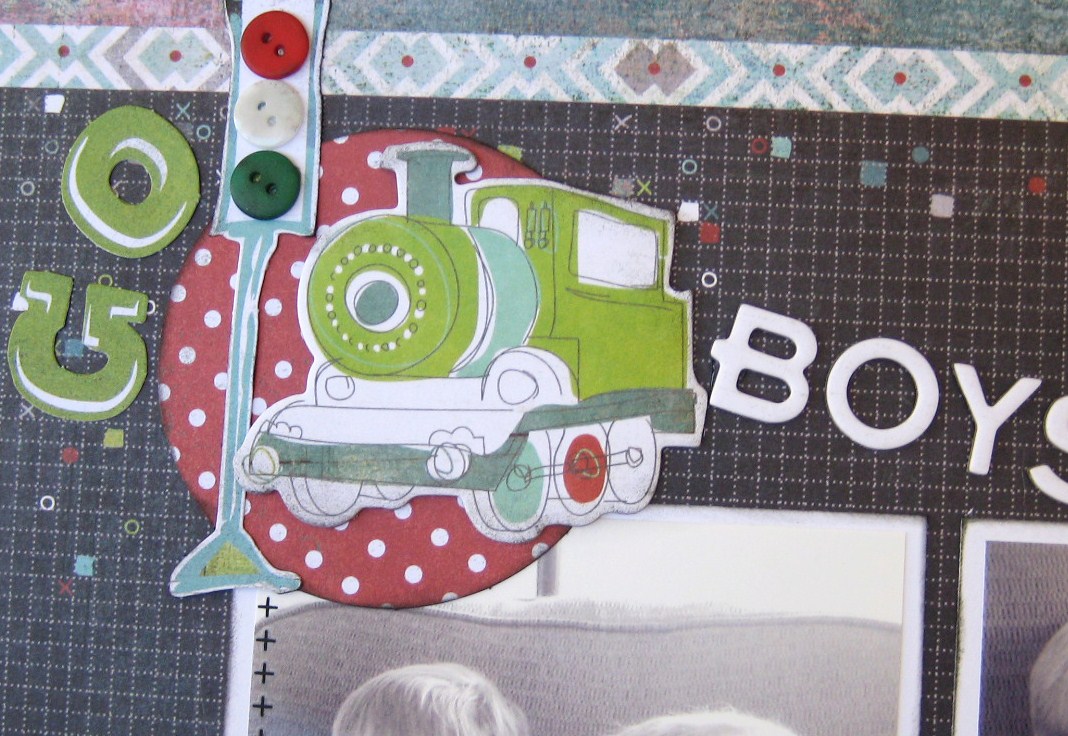
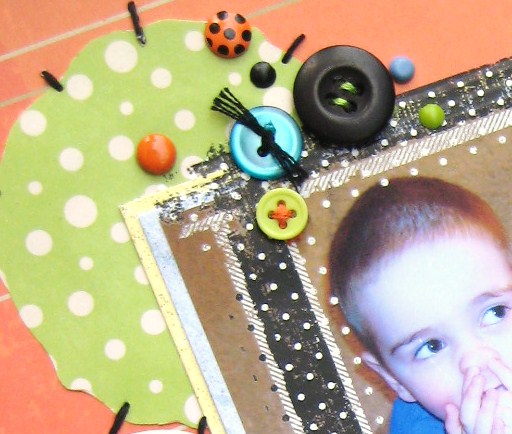
It’s time to dig out all those random letters, buttons, brads, sequins, or flowers and get to craftin’!

I used dozens of fabulous Prima Marketing Fruit Paradise flowers for the layout above. I just love these darling flowers.

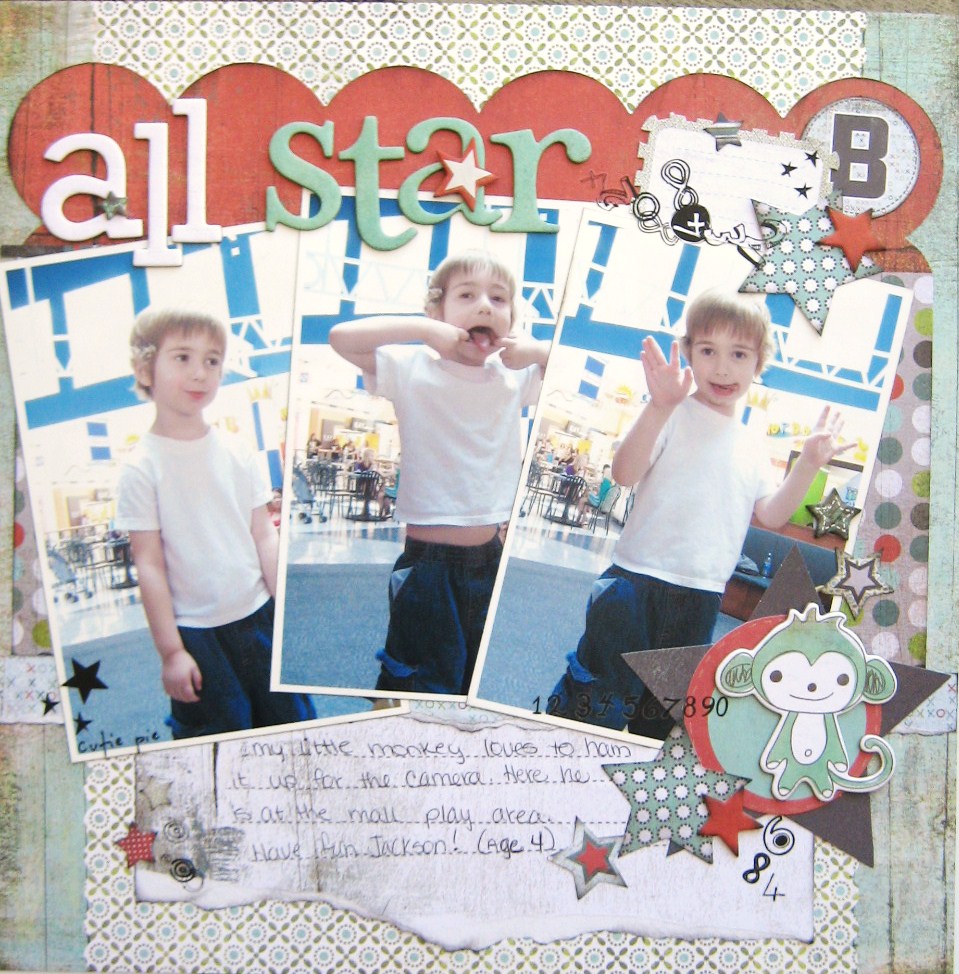
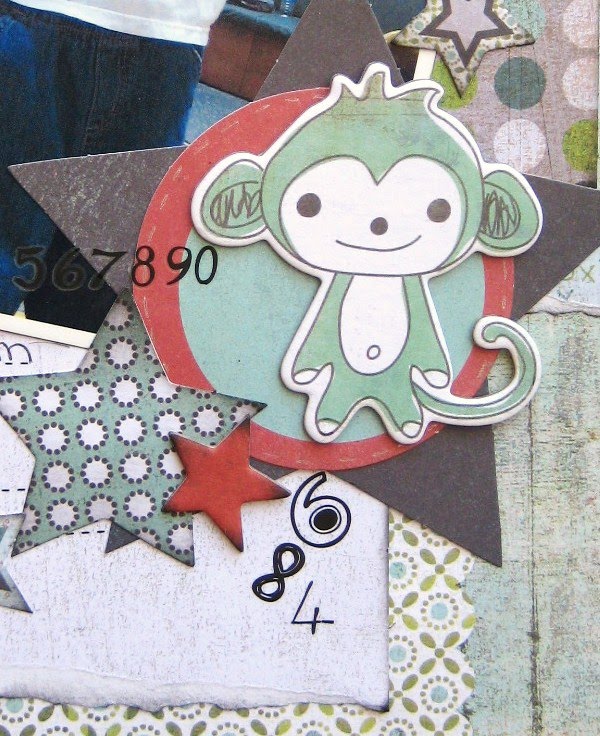
The layout above was made using lots of darling washi tape! I’m always excited to use washi tape, since I love using stickers, and it’s basically a giant sticker roll. 🙂

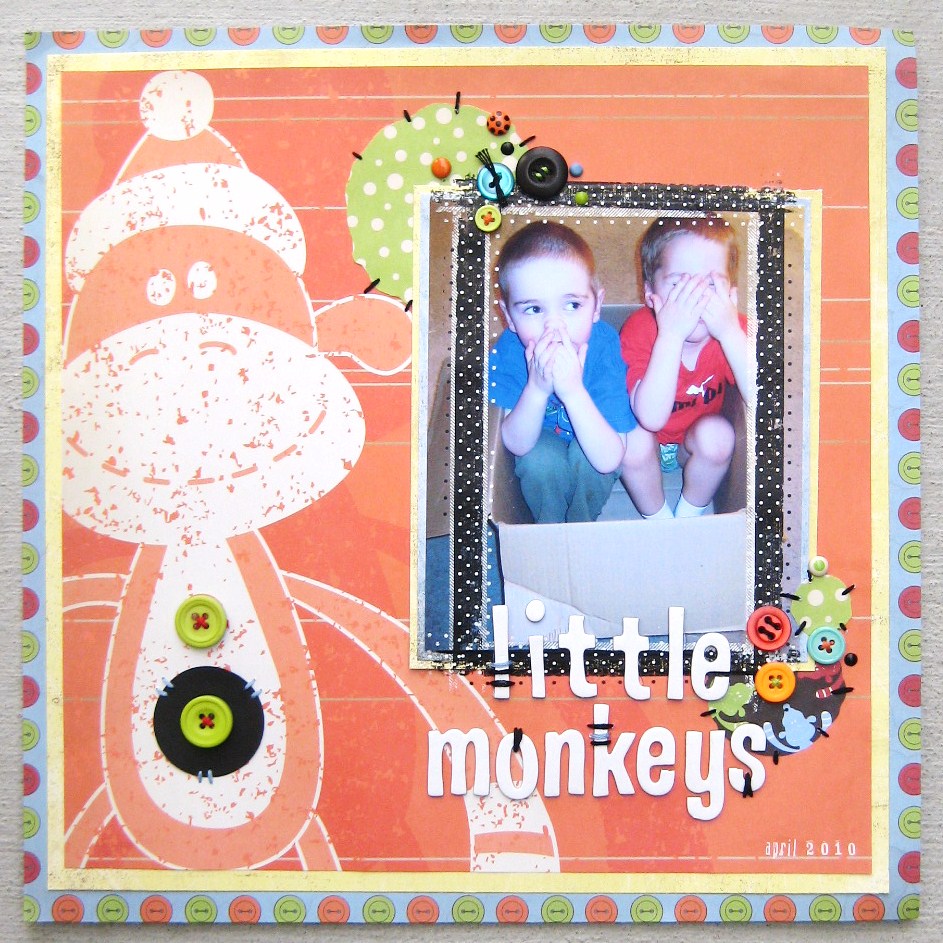
This layout idea even works with just cardstock – don’t have any extra embellishments lying around (ok, you know you do)? Doesn’t matter! Find a fun, happy print and die cut your large shape for a pop of happiness!

Hope you have lots of fun with this sketch idea. Be sure to check out my eBay shop for all these handmade scrapbook pages too and follow me on Facebook, Instagram, and YouTube for all things crafty!

xoxo

Genevieve

Bella Stitchery

baby pages, boy scrapbook pages, scrapbook ideas, scrapbook pages, scrapbooking

Cookie Monster on the Loose

cookie monster scrapbook layout

Messy babies must be photographed! It’s some kind of unspoken rule. Here is my little Henry, covered in sea salt chocolate chip cookies. YUM!

Cookie face!
Cookie face!

For this layout, I used Basic Grey’s Ambrosia paper line. I liked mixing a pop of bright teal with the stressed, grungy look of the orange and red paper collection. This is a quick, simple layout style that can easily be used for any occasion.

Feel free to use this design in your own layouts. Thanks for stopping by, and happy crafting!

xoxo

Genevieve

boy scrapbook pages, scrapbook pages, scrapbooking

My Little Pumpkin Turns One

Pumpkin Patch Birthday Party

On evenings when my little guy, Henry, decides to sleep well, I enjoy the occasional paper piecing. Granted, they make the scrapbook layout-making process much longer (this double-page layout took me a little over 2 hours), however, I am always so pleased with the results.

I used the Miss Kate Cuttables Pumpkins in Wagon SVG for my Cricut. I originally incorporated the eight layer pumpkins into my invitations, and then realized how perfect they would be on the scrapbook page as well. I used the invitation as my main embellishment, since it already contained all the party details.

Paper piecing party invitation

We had Henry’s birthday at the Country Mercantile pumpkin patch, so it was perfect!

Eight layer pumpkins from Miss Kate Cuttables

My little pumpkin

Would you love to have a fantastic scrapbook, but don’t have the time to make one? Please feel free to contact me regarding prices for custom scrapbook pages. Also, I have several ready-made pages available on my Etsy shop. Each is lovingly handmade with lots of fun 3D details. Simply add photos and enjoy for years to come!

Thanks so much for stopping by, and happy crafting!

xoxo

Genevieve

boy scrapbook pages, diy, photography, scrapbook pages

How to Photograph Scrapbook Layouts Using an iPhone

Scrapbook Pictures

Great product photos are everything – whether you are using them on a blog, for sales, or to have your images re-pinned on Pinterest.

I am always looking to sharpen my skills. With a tight camera and lighting budget, I have to make do with what I have.

Below are some tips for using your iPhone to best show off your scrapbooking works of art. I used an iPhone 5s for these layouts.

Carrots - after

1. Purchase a large white poster board from the craft store (around $1.00). It helps to clear the background in the pictures and provide a nice, neutral base. I like to use the shiny side too, in order to get the most out of my available light source.

2. Choose your poster board position carefully. As you can see, I like to have mine next to my craft room window. I also used a standing OTT light to the right, to help balance the light (you don’t want a lot of shadows).

Here is the view of my "photo studio" wall.
Here is the view of my “photo studio” wall.

3. Stick a piece of tape behind the layout and affix it to the board.

4. Take the photo using some kind of stabilizing structure. I don’t have a tri-pod, so I usually use my desk with a box on it to help hold the phone steady. Take several pictures so you can choose the best one.

5. I then clean up the image using either www.fotoflexer.com (a free site) or Afterlight (a $.99 app). You can use these to play with shadows and lighting, crop and rotate, etc. I also use Photoshop Elements 5.0 at the very end to add white paint to the background, making it as bright as possible.

Before and after editing my pictures.

That’s it! Now you can save and share your masterpieces!

With these tips, you can make sure your artwork is the focus - not a messy background.
With these tips, you can make sure your artwork is the focus – not a messy background.

carrots - mustache

basic grey, boy layouts, boy scrapbook pages, little monkeys, oliver page kits, paper piecing, play time, retro video games, scrapbook layouts, trains

Basic Grey Oliver Page Kit

I’ve been having lots of fun with the Basic Grey Oliver line lately.  I bought the card kit, collection pack and page kit for the line! 
This is the first Basic Grey page kit I’ve used and I’m really happy with it!  It was super easy to use and included lots of goodies ~ from rub-ons to chipboard!  The only items I added were thread (I did some sewing throughout), ink and buttons.
It was a fun afternoon project to do with my sister, too!  We each bought a kit and had a quick craft day together. 
I’m so glad that Basic Grey started selling page kits this year.  I’ve been a fan of their card kits for a long time, too.  I’m excited to see what they come up with next!
alice in wonderland, boy scrapbook pages, chipboard album, ephemera, graphic 45, halloween, handmade scrapbook, keys, mad hatter, mini album, pop culture, vintage albums, vintage alice in wonderland

Wonderland Chipboard Album

My project of the week has been this wonderland of a mini-album.  It took about 3 1/2 days of sanding and inking, but I’m so delighted with the results!
I used almost every sheet of the Hallowe’en Alice in Wonderland line from Graphic 45 on this baby.
On the front is a HUGE sparkly flower (3 layers deep) and a glazed brad by Basic Grey.
Upon opening the chipboard album, you’re greeted with LOTS of fun ephemera to look at ~ hanging tags, hand-cut 3D embellishments, stick pins and ribbon! Each piece has been sanded and inked with brown and black. A photo will neatly tuck under the corner tear of beige paper.

The next page reveals a VERY merry un-birthday tea party!  I made room for a larger photo here (you can tuck it underneath the strip) and a 3D pop-up title label with more of the glazed brads.  Adding the black glittery flower at the bottom was my 4-yr-old’s idea.  Great eye, Jackson!
This next page is my hubby’s favorite.  He loves the rabbit tag with key charm at the top of the page.  It pops up with lots of 3D foam adhesive.  I’ve also tied it with brown string.
There is room for 2 more photos (you can tuck them under the ribbon) and a hand-cut Mad Hatter.
Finally, the back has more fabulous cardstock, all inked with several colors to give it an antique, burned look.  The album is about 5.5×9 inches.  Enjoy!

birthday layouts, boy scrapbook pages, chuck e cheese, costume, luigi, mario brothers, paper piecing, retro children's birthday cards, retro video games, toad, toddlers, turtle, video games

Mario Madness

My little monkey turned FOUR (cannot believe it) this month and we had a Mario Bros. themed party. 
A good friend of mine even loaned Jackson a Mario costume ~ priceless!
I’ll be honest ~ I was looking forward to scrappin’ these pages for WEEKS!  I love getting to work with cute embellishments!
I bought some Mario Bros. die-cuts from an Etsy seller in June (still need to figure out how to use my Sure Cuts-A-Lot software…) and then added some epoxy stickers that Jackson was kind enough to donate.  I found this darling stitched card stock from We R Memory Keepers and layered on some DCWV video game paper.  LOVE these pages!
I made a special tri-fold card for Jack and wanted to incorporate it on the layout as well.
boy scrapbook pages, disney pages, disneyland, disneyland layouts, family vacation, goofy, mickey mouse embellishments, paper piecing, scrapbook ideas, summer vacation, vacation layouts

Disneyland Album Done! Whoo!

We went to Disneyland in early May with my in-laws.  I’ve been working on my 12×12 Disneyland album off and on ever since.  It was a lot of fun, but I’m happy to be finished now and be able to show it off!
I knew I wanted to devote a 12×12 album to the trip (as it was our 3-yr-old’s first time there and we took tons of pictures).  I had several 12×18 poster prints made up at Wal-Mart (about $10 each) and then cut them to fit the entire 12×12 page (the tea-cup layout uses the entire 12×18 photograph).
I went a little crazy with the bling on this album (Disney is the magic kingdom and nothing says that quite like rhinestones), and saved lots of time (and money) by purchasing paper piecing die-cuts of the Disney characters on eBay.  I found Mickey, Pluto and Goofy for $.99 each!  I couldn’t have made them myself for that price and that saved me having to purchase the Disney Cricut cartridge, too.
Thank you so much for sharing my vacation memories!  Hope you enjoyed the journey!
boy scrapbook pages, buttons, cousins, daisy d's layout, little monkeys, orange, personality, recollections layouts, scrapbook ideas, scrapbook pages

Two Little Monkeys, Jumping in a Box

I really like this picture (I think the charm of my lovely, lovely son picking his nose and his cousin covering his eyes when I brought out the camera really reveals their personalities) and had lots of fun with this layout. 
These boys are very colorful characters and I wanted to capture that with a bright layout.  I used lots of paper from the Recollections Monkeying Around line that I picked up from Michaels.
 
I was in a mood to embellish, so that’s just what I did! 
I added some stitching around the round “patches” of paper and the little monkeys chipboard title.  I also added lots of hand-sewn buttons and some brads.  The picture is framed with a happy Daisy D’s rub-on.