card classes, card ideas, card making, card making idea, card techniques, cards, christmas cards, retro images, vintage cards

Have Yourself a Retro Little Christmas + FREE PRINTABLES!

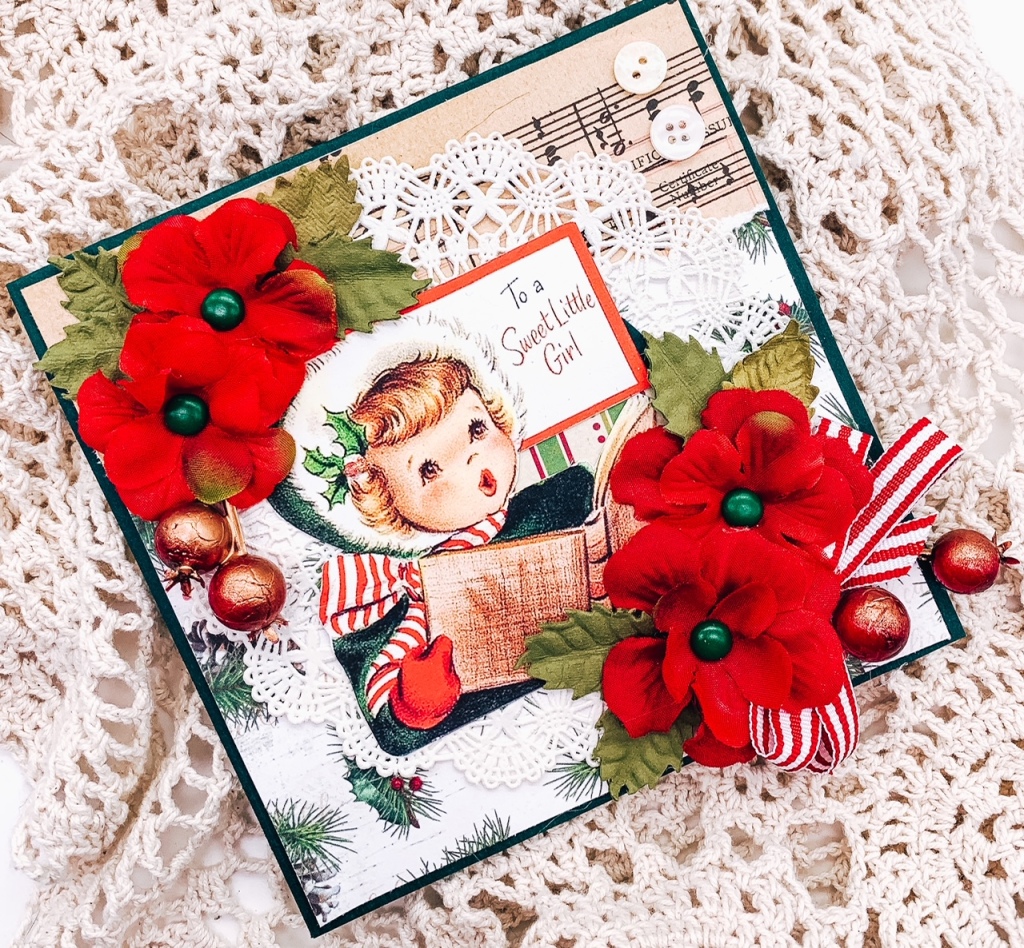
I love retro images. Like LOVE, LOVE retro images. They make my heart smile and I feel all warm and cozy just looking at these darling illustrations. It’s no wonder, than, that they are the centerpiece for so many of my card creations!
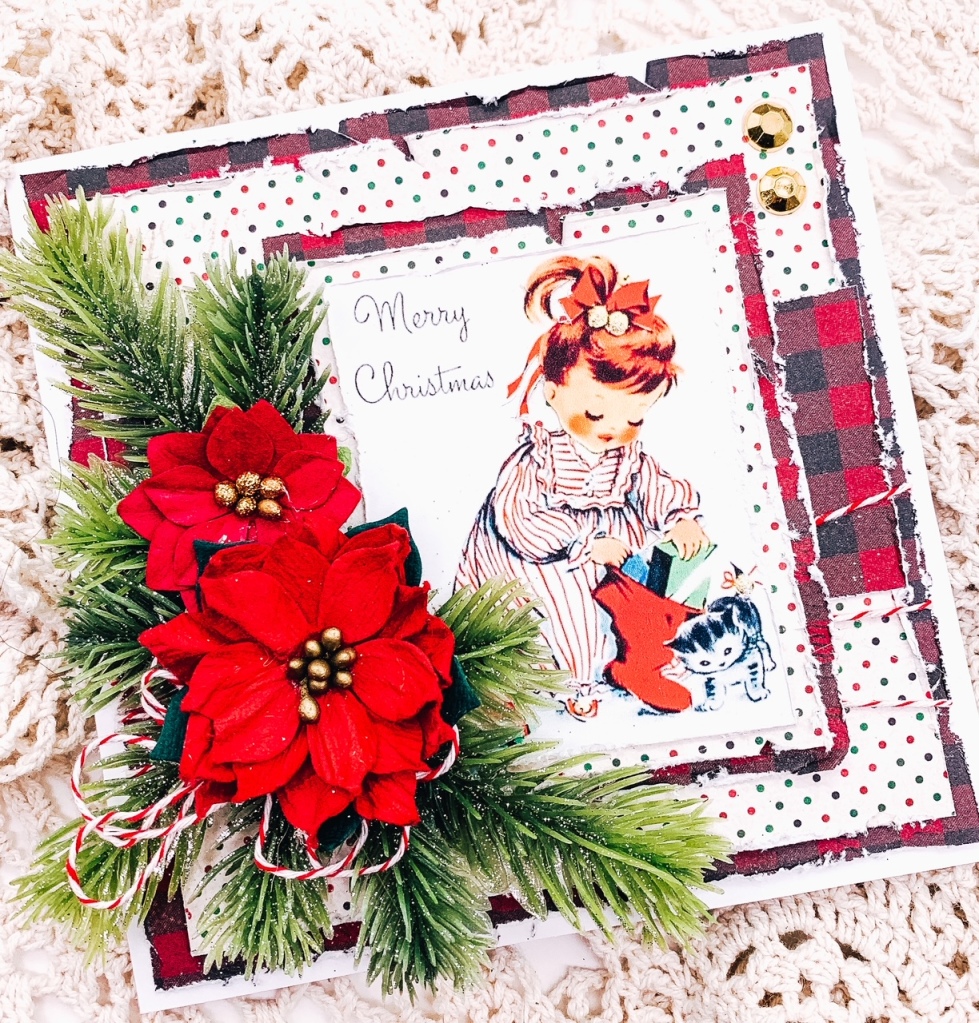
Here are six cards I made recently. I thought you might enjoy these darling greetings.

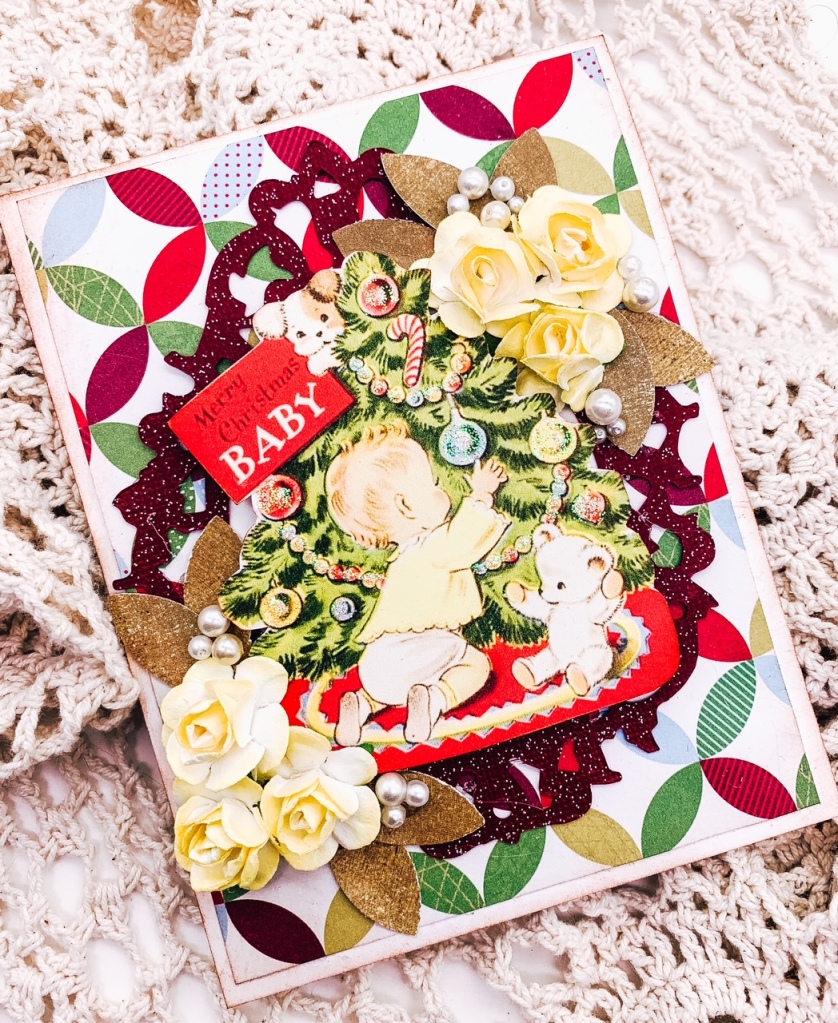
This “Little Boy’s First Christmas” is one of my favorites. I love the color combo and the flower cluster so much!

Adding various sizes in your flower collage makes it look full and interesting – so, change it up! Add a variety!
Found this pine bundle in the floral section at Michaels and just took apart branches so that I could put them where I wanted them.

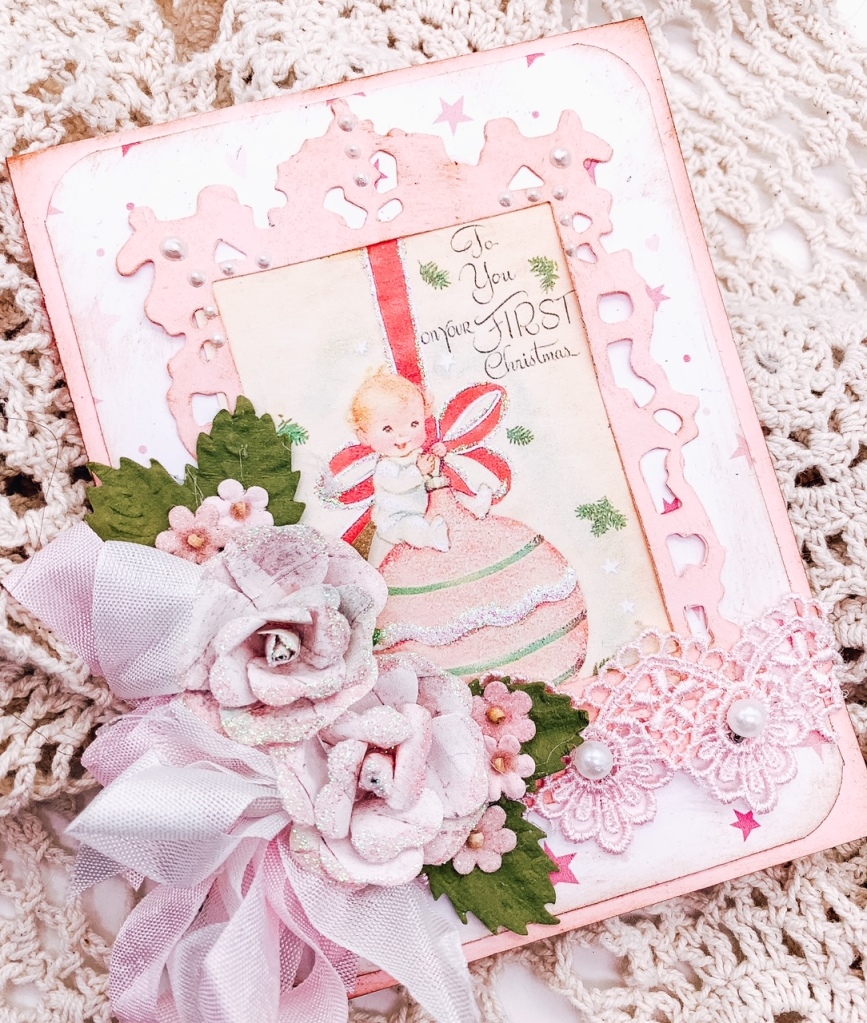
I was so happy when this sweet pink baby’s first Christmas card found a good home – I love the intricate lace, pearls, flowers, and seam binding!

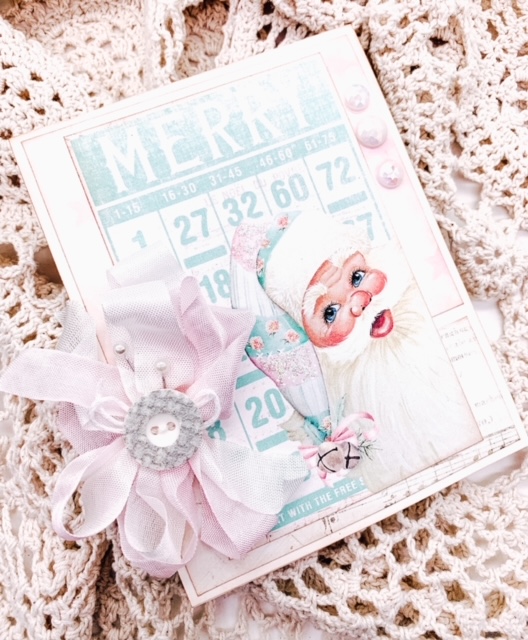
Beautiful cards don’t have to be super fancy either. This one is simple, but just so happy and sweet!

Feeling inspired? Here are copies of the vintage images I used so that you can print and play with them too!

A few “must haves” when working with printables:

  • a great printer! I use HP OfficeJet Pro 6978 and it’s amazing (I use it a TON every single day for my business)
  • quality cardstock. Try Neenah Premium Cardstock for fabulous images
  • Stickles glitter – you won’t believe how it changes the entire quality of your card. For real

If you just want to get your hands on finished cards, be sure to check out my eBay and Etsy shop for lots of handmade goodies!

Follow me on Instagram, Facebook, and YouTube for all things crafty! Please stay in touch and share your finished projects with me!

Thanks so much for crafting with me today, and happy holidays!

xoxo

Genevieve

Bella Stitchery
card classes, card ideas, card making, card techniques, cards, christmas cards, Christmas ideas, christmas layouts, fussy cutting, gen's scrapbook kitchen, handmade scrapbook, holiday scrapbook pages, scrapbook, scrapbook ideas, scrapbook layouts, scrapbook page, scrapbook pages

Pastel Christmas!

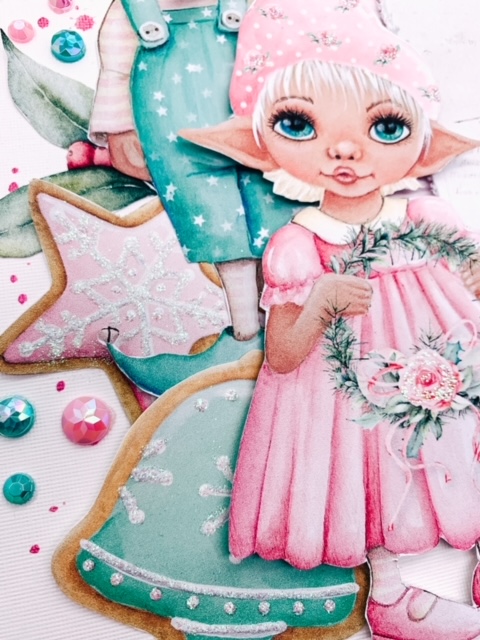
There’s something so precious about a pastel Christmas! I love the sweet pinks and yummy teals – they always make me smile!

This month’s Handmade Club Kit is all about shabby chic Santa, elves, holly berries, and cookies. I had a wonderful time cutting out all these darling embellishments and playing with them in different collage settings.

Crystal Stickles is the perfect accent to all these delicious images. I added them to the roses, the elves’ costumes, and the cookie frosting.

I already have several Christmas cards ready in my eBay and Etsy shop too (yes, I know it’s October, but I couldn’t help myself!) 🙂

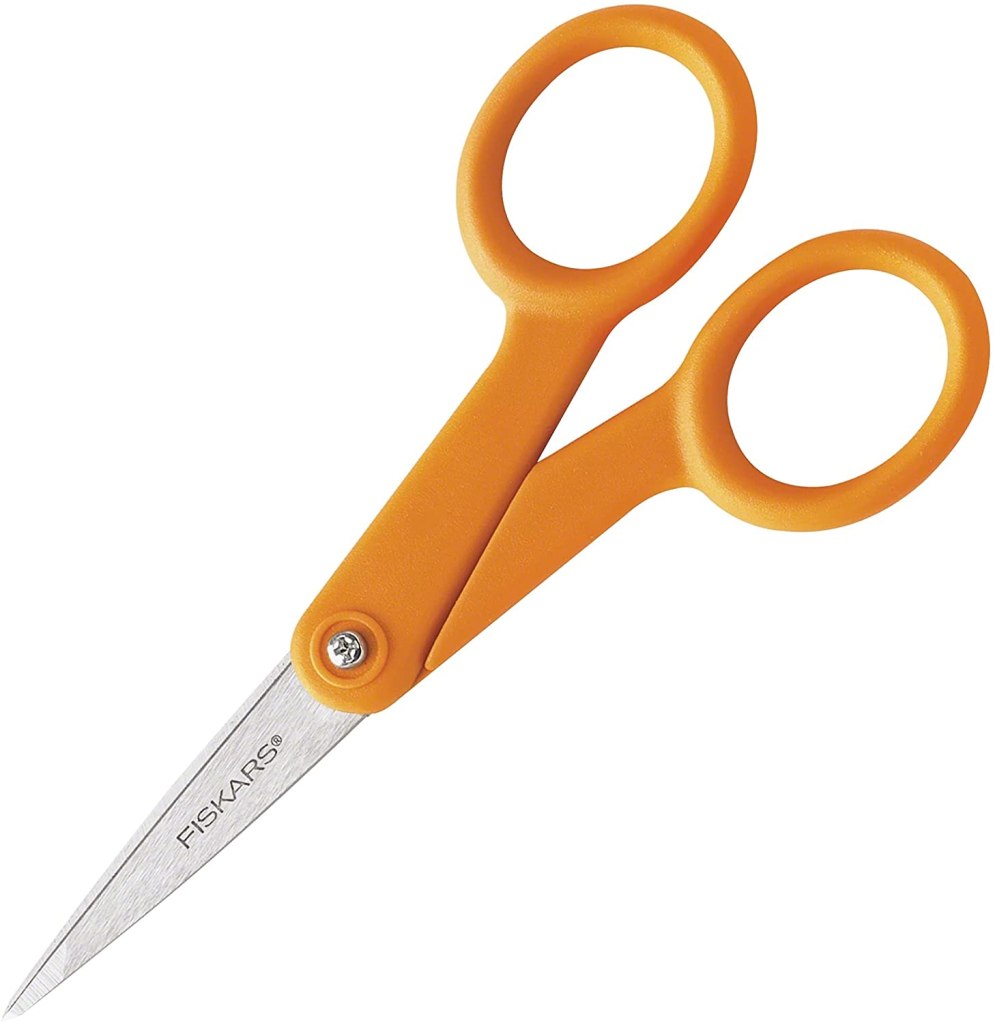
Don’t they just make you smile? Have you tried fussy cutting? What do you think about the process? It seems like people either love or hate it. I think the biggest tool for your cutting success is super small, precise scissors. It really makes all the difference.

https://amzn.to/30WRNFU

If you’d like some tips on better fussy cutting, I have a YouTube tutorial all about it too:

Well, hope you’ve enjoyed this peek into my October Santa’s workshop today! Keep in touch and happy crafting!

xoxo

Genevieve

Bella Stitchery

gen's scrapbook kitchen, gothic, halloween, handmade scrapbook, Junk Journal, Kelly's Crafts by Kelly, paper crafting ideas, paper crafts, scrapbook, scrapbook blogs, scrapbook ideas, scrapbook layouts, scrapbook page

Gothic Halloween Torn Junk Journal

I’m so eerily excited at the way this junk journal turned out!

I started with the Gothic Halloween digital junk journal kit from Kelly’s Crafts by Kelly for this lovely project. All images were printed onto 65lb Neenah cardstock.

I wanted to create an old, gothic feeling journal, so I decided to tear all my pages (including the main book pages that I bound together with seam binding) instead of cutting them with a paper trimmer.

All edges have been heavily inked with both Vintage Photo and Black Soot Distress Ink.

I loved the illustrations so much that it was easy to let them be the star, so I added only a few embellishments here and there. I did make my own resin pieces for this book, however, and I think they really added a nice touch. I have a YouTube video all about that process too, if you’d like to see just how easy they are to make:

Hope you enjoyed this flip-through blog journey with me today. May it inspire your creativity this week. Please let me know what you think and follow me on Facebook and Instagram for daily crafty goodness!

I also have hundreds of handmade journals, premade scrapbook pages, and greeting cards in my Bella Stitchery eBay shop!

Thanks so much, and keep in touch, my crafty friends! xoxo

die cuts, easy scrapbook pages, handmade scrapbook, scrapbook, scrapbook blogs, scrapbook ideas, scrapbook layouts, scrapbook page, scrapbook pages

3D Vellum Butterflies

blue butterflies 1

Vellum. I always forget about vellum. I buy it once every few years for a specific project, and then it goes into the darkness of my craft cabinet (the cabinet in my craft room is where I put all my random forgotten embellishments).

The other day I was thinking of butterflies. Like ya do. I love printing them with cardstock, and I thought I’d try it out on vellum! After an entire afternoon of sorting through 1/2 finished scrapbook kits and neon ribbon, I found my stash of vellum! A quick dust-off and it was good as new!

For this fun butterfly project, I simply printed each butterfly twice, fussy cut them, and stacked them (adding glue only in the center). Fold up the wings when dry and voila! Gorgeous, ephemeral butterflies!

DF067F49-F694-4898-9BA7-839B8DBC1820

B3249A13-4EB2-4E95-A8C1-1BE0C9A30BDB

Here’s my video tutorial, if you’d like to see the process in real life 🙂

I’m super happy with the way they turned out! Now, I’m looking to print all KINDS of ephemera with vellum – just to experiment!

What do you think? Any other vellum printable ideas you can suggest? I’d love to hear your thoughts!

Need vellum? You can purchase it through Amazon.

You can purchase this 3D butterfly scrapbook page from my Etsy shop (free US shipping) as well.

blue butterflies 2

Thanks for crafting with me today! xoxo


PS – my blog uses affiliate links with Amazon. These are at no cost to you. Thank you so much for purchasing supplies through links, and helping to support us crafters! xoxo

arts and crafts, craft ideas, craft supplies, craft tips, crafting, crafts, custom crafts, diy, Fun with Crafts, handmade crafts, paper crafting, paper crafting ideas, paper crafts, Uncategorized, unique crafts

DIY – Dyeing Seam Binding and Lace

I love using vintage looking accents in my cards and scrapbook pages.

I’ve learned several ways to dye my ribbons and trims, using various ink and paint brands and am happy to share this trick with you!


Here are some examples of cards I’ve made using my hand dyed seam binding:

beach 3purple and brown birthday 2kids on beach 3

Here are the supplies used in the video:

Distress Oxide

1

Dylusions Ink Sprays

2

Lindy’s Magicals

3

Hug Snug Seam Binding

4

Thanks so much for stopping by!

Please let me know what you think, and happy crafting!

xoxo

Genevieve


easy scrapbook pages, gen's scrapbook kitchen, handmade scrapbook, scrapbook, scrapbook blogs, scrapbook classes, scrapbook ideas, scrapbook layouts, scrapbook page, scrapbook pages, scrapbooking, scrapbooking ideas, Uncategorized

Fun with foil

19

My sister gave me a package of foil transfer from Prima Marketing, and it’s been in my drawer for about…a year. I just didn’t know what it was or how to use it.

Cut to – I had a custom request for some Pink Floyd scrapbook pages. I knew I would have to make my own background papers for something like this, and -BAM!- the package of foil was opened.

21

I have to say, it’s pretty magical. And SUUUUUUUUUUUUPER easy to use.

20

For my layouts, I decided to use spray adhesive and stencils. I sprayed the adhesive through the stencil onto my card stock and when it was *almost* dry, stuck the foil paper (shiny side up) onto it (I also gave it a hardy rub, just in case) and… instant glam!

17

18

16

I have used several packs since. They work so well on black paper, and I can’t seem to get such magnificent color and shine with any other embellishment. You can purchase some here, if you want to give it a go. Prima Marketing carries them in several shades, but this is the package I used for these pages.

Try ’em out, and let me know how they worked! I would love to see pictures of your finished projects! Happy crafting, and shine on!