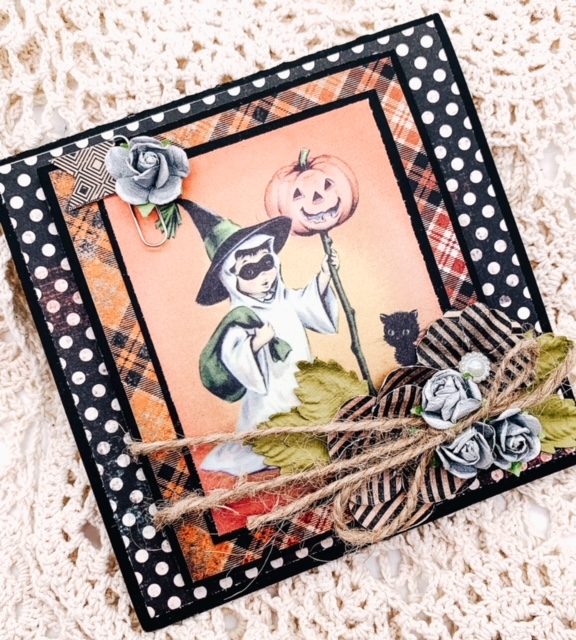
I love retro images. Like LOVE, LOVE retro images. They make my heart smile and I feel all warm and cozy just looking at these darling illustrations. It’s no wonder, than, that they are the centerpiece for so many of my card creations!

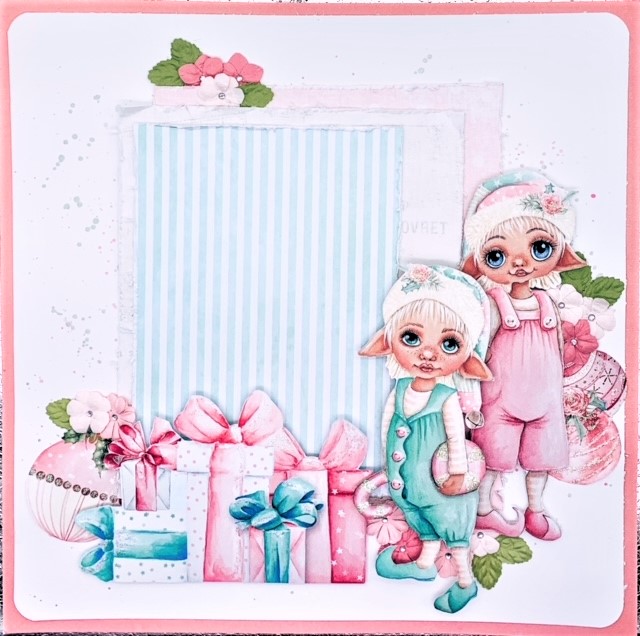
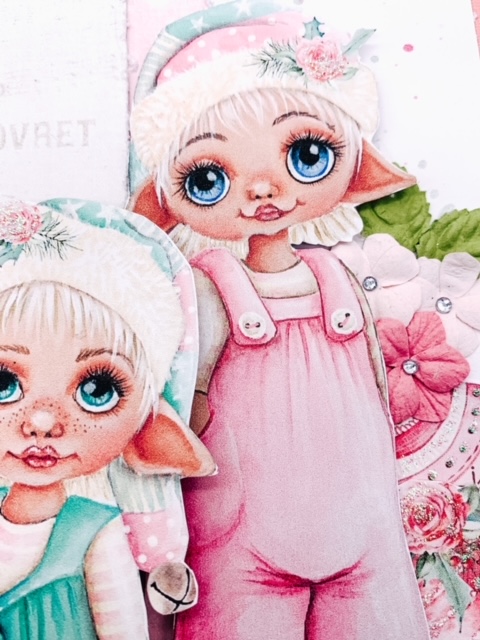
Here are six cards I made recently. I thought you might enjoy these darling greetings.
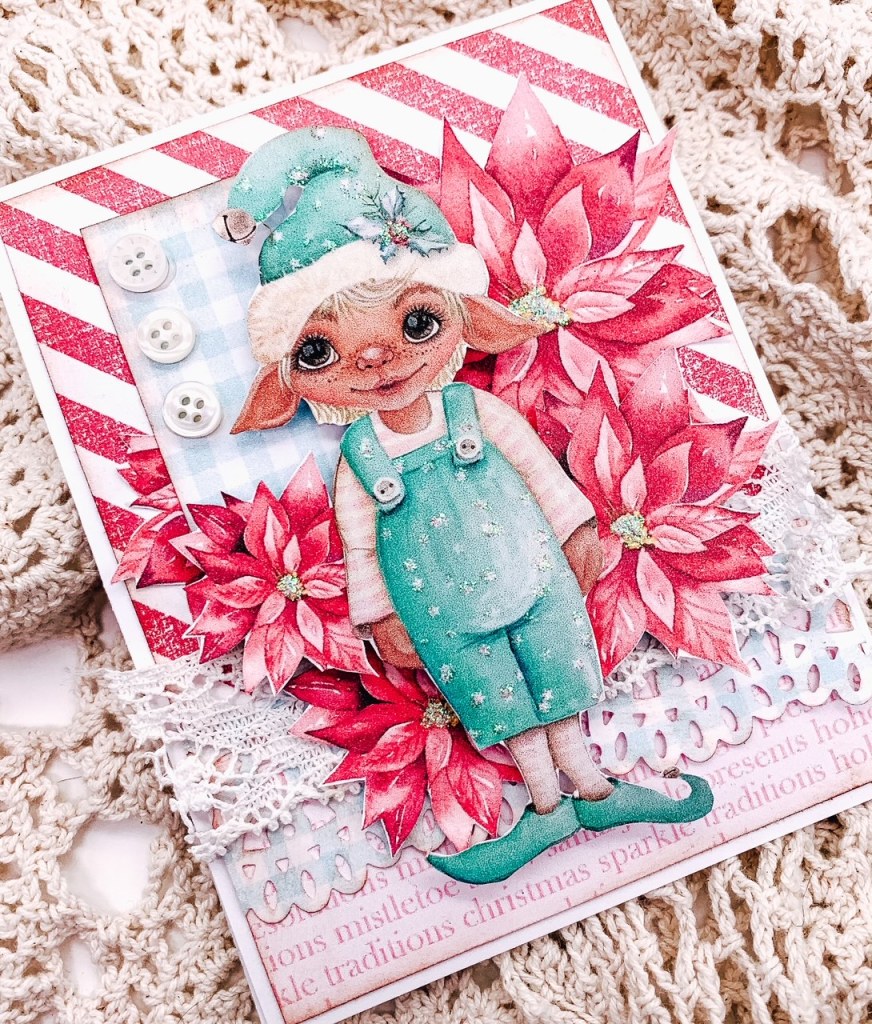
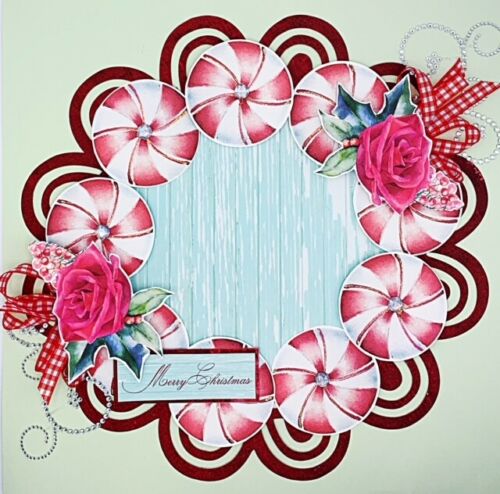
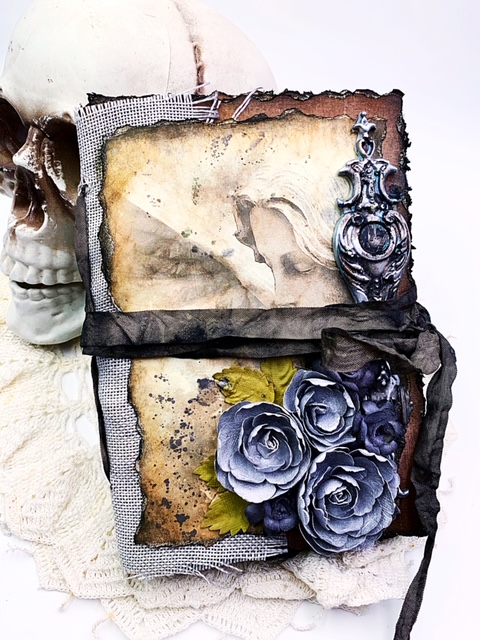
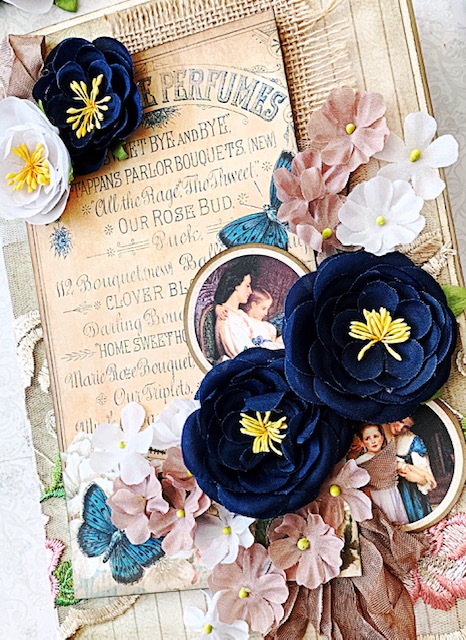
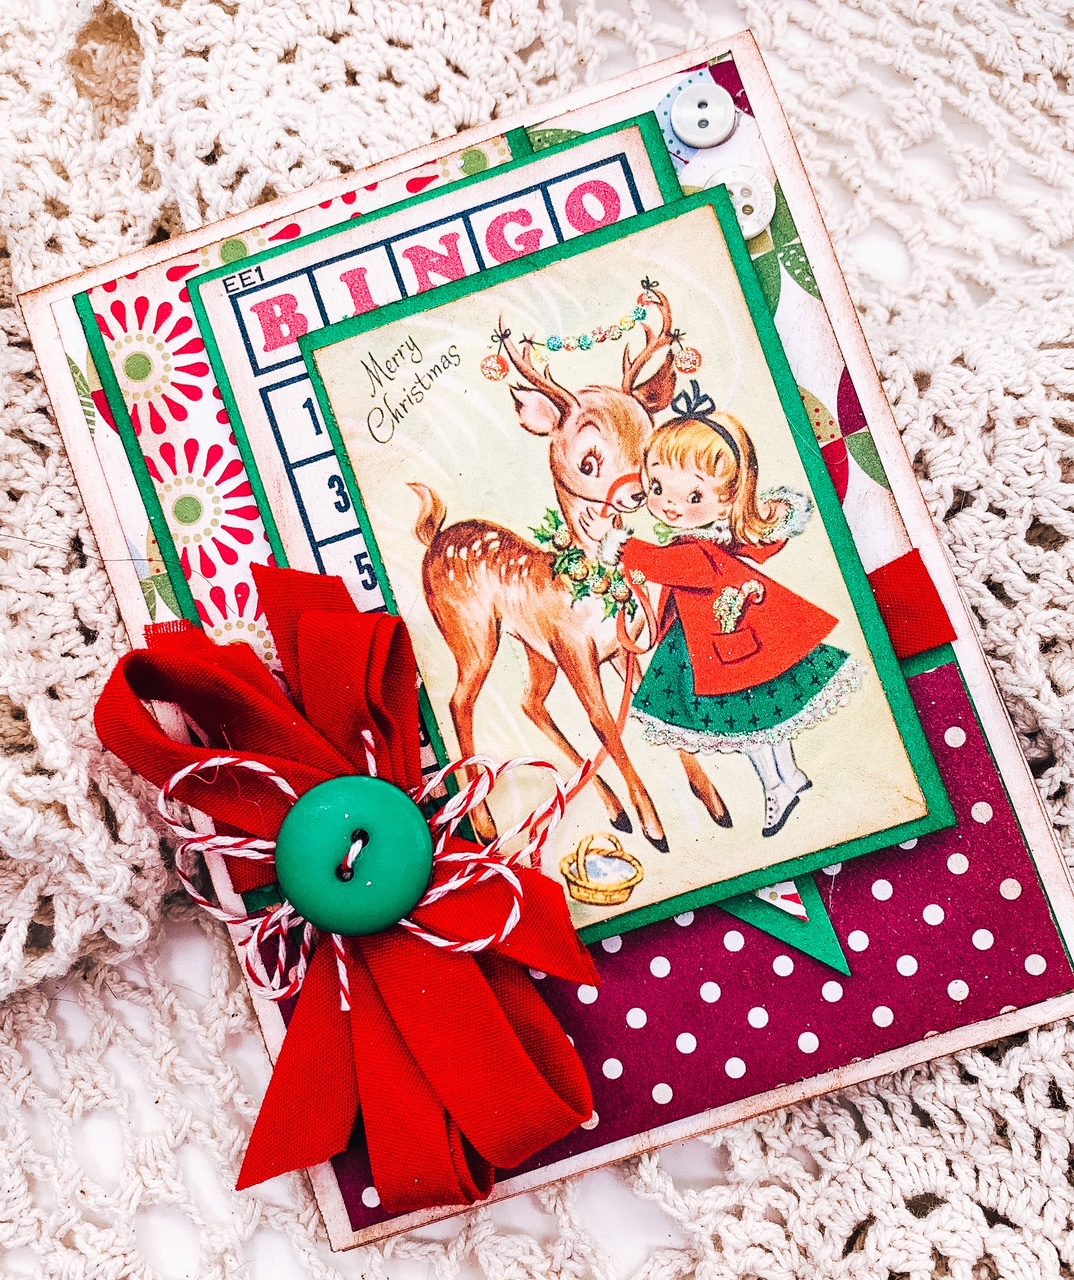
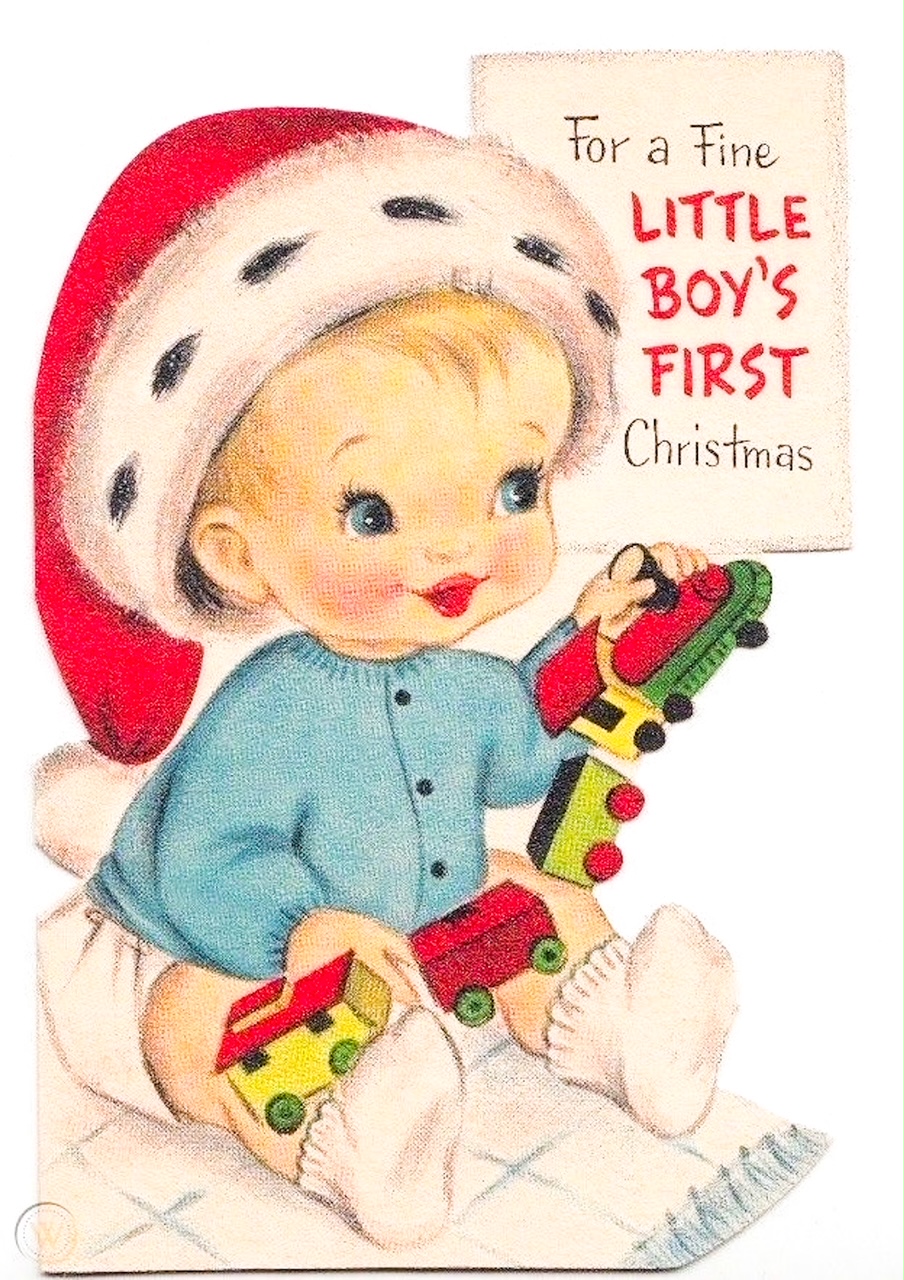
This “Little Boy’s First Christmas” is one of my favorites. I love the color combo and the flower cluster so much!


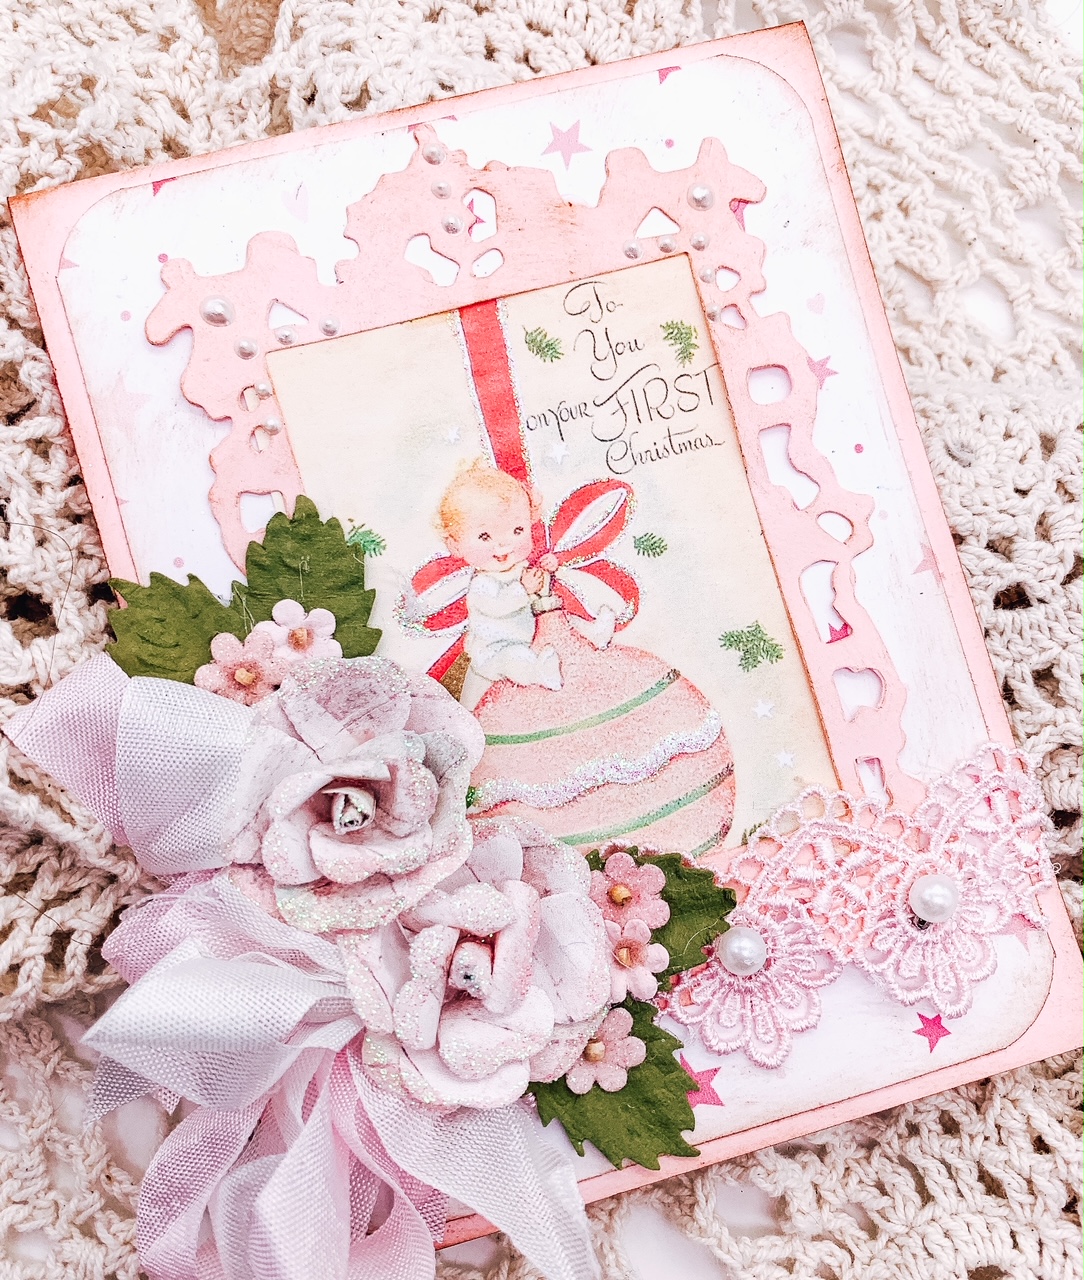
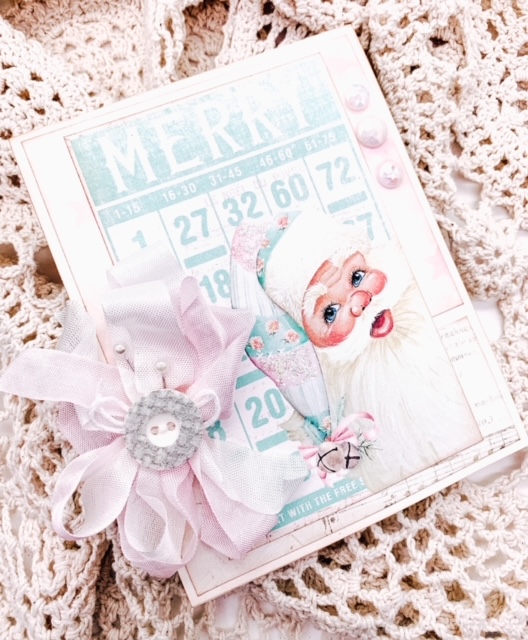
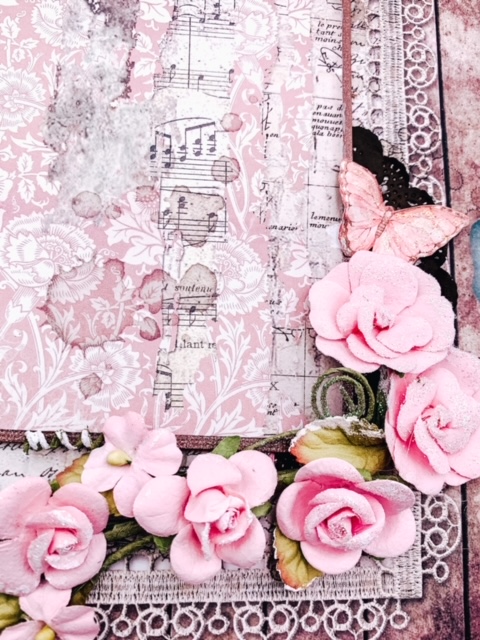
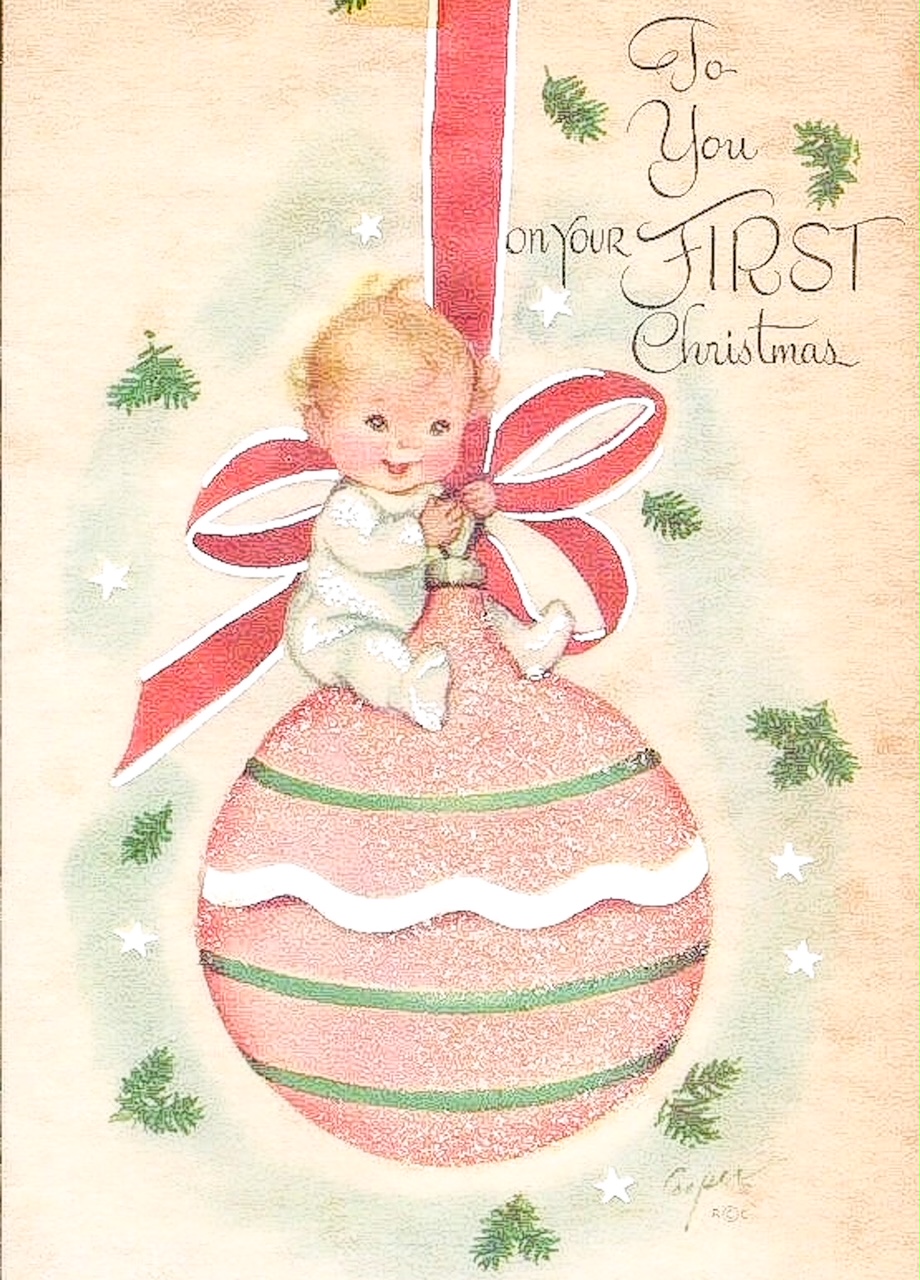
I was so happy when this sweet pink baby’s first Christmas card found a good home – I love the intricate lace, pearls, flowers, and seam binding!
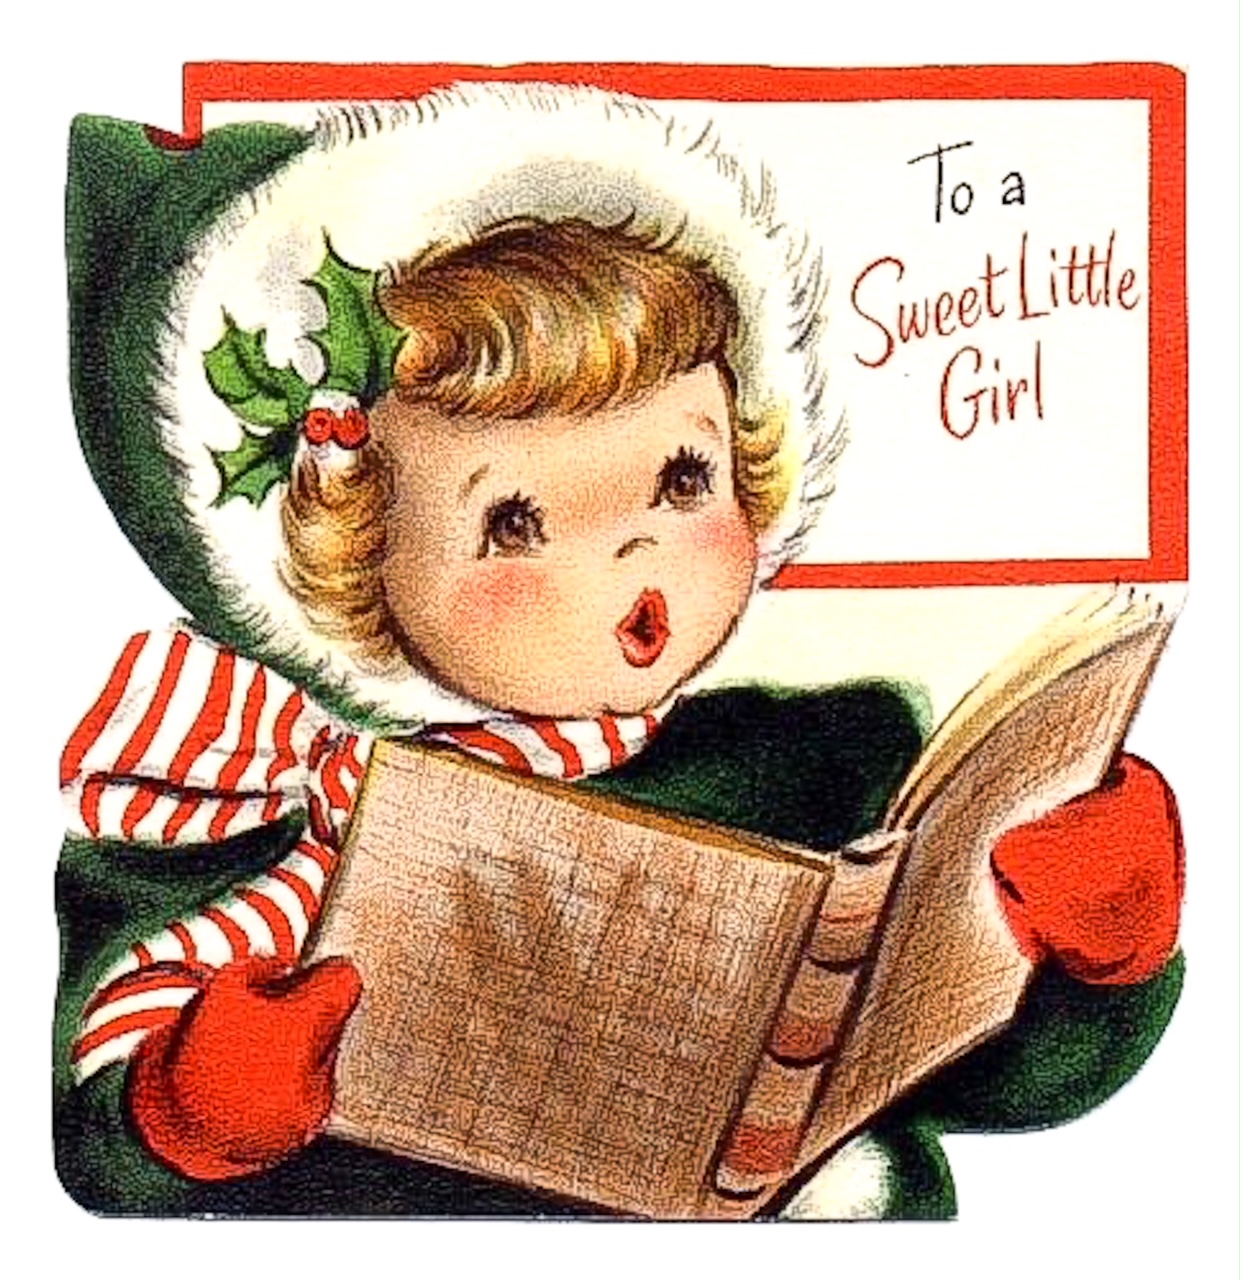
Feeling inspired? Here are copies of the vintage images I used so that you can print and play with them too!


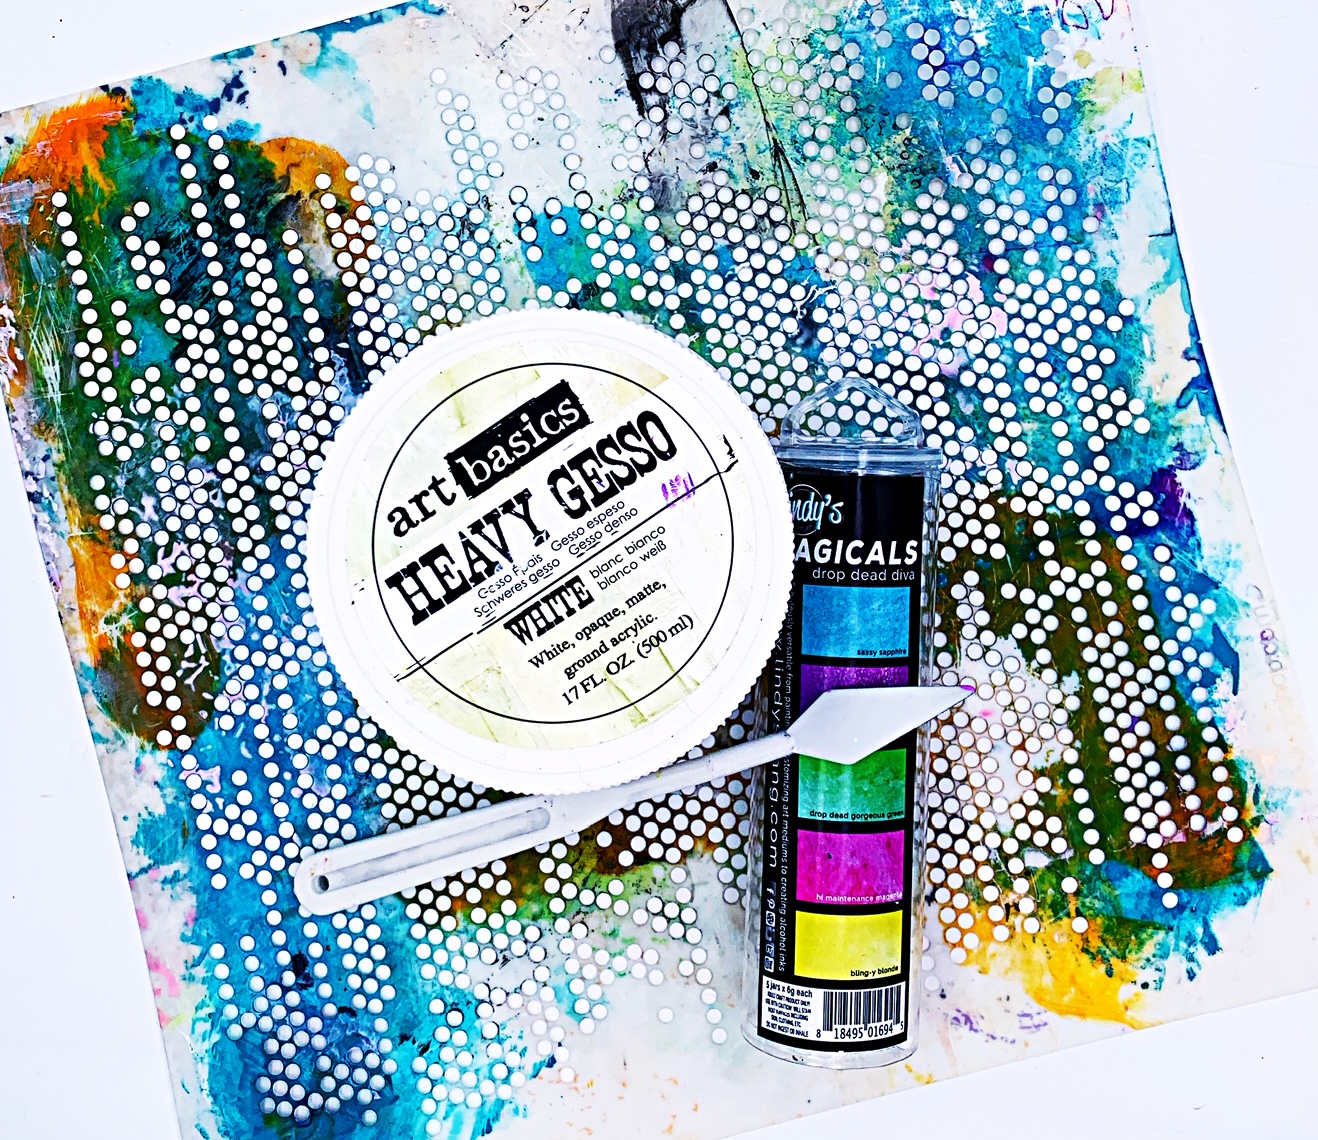
A few “must haves” when working with printables:
- a great printer! I use HP OfficeJet Pro 6978 and it’s amazing (I use it a TON every single day for my business)
- quality cardstock. Try Neenah Premium Cardstock for fabulous images
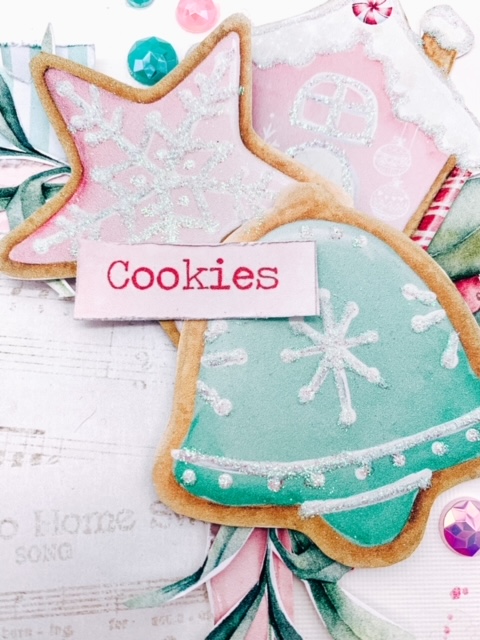
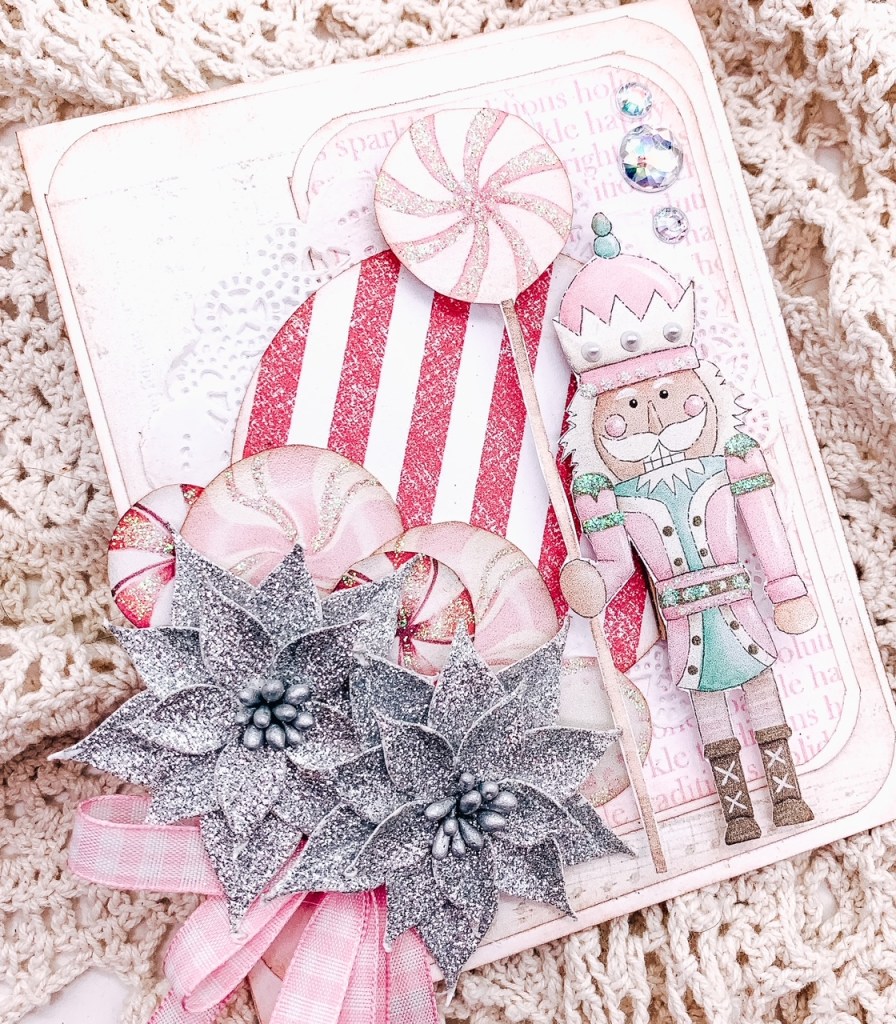
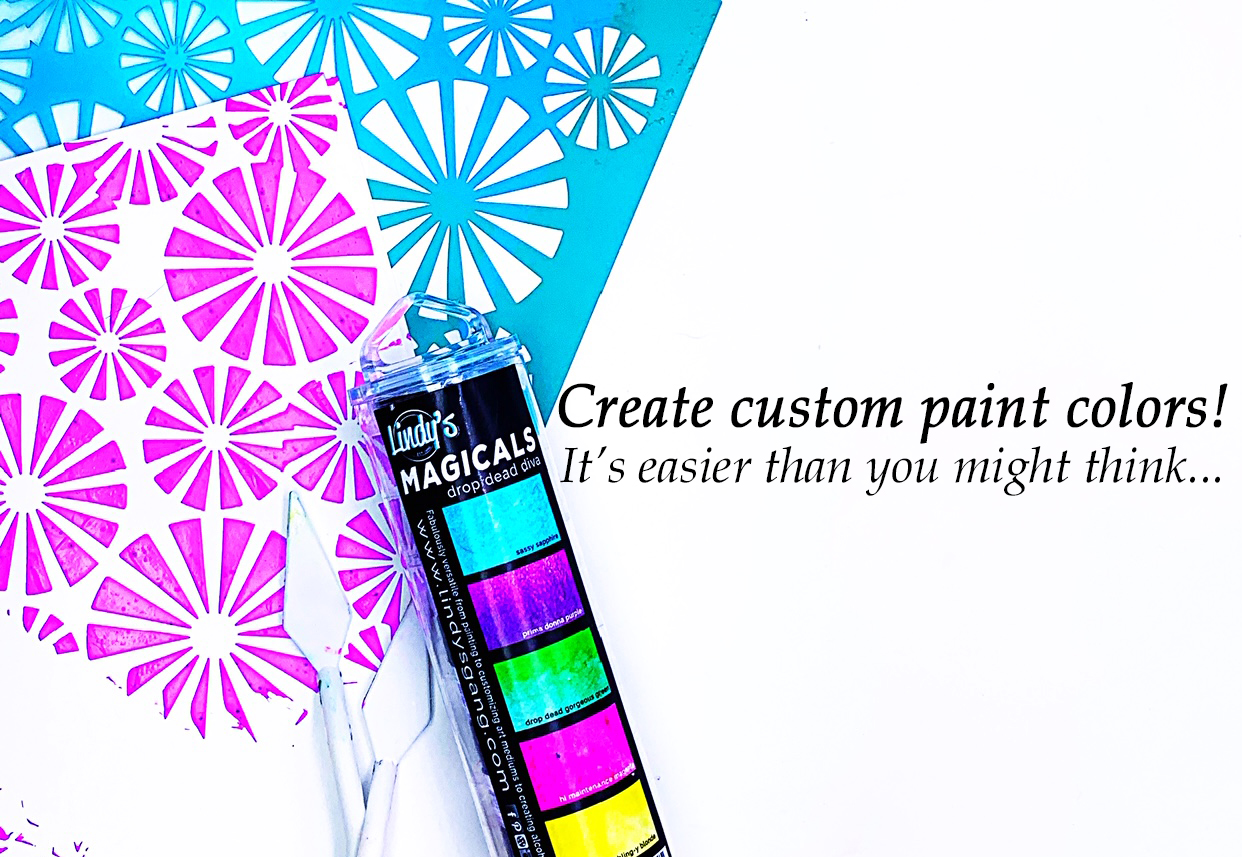
- Stickles glitter – you won’t believe how it changes the entire quality of your card. For real
If you just want to get your hands on finished cards, be sure to check out my eBay and Etsy shop for lots of handmade goodies!
Follow me on Instagram, Facebook, and YouTube for all things crafty! Please stay in touch and share your finished projects with me!
Thanks so much for crafting with me today, and happy holidays!
xoxo
Genevieve
Bella Stitchery