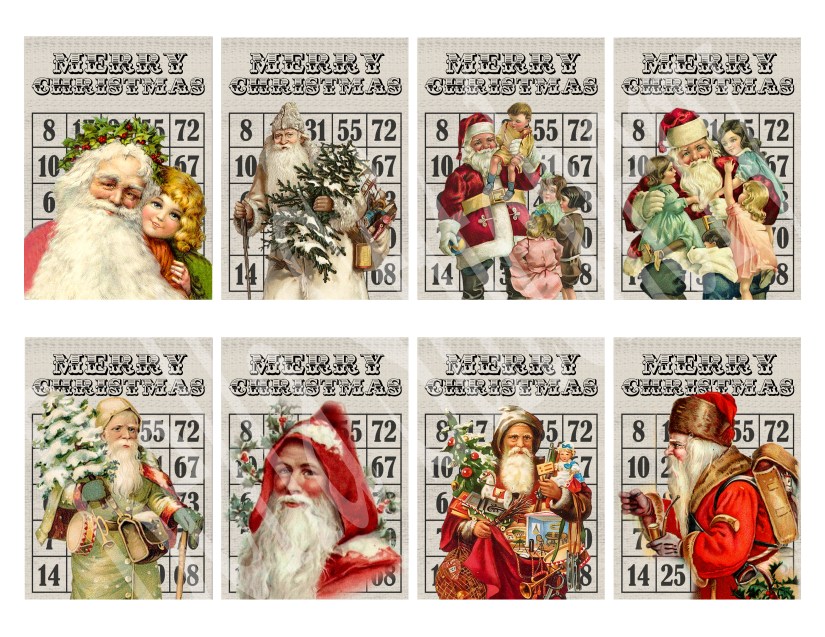
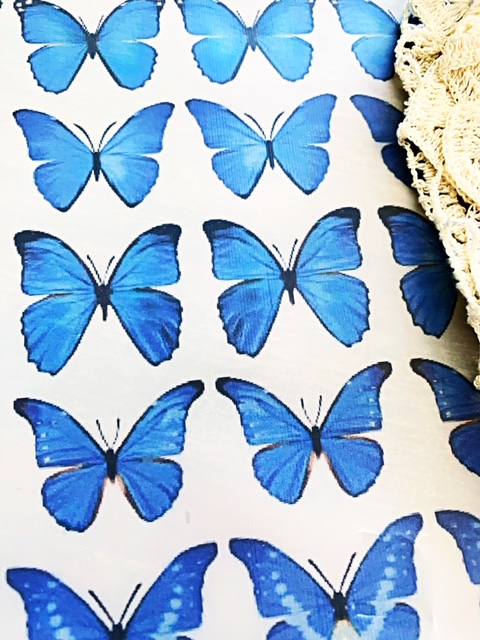
I found these printables on Pinterest for the butterflies in my page, if you’d like to print them too. I printed them at a 5×7 inch size to get the butterflies you see here:
Hope this pretty scrapbook project makes you as happy to look at as the joy I had while making it. Thanks for being a part of my craft community – please keep in touch!
For the products used in this layout, please check out these links:
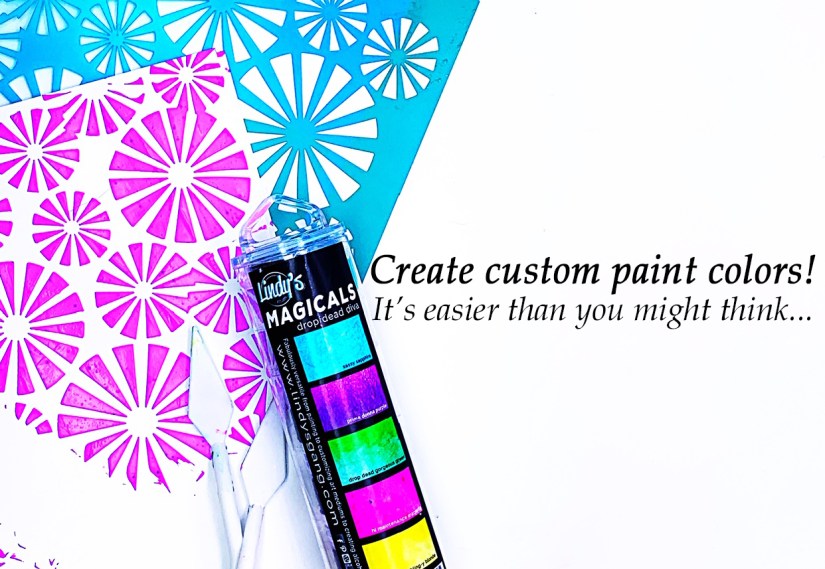
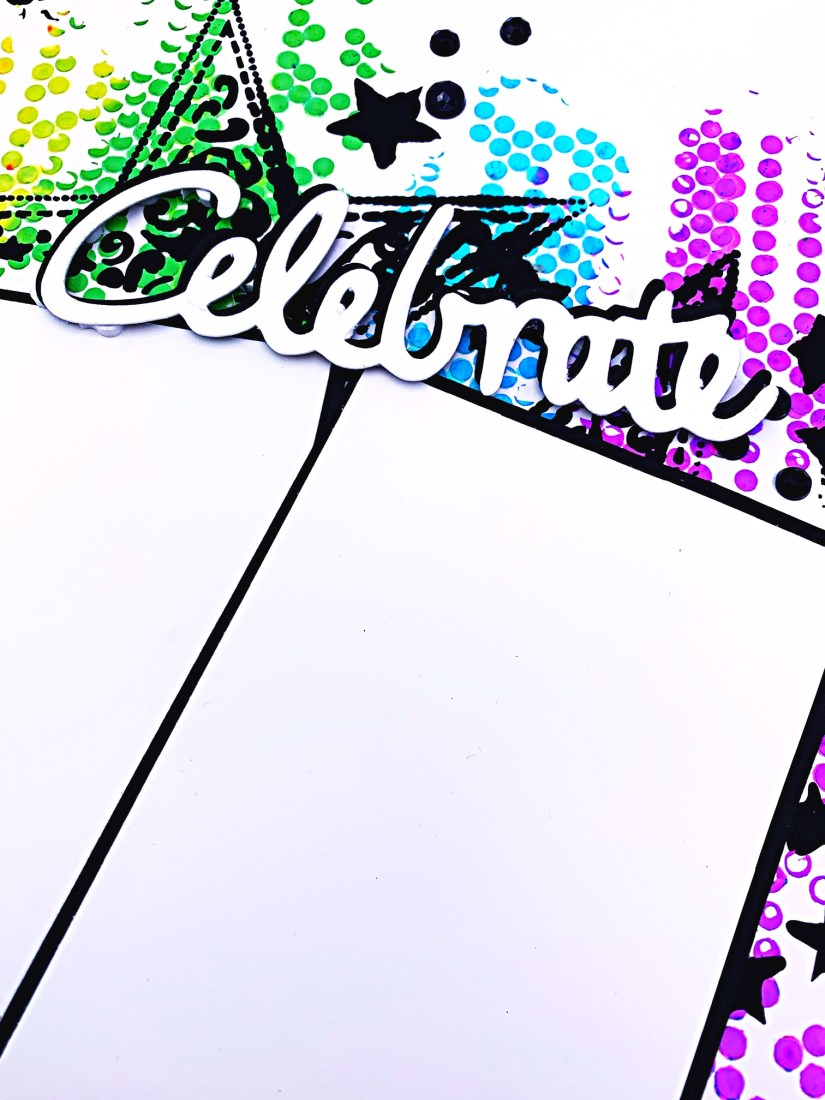
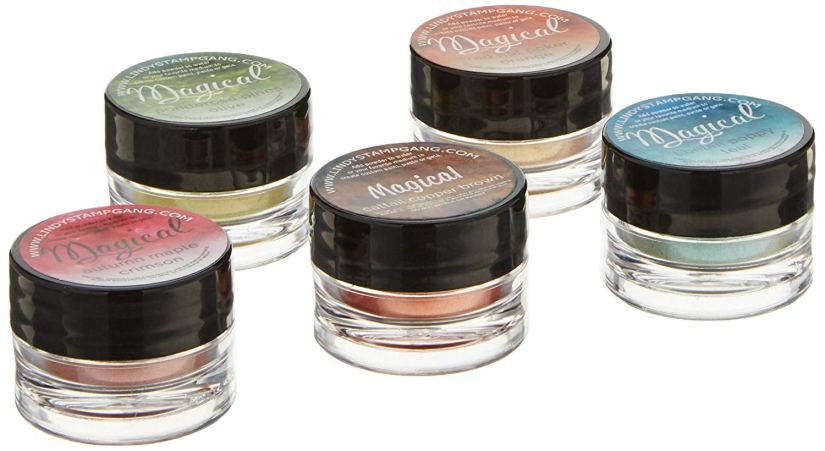
I love Lindy’s Gang Magicals for so many reasons – one of which is their versatility. When mixed with some white gesso, it’s so super easy to make custom paint colors!
Here’s a video about the simple, one-step process (I DID say it was easy right?):
I used this technique with each of the 5 colors in the Drop Dead Diva Magicals set to make this fun mixed media scrapbook layout too! You can purchase this happy layout from my eBay shop as well (only one available).
Hope you found this colorful article inspiring! Let me know what you think. Have you used Magicals before? What is your favorite way to use them? I’d love to hear your thoughts, feedback and comments. Keep in touch, and let’s make stuff! xoxo
When life gives you time, make giant tapestries! We’ve been home now for a few months due to COVID social distancing, so I figured it was a great time to start a cross stitch project the size of a 12-year-old. 🙂
I made this amazing Alice in Wonderland silhouette cross stitch pattern the other day and I wanted it BIG. It’s 32×45.29 inches, on a 14 count fabric! It only uses one color though, so it shouldn’t be too bad, right? …….. Right? I’m going to use 3 strands of black DMC 310 throughout so it’s a thicker weave.
Here’s a video I made of me putting the 36 page chart together:
Here’s a picture of my 3-year-old next to the pieced together pattern. It’s 100% bananas.
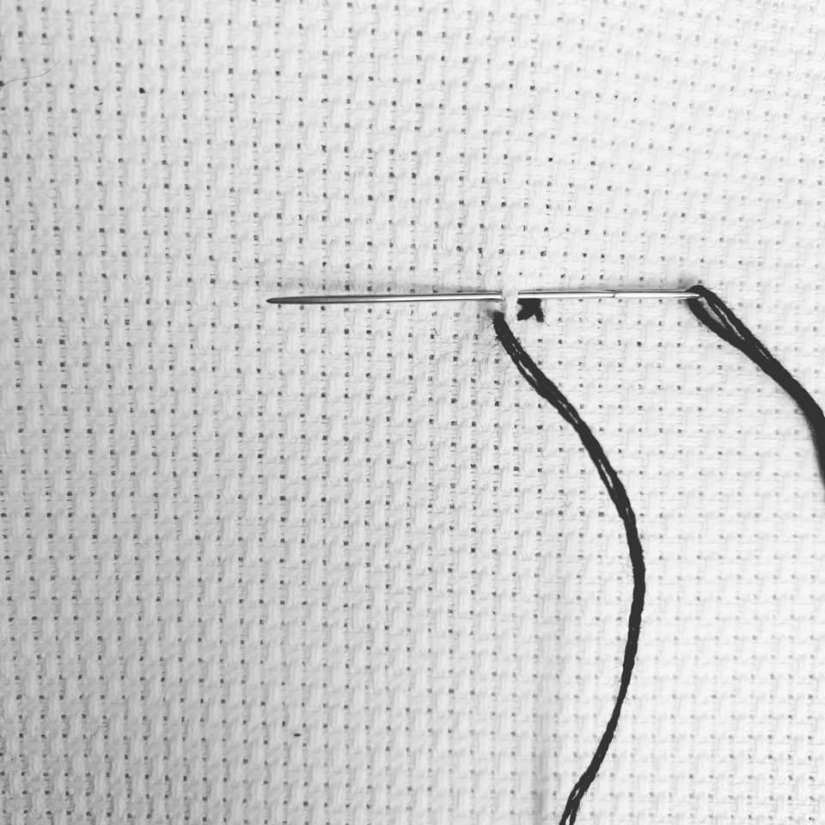
It all begins with one stitch:
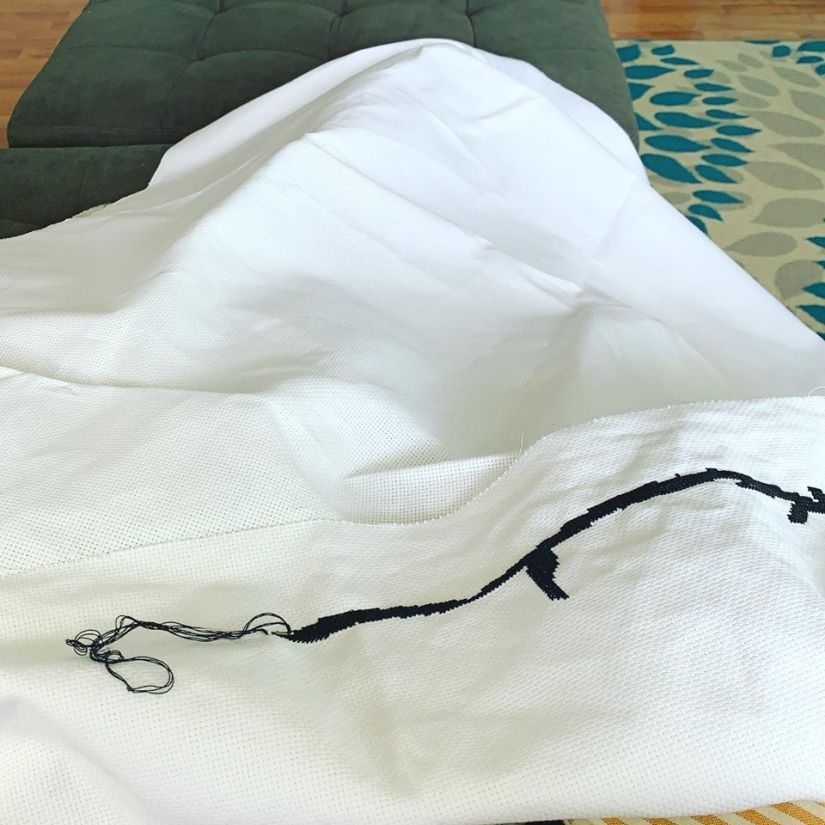
Here’s a picture of me stitching on a 59 inch Aida cloth. It definitely takes a little bit to get used to:
Week one done, and feeling good:
I’m excited about the process and I hope you’ll join me on my journey! Be sure to follow me on Instagram and Facebookfor weekly photo updates, and let me know what you think of this project! Here’s a link to the chart, if you’d like to stitch it along with me, too!
Thanks so much for crafting with me, and happy stitching! xoxo
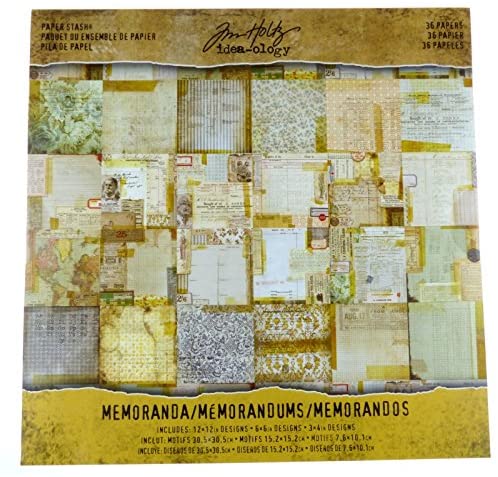
Vellum. I always forget about vellum. I buy it once every few years for a specific project, and then it goes into the darkness of my craft cabinet (the cabinet in my craft room is where I put all my random forgotten embellishments).
The other day I was thinking of butterflies. Like ya do. I love printing them with cardstock, and I thought I’d try it out on vellum! After an entire afternoon of sorting through 1/2 finished scrapbook kits and neon ribbon, I found my stash of vellum! A quick dust-off and it was good as new!
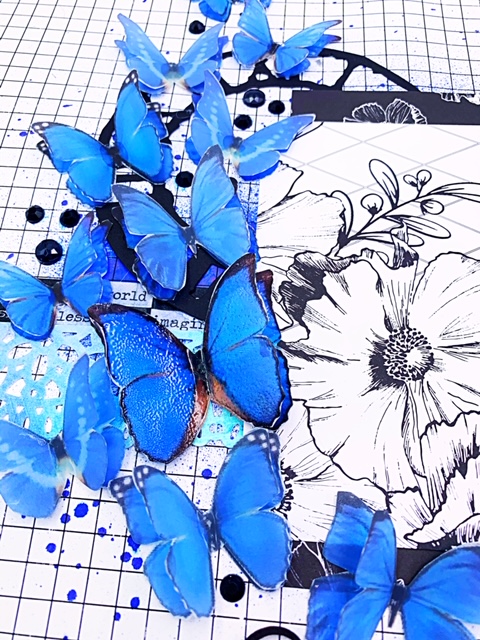
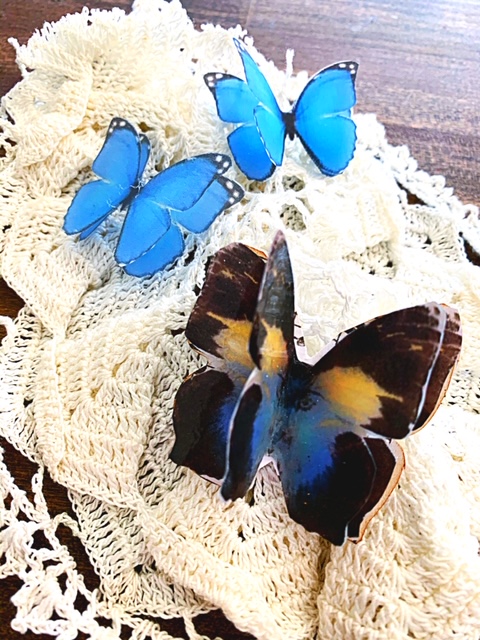
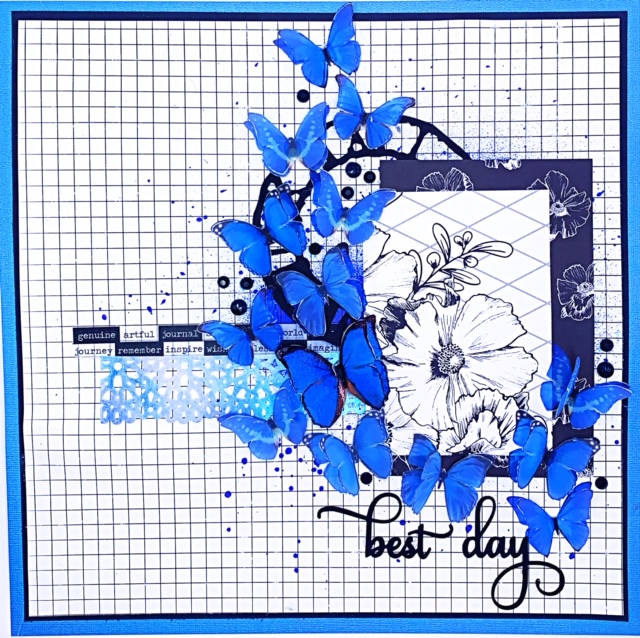
For this fun butterfly project, I simply printed each butterfly twice, fussy cut them, and stacked them (adding glue only in the center). Fold up the wings when dry and voila! Gorgeous, ephemeral butterflies!
Here’s my video tutorial, if you’d like to see the process in real life 🙂
I’m super happy with the way they turned out! Now, I’m looking to print all KINDS of ephemera with vellum – just to experiment!
What do you think? Any other vellum printable ideas you can suggest? I’d love to hear your thoughts!
You can purchase this 3D butterfly scrapbook page from my Etsy shop (free US shipping) as well.
Thanks for crafting with me today! xoxo
PS – my blog uses affiliate links with Amazon. These are at no cost to you. Thank you so much for purchasing supplies through links, and helping to support us crafters! xoxo
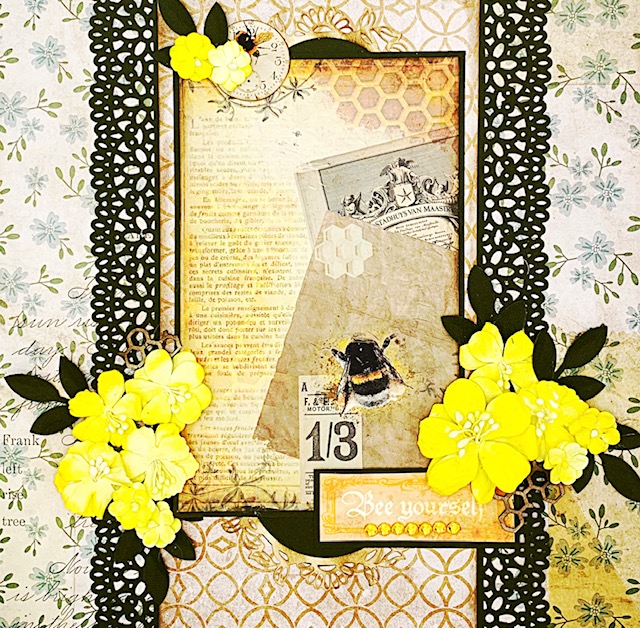
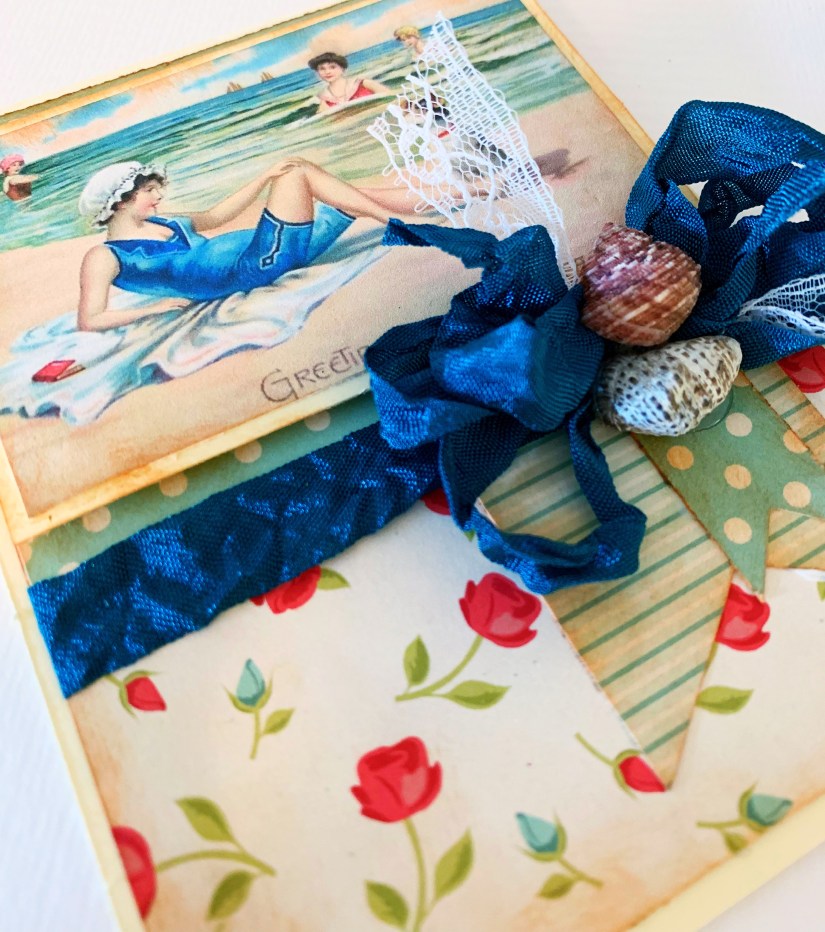
The only thing more fun than making bee-themed scrapbook pages, is being able to use about a billion bee puns. You’ve been warned.
I was buzzin’this week, making cards and layouts using these adorable printables I purchased from Dots Inspiration Shop on Etsy.
I couldn’t BEE-lieve how adorable they were when I printed everything out (seriously, you should have seen my craft table. It was like a field of honeybees in the first warm day of summer, far as the eye could see).
I love the grungy look to the paper and honey, it just worked perfectly. 🙂
I really couldn’t BEEany happier with the way they all turned out.
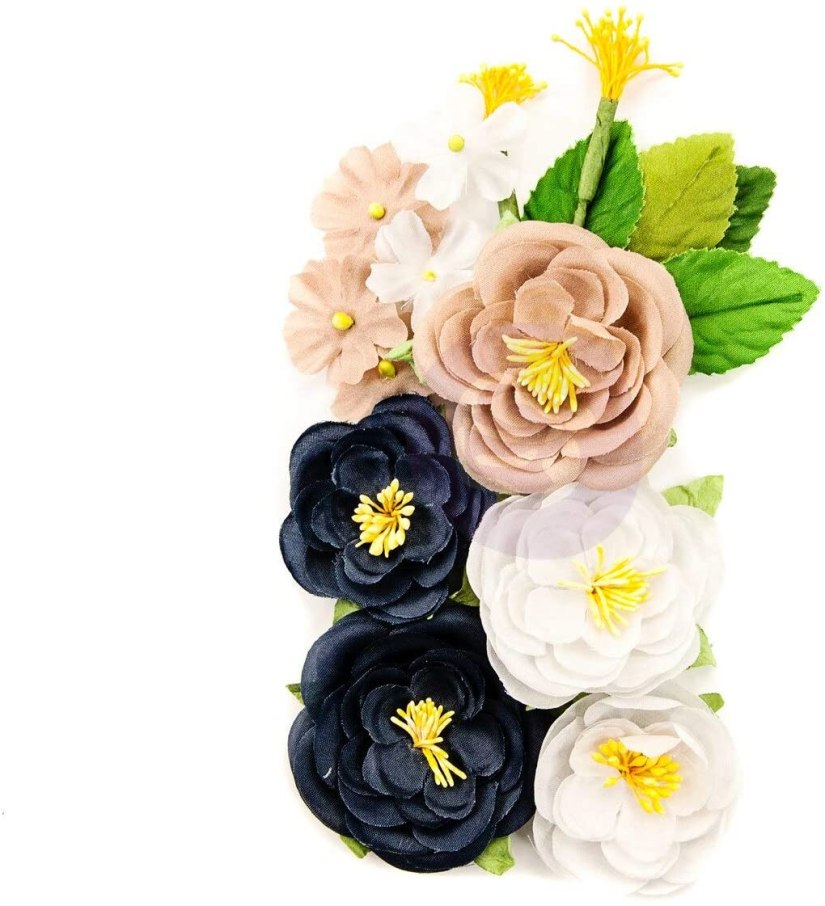
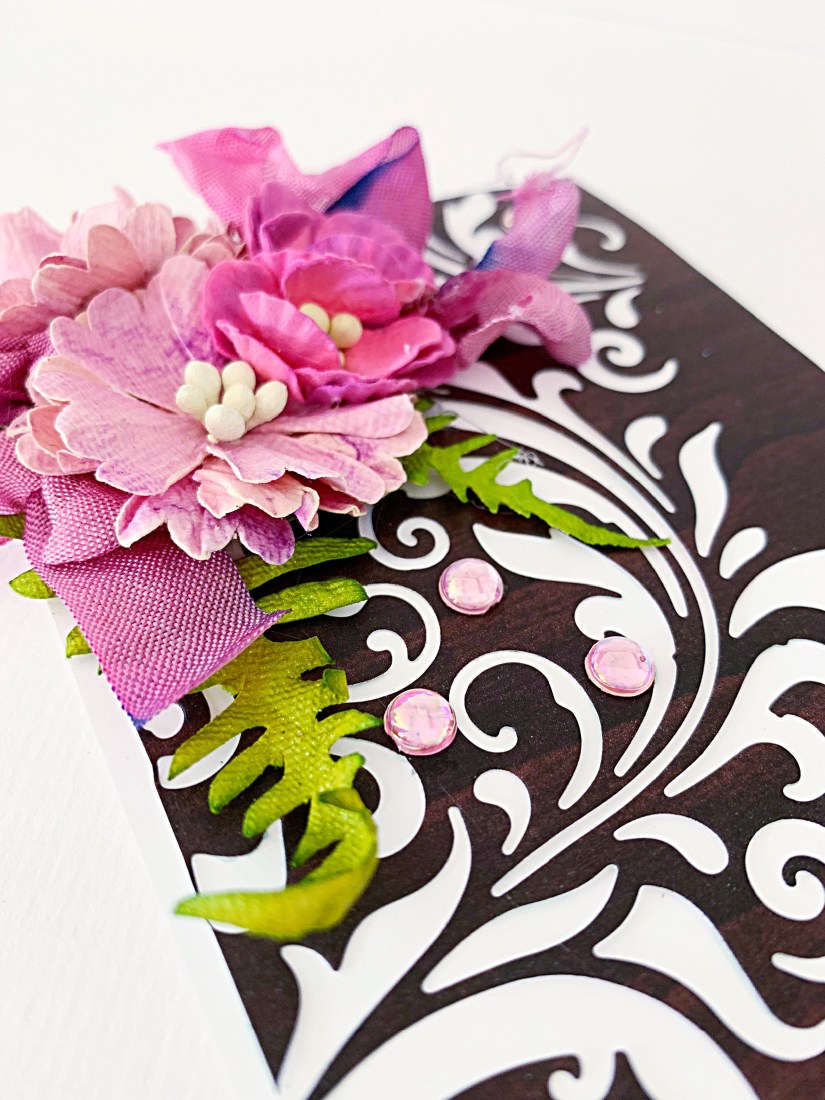
With a little hand-dyed ribbon and flowers, these pages are happy as springtime bees in a field of dandelions.
I have a tutorial all about how to make these flowers and seam binding here:
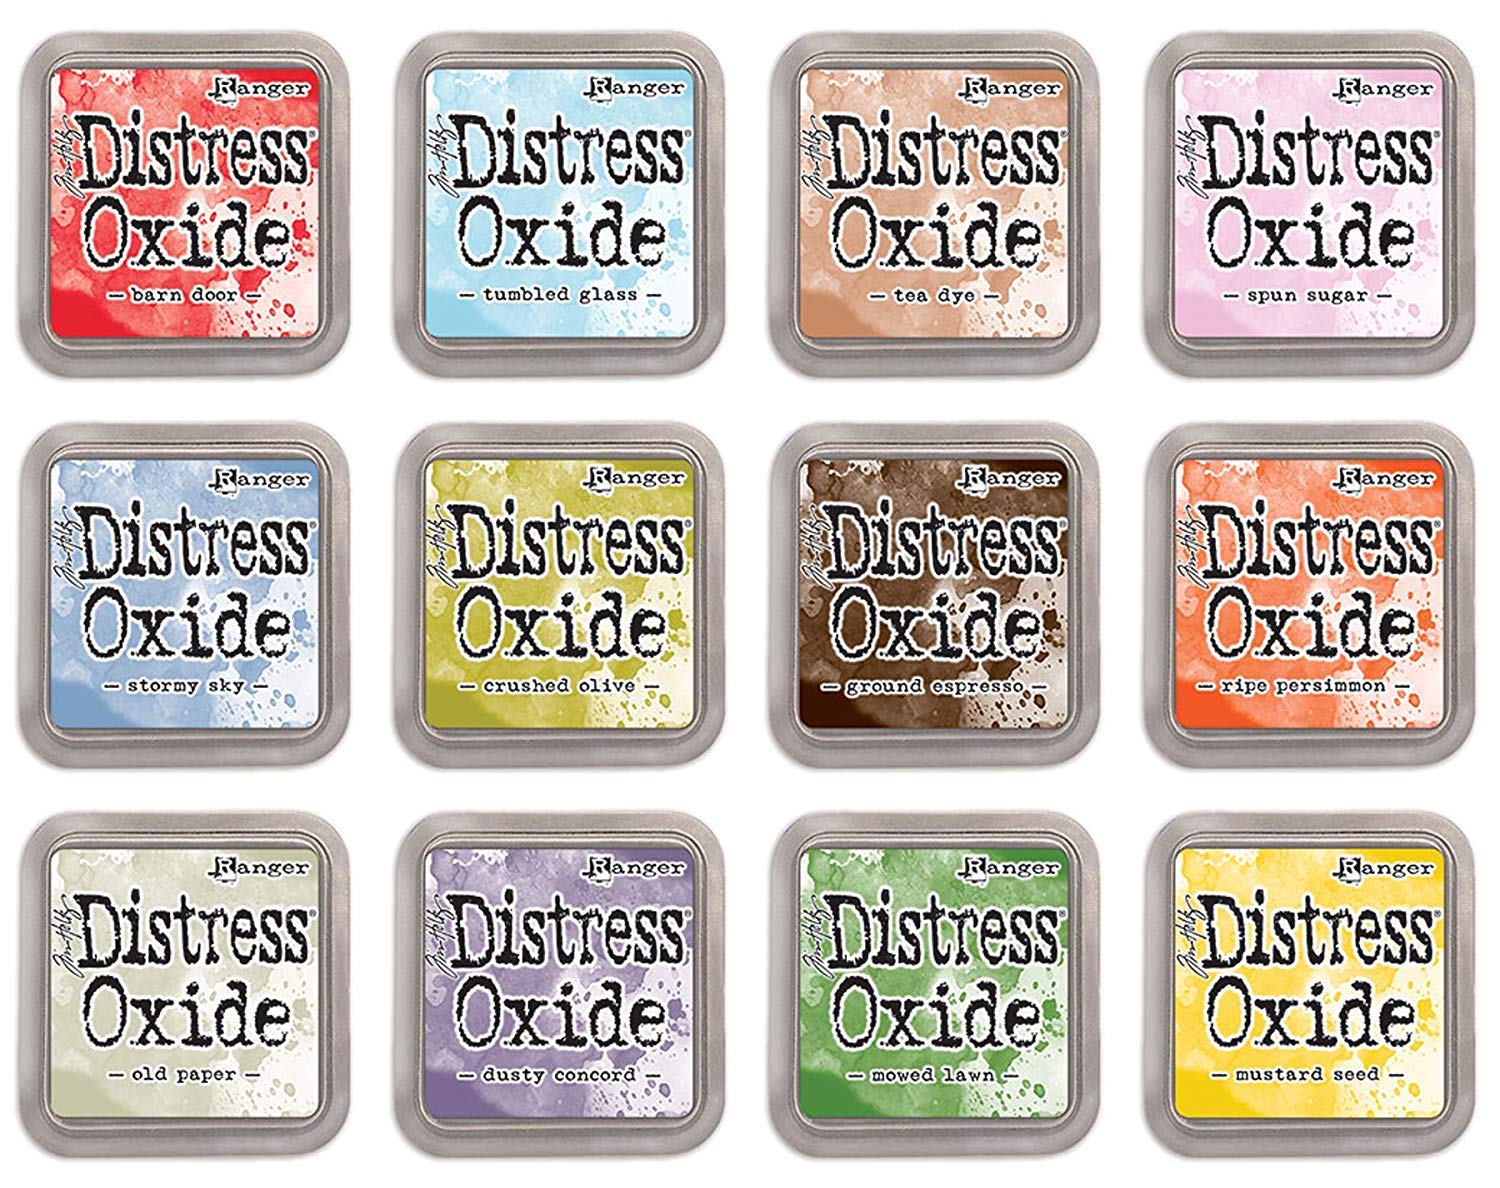
You can find the paint and ink spray used on Amazon in the links below:
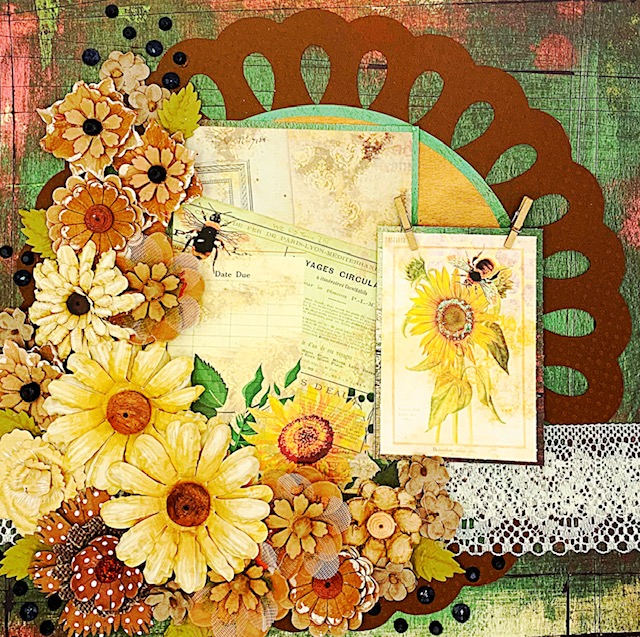
I love this color combo so much too! I can’t BEE-lieve how well it translated from spring to fall with just a change of flowers and background paper.
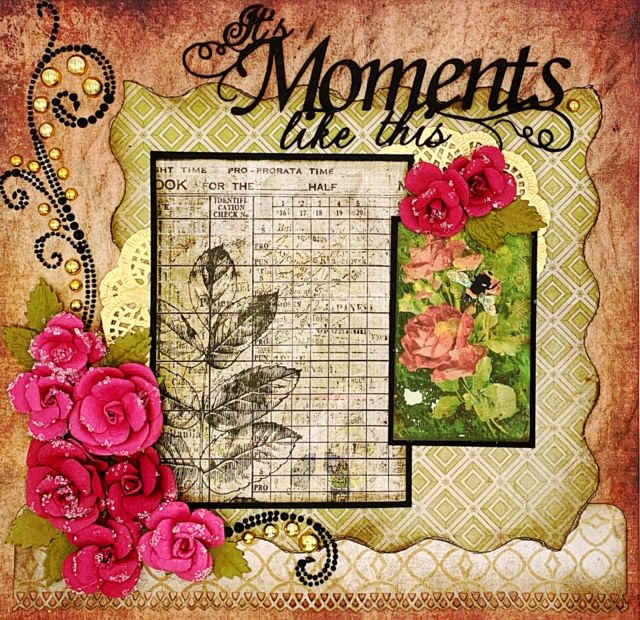
This last one is probably one of my favorites. I feel like I say that a lot, but honestly I just love working with paper and flowers so much!
I list all my newest scrapbook layouts and greeting cards on eBay and Etsy each Sunday too, so please stop by my shop and check out what’s available. I’m always so happy to give my creations a good home. 🙂
Hope you’ve enjoyed this quick look at my week in paper. Thanks for buzzin’over. I’m going to flutterback to work on some new goodies for next week!
Please keep in touch – I’d love to know what you think about these pages.
Follow me on YouTube, FB and Instagram too! I’d love to BEEfriends! xoxo
P.S. My blog uses affiliate links. These commissions are at no cost to you. Thanks so much for using links!
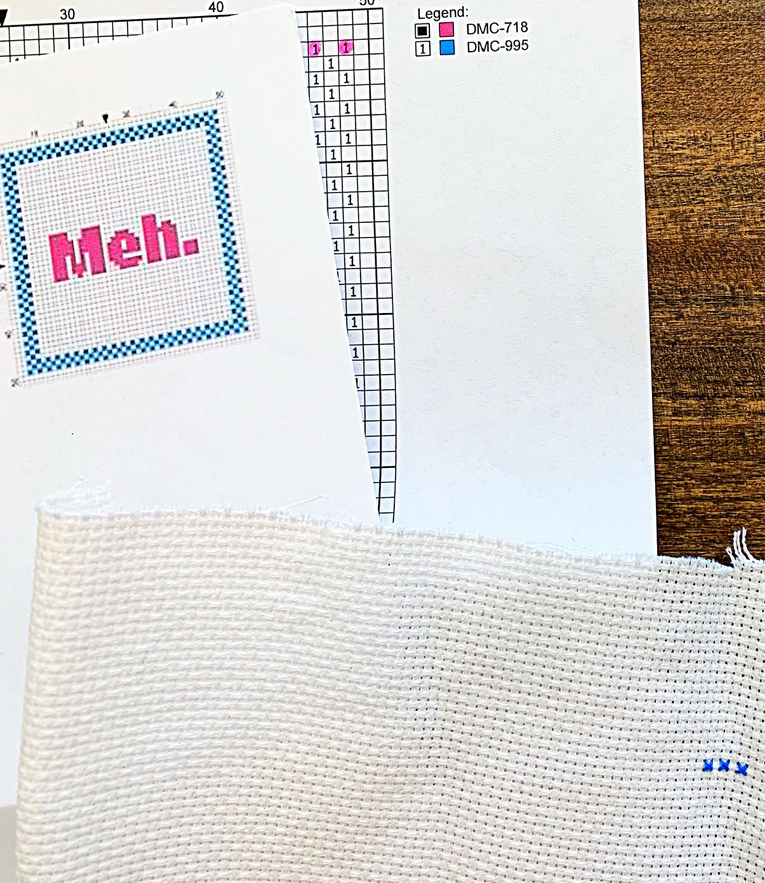
Ever wonder how to begin what may appear to be a daunting journey? Well, look no further, my friend! Bella Stitchery is here to the rescue!
Rest assured, it’s actually not that difficult once you get started. I just posted a YouTube video all about how to read and begin a cross stitch chart, along with some background information on Aida cloth and needle sizing.
In the video, I promised to provide you with the “Meh.” pattern free if you’d like to practice your newly acquired knowledge. Well, here you go. Just open, print or save, and start stitching today!